00195425-01.pdf - 第121页
In st alla tio n an d Co nf igur at ion G ui de S IP LACE E xpl ore r Annex Edi tion 05 /200 7 EN Bu nd led We b S erv er In sta ll at ion 121 → Y ou can a lter the def ault installation folder by u sing the Cha ng e but…
Annex Installation and Configuration Guide SIPLACE Explorer
Bundled Web Server Installation Edition 05/2007 EN
120
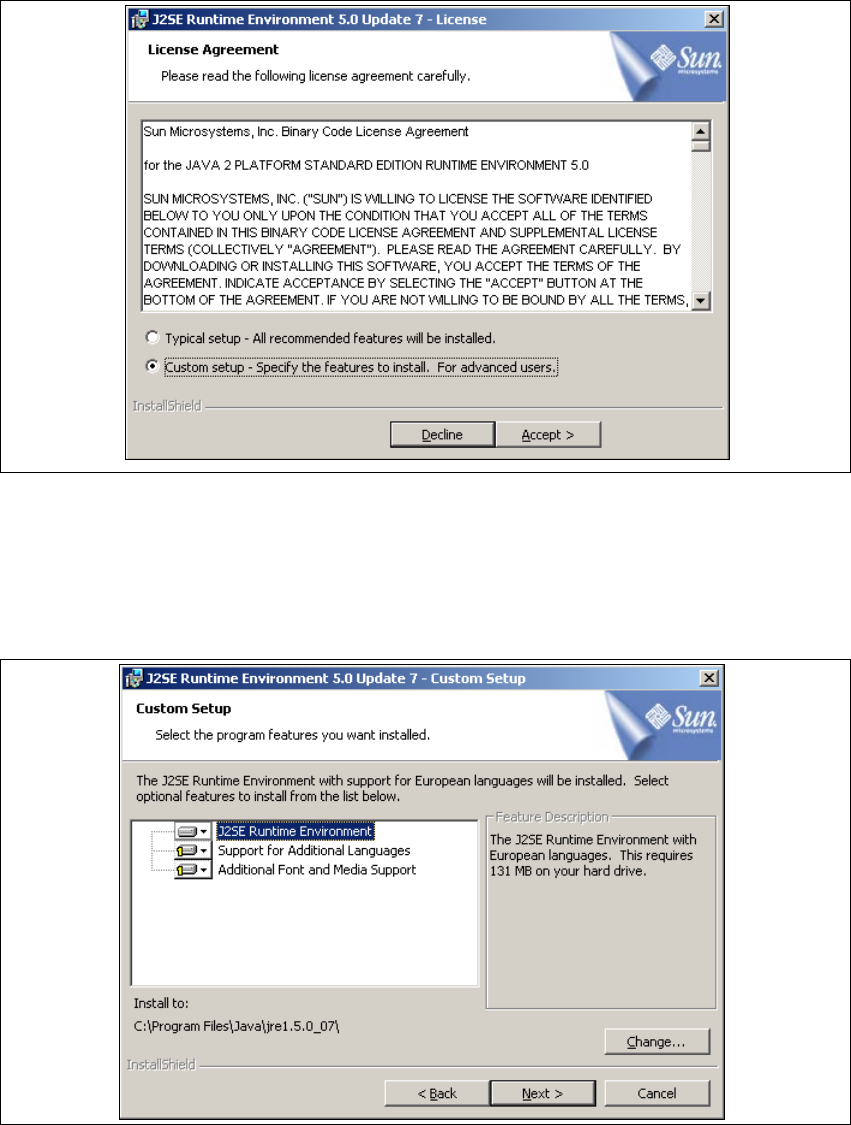
→ Read the license agreement. If you agree, click on Accept > to continue the installation
procedure. Otherwise select Decline. The installation procedure will be canceled in this case.
5
Fig. 5 - 33 Java 2SE setup - license agreement
→ The Custom Setup dialog box will open.
→ Now select the required installation option and specify the folder in which you wish to install the
application. The default folder is C:\Program Files\Java\jre1.5.0_07\. This can be altered if
necessary.
5
Fig. 5 - 34 Java 2SE setup - user-defined installation

Installation and Configuration Guide SIPLACE Explorer Annex
Edition 05/2007 EN Bundled Web Server Installation
121
→ You can alter the default installation folder by using the Change button. The Change Current
Destination Folder dialog box will open.
. 5
Fig. 5 - 35 Java 2SE setup - selecting destination folder
→ Specify the required folder and click OK to confirm your choice.
→ To accept the destination folder, click on Next in the Custom Setup window.
→ The Browser Registration dialog box will open. Select the default browser for the application,
here.
5
Fig. 5 - 36 Java 2SE setup - 'browser registration' dialog box
→ Select the required browser by enabling the relevant checkbox.
Annex Installation and Configuration Guide SIPLACE Explorer
Bundled Web Server Installation Edition 05/2007 EN
122
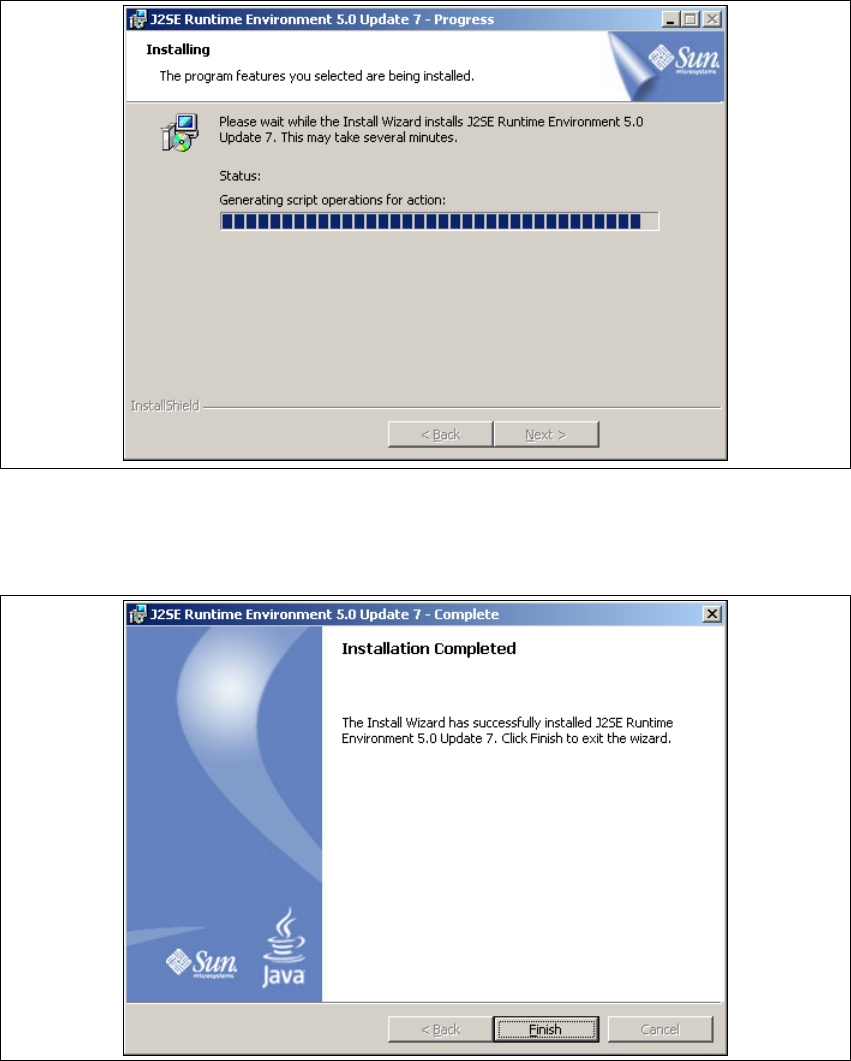
→ Click on Next (continue) to begin the actual installation of Java 2 SE.
5
Fig. 5 - 37 Java 2SE setup - installation
→ The selected installation options will be installed in the correct order.
→ Once the installation procedure has finished, the Installation Completed dialog box will open.
5
Fig. 5 - 38 Java 2 SDK setup - installation complete
→ Click on Finish.
5