00198608-02_SM_CP20P2_Kunde_EN.pdf - 第75页
10 Miscellaneous (fan, retaining elements) 10.1 Replacing the fan Service Manual SIPLACE SpeedStar (C&P20 P2) 01/2019 75 10 Miscellaneous (fan, retaining elements) 10.1 Replacing the fan Parts Fig.106: Fan 03104369-…

9 Boards
9.3 Replacing the holding circuit board
74 Service Manual SIPLACE SpeedStar (C&P20 P2) 01/2019
10 Miscellaneous (fan, retaining elements)
10.1 Replacing the fan
Service Manual SIPLACE SpeedStar (C&P20 P2) 01/2019 75
10 Miscellaneous (fan, retaining elements)
10.1 Replacing the fan
Parts
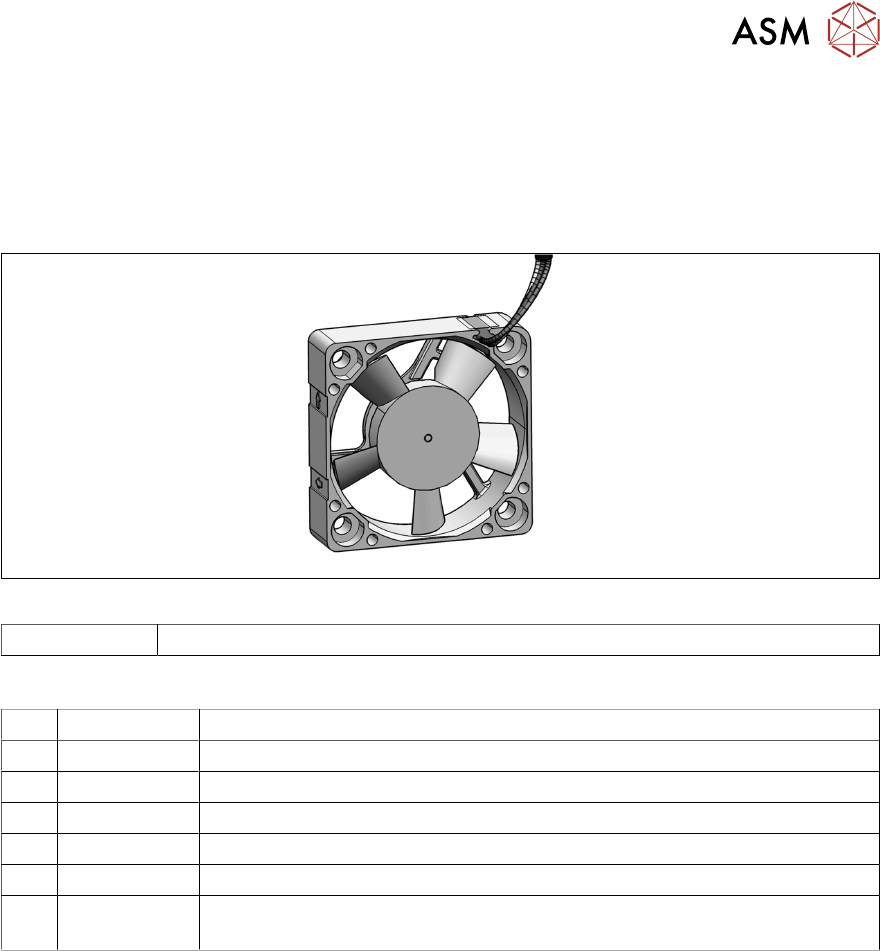
Fig.106: Fan
03104369-xx Fan assembly SIPLACE C&P20 P/P2
Equipment and tools
T07 03078400-xx Torque Screwdriver ESD 1.0-5.0 Nm
T19 00318673-xx Wire cutter electronic size 110
T44 00386132-xx Torque screwdriver ESD 0.1-0,6 Nm
T77 00386136-xx Torque interchangeable blades 2 mm, hexagonal
T98 03171857-xx Torque Allen swap blade 1.5 mm TX10
C08 00308458-xx Cable ties B=2.5mm, L=102mm Panduit
T --- Tools for removing/fitting and calibrating the placement head, if needed
(see also the service manual for your machine)
Preparation
► Remove the head from the machine. For details about removing and fitting the placement
head, refer to the service manual for your machine.
Fit the head on the head mount [03056231‑xx].
► Make sure that the component sensor protective cap is fitted.
1.1.3 "Safety instructions for the component sensor" [}6]
10 Miscellaneous (fan, retaining elements)
10.1 Replacing the fan
76 Service Manual SIPLACE SpeedStar (C&P20 P2) 01/2019
Removal
► Dismantle the component camera.
3.1 "Replacing the Component Camera" [}13]
Fig.107: Fan cable
► Unthread the fan cable from the fan(1),
as far as the circuit board for the inter-
mediate distributor(2).
Open the relevant cable ties for this.
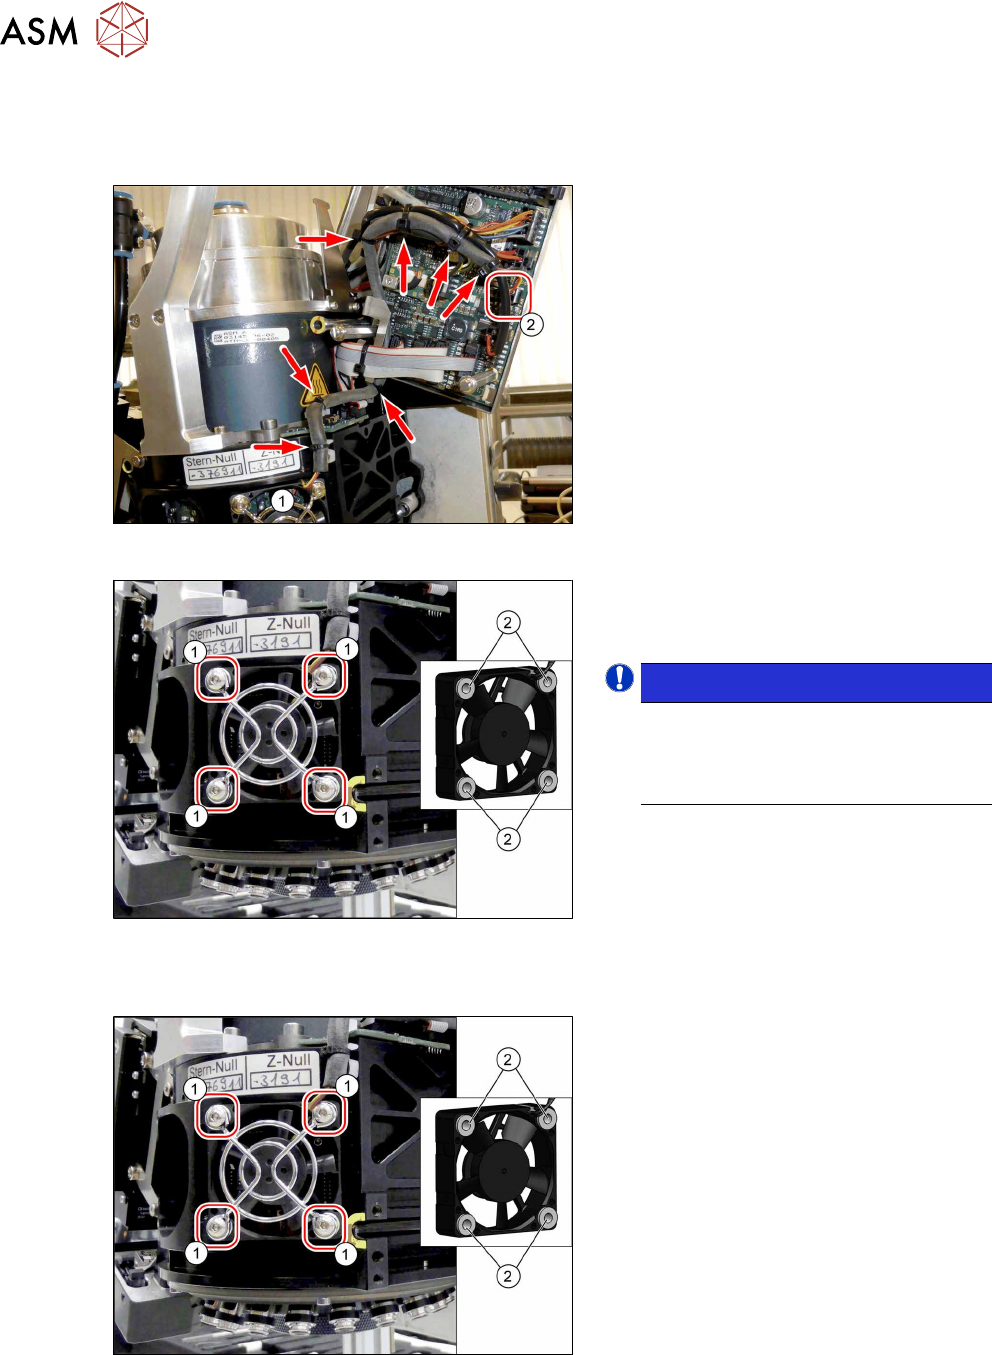
Fig.108: Screws fastening the fan
► Remove the four screws (1)(Allen 2)
fastening the fan and then remove the
fan, together with the fan grille.
NOTICE!
Between the fan and the fan grille,
there is a fan clamp(2)on each
screw.
Make sure that you do not loose these.
.
Installation
Fig.109: Screws fastening the fan
► Place the fan clamps (2) between the
fan and the fan grille.
► Fasten the fan and the fan grille with
the four screws(1) (Allen2, M3x16,
Torque 0.35Nm).