444CEMM1 - 第142页
Page 1-80 444C-E-MMA01-A09-04 Check Every 6000 Hours (Once a Y ear) T o the next page 17. Press the movable blade against the spring pin on the front side. ∗ At this time, take care not to touch the blade parts. 18. T ig…
Page 1-79
REGULAR
MAINTENANCE
1
444C-E-MMA01-A09-04
Check Every 6000 Hours (Once a Year)
4H4C-518P
Exclusive
tool
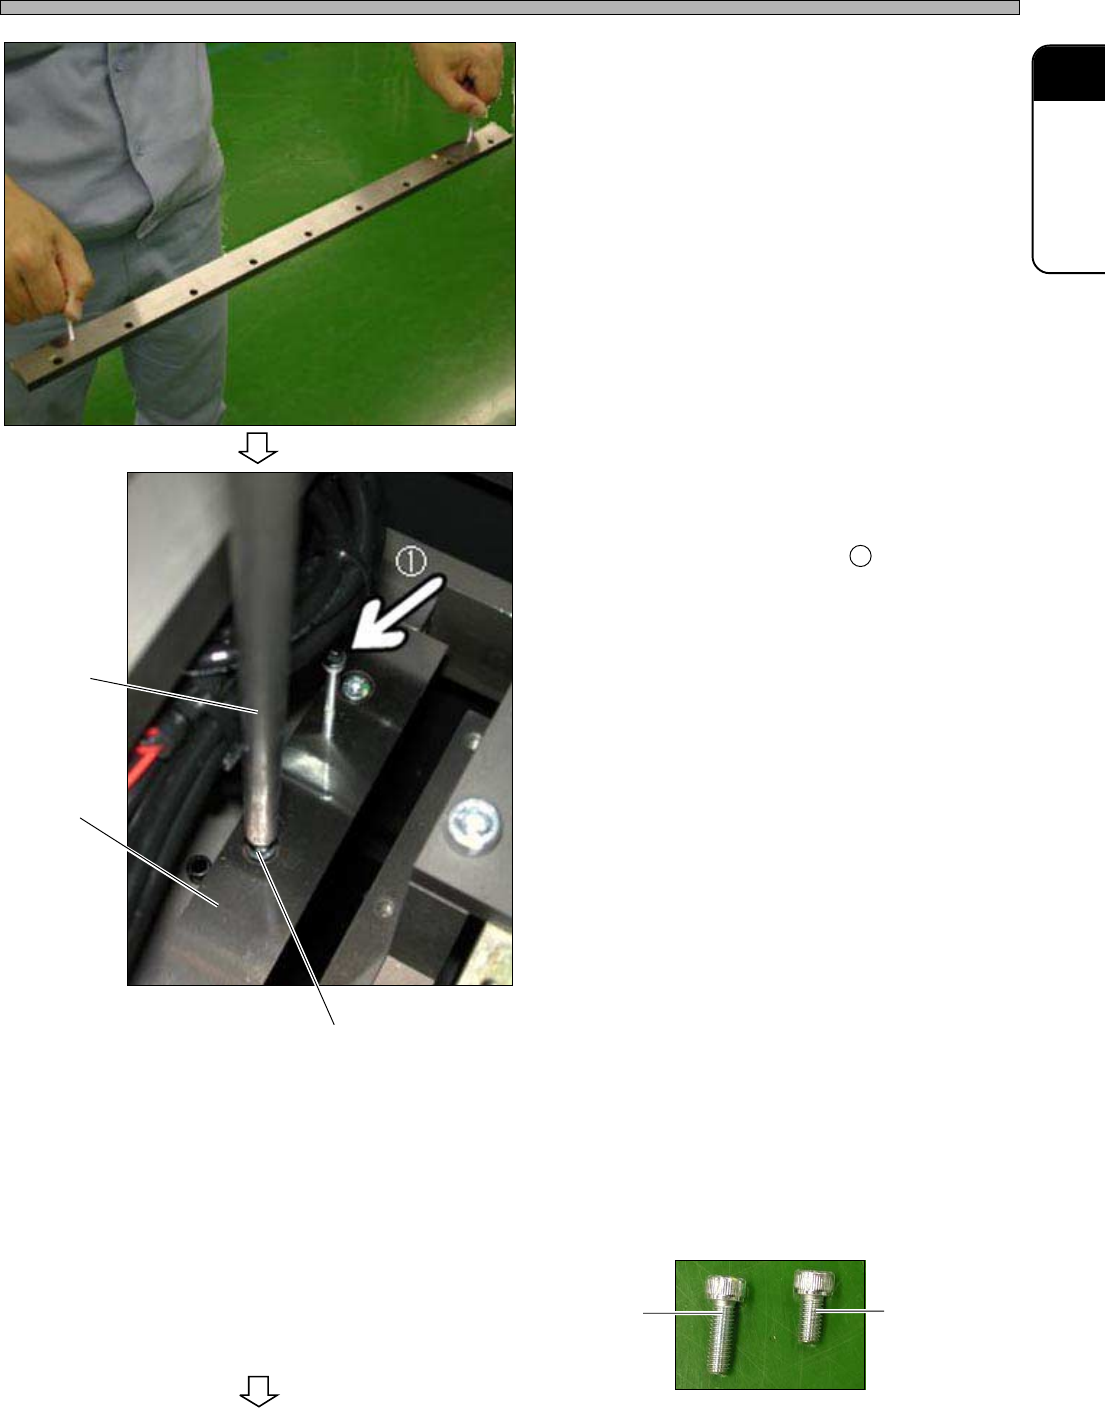
Movable
blade
4H4C-519P
For movable
blade
For fixed blade
4H4C-520P
Fixing bolt
To the next page
10. Remove the fixed blade holding the
bolt for lifting.
11. Remove the bolt for lifting from the
fixed blade, set it to the movable
blade. (See the picture 1 on the left)
12. Remove the fixing bolt by using the
exclusive tool.
∗ Take care not to drop the blade when removing
the last bolt.
13. Remove the movable blade holding
the bolt for lifting.
14. Set the blot for lifting to the new
movable blade.
15. Insert the movable blade holding the
bolt for lifting.
16. Set the fixing bolt, and tighten it
lightly.
∗ Take care of the length of the bolt.

Page 1-80
444C-E-MMA01-A09-04
Check Every 6000 Hours (Once a Year)
To the next page
17. Press the movable blade against the
spring pin on the front side.
∗ At this time, take care not to touch the blade
parts.
18. Tighten the fixing bolt by using the
exclusive tool.
19. Remove the bolt for lifting.
20. Set the bolt for lifting to the new fixed
blade.
21. Insert the fixed blade holding the bolt
for lifting.
22. Set the fixing bolt, and tighten it
lightly.
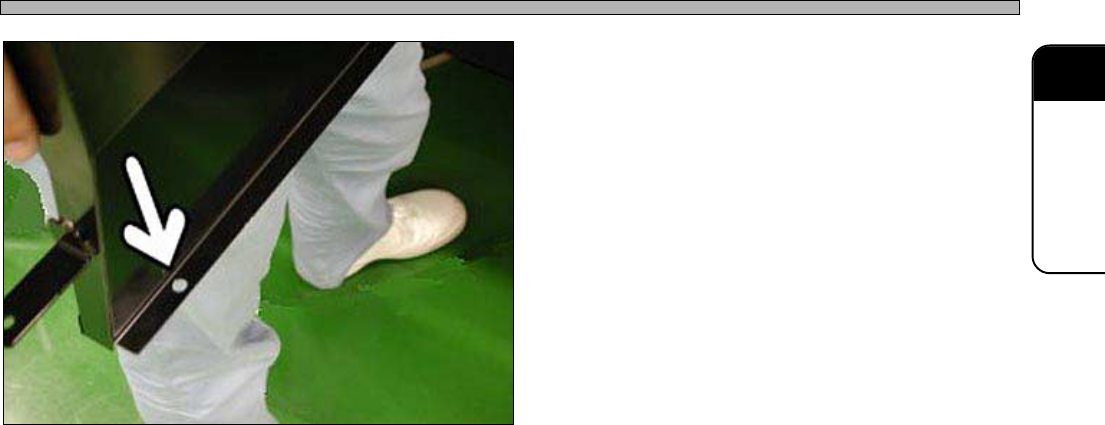
23. Press the fixed blade against the
frame on the inner side.
∗ At this time, take care not to touch the blade
parts.
24. Tighten the fixing bolt by using the
exclusive tool.
25. Remove the bolt for lifting, and set
the cover positioning bolt.
26. Apply grease to the fixed blade and
movable blade.
[Grease: Stamina Grease RL2]
Page 1-81
REGULAR
MAINTENANCE
1
444C-E-MMA01-A09-04
Check Every 6000 Hours (Once a Year)
27. Return the chute to the original posi-
tion.
• Adjust the position so that the positioning bolt
will fit to the 2 positioning holes of the chute
(See the picture).
28. Set the 3 fixing bolt, tighten it.
29. Open the air valve.
30. Operate the regulator, set to the regu-
lated pressure.
31. Turn ON the power. And turn OFF/ON
the cutter on the screen of the output
test, and check the abnormal noise.
4H4C-518P