444CEMM1 - 第150页
Page 1-88 444C-E-MMA01-A09-05 Check Every 12000 Hours (Once T wo Y ears) 1-8-2 XY Unit : Replacing (Replacing Kit) the V alve (For Select ing the Nozzle, For the Cylinder) The bad motion owing to the abrasion of the valv…

Page 1-87
REGULAR
MAINTENANCE
1
444C-E-MMA01-A09-04
Check Every 12000 Hours (Once Two Years)
4. Wipe out the flange dirt on the pack-
ing or setting part at the lower part of
the valve with a soft cloth soaked with
alcohol.
5. Align the packing with the bolt hole of
the new valve, and set it to the flange.
∗ Fasten the bolt adding the power of 0.15 N•m.
6. Connect the wiring of the valve to a
new one.
7. Turn ON the power.
Checking the vacuum pressure
“1-5-1 Cleaning the Lubricating the
Transfer Head 2. Checking the vacuum
pressure”
444C-497P
444C-498P
444C-499P
Page 1-88
444C-E-MMA01-A09-05
Check Every 12000 Hours (Once Two Years)
1-8-2 XY Unit : Replacing (Replacing Kit) the Valve (For Select
ing the Nozzle, For the Cylinder)
The bad motion owing to the abrasion of the valve leads to the bad motion of the cylinder, and
occurs the miss of the picking and mounting. So regular replacement is required.
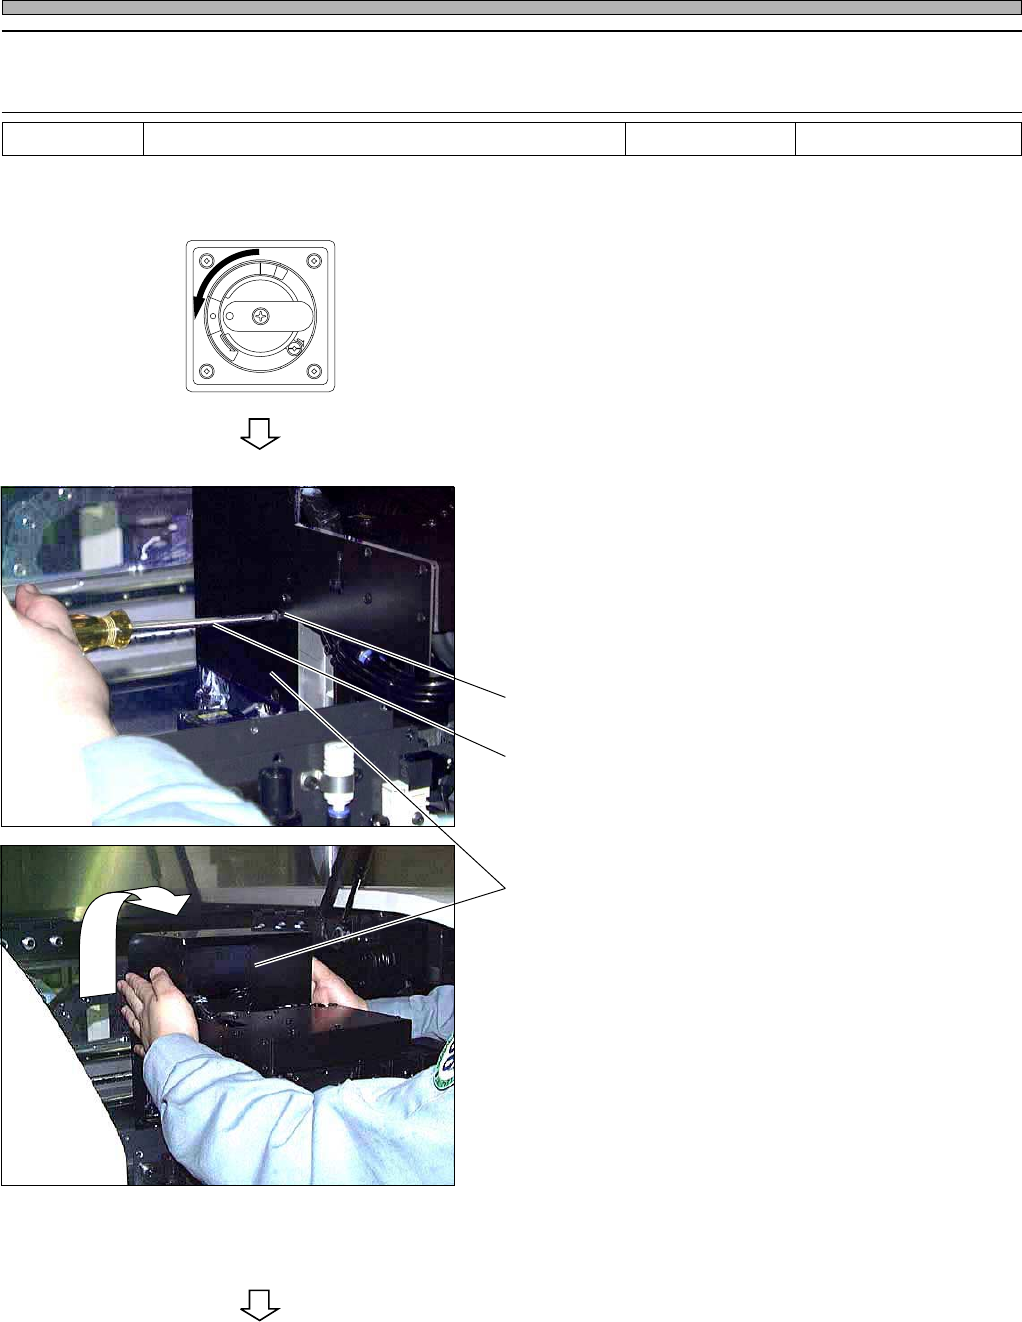
1. Turn OFF the power.
2. Release the main air.
3. Remove the head cover.
∗ Remove the screw setting the head cover by
using the philips driver.
To the next page
Tools Philips driver, allen wrench Required time 30 minutes
R
E
L
E
A
S
E
T
R
I
P
O
F
F
O
N
R
E
S
E
T
444C-436P
444C-437P
Philips driver
Head cover
444C-412E
Screw
Page 1-89
REGULAR
MAINTENANCE
1
444C-E-MMA01-A09-03
Check Every 12000 Hours (Once Two Years)
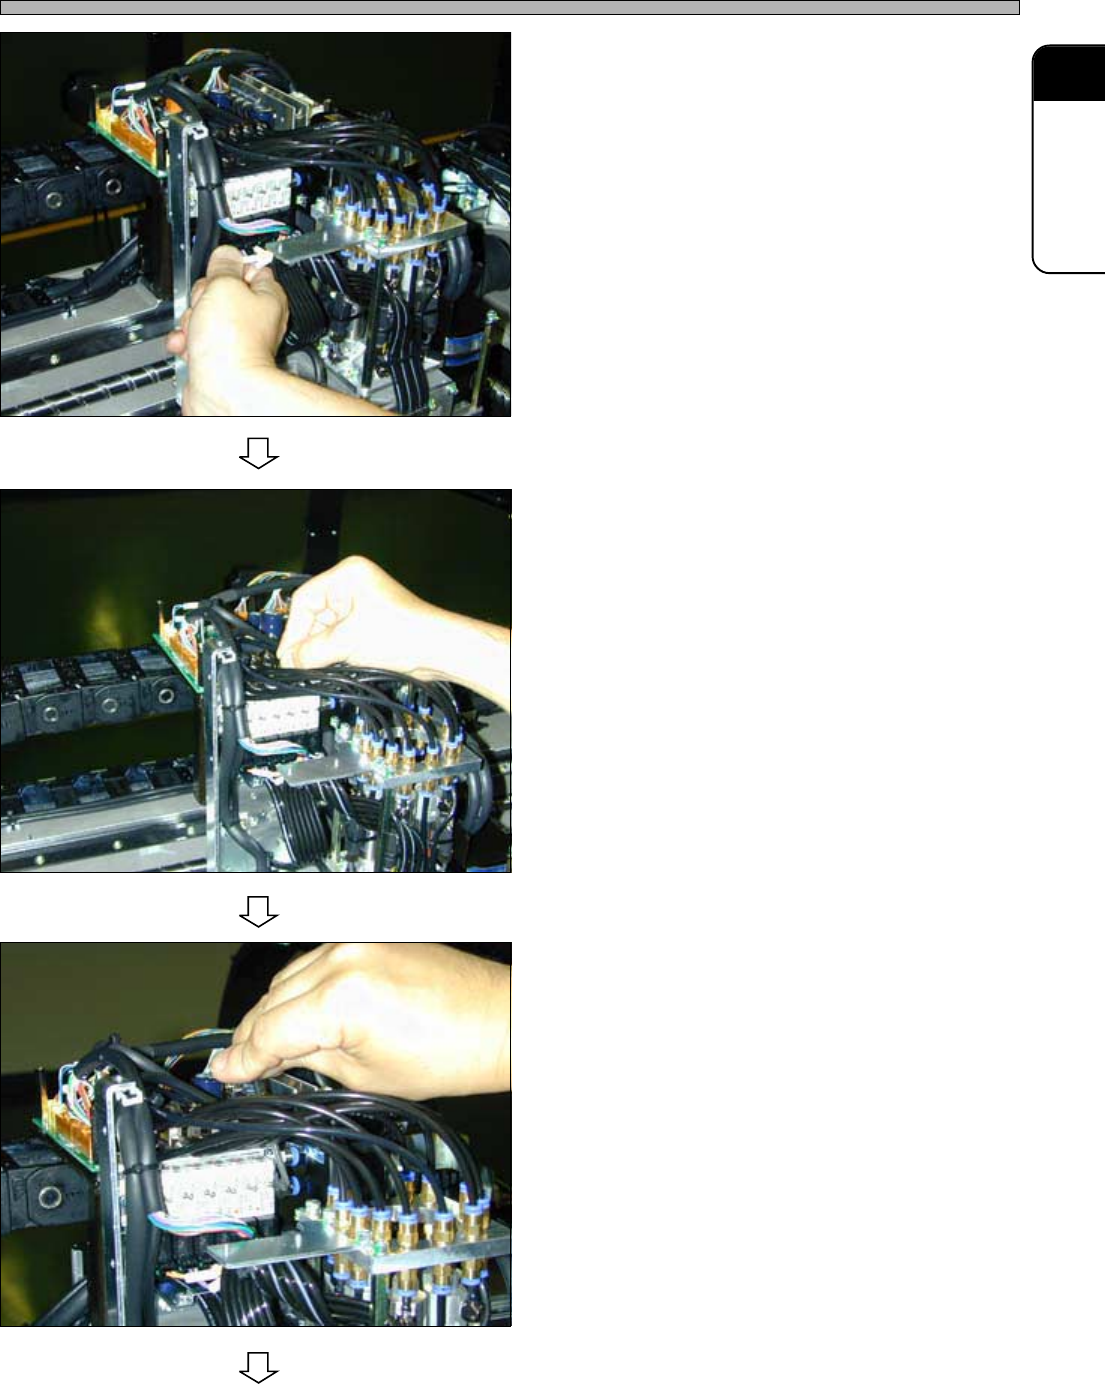
4. Remove the wiring connected to the
valve.
∗ Write down the setting position and wiring
name. The setting working will be smooth.
5. Remove the pipe (tube) connected to
the valve (manifold).
∗ Write down the setting position and order. The
setting work will be smooth.
6. Remove the 2 bolt setting the bulb
(manifold).
7. Replace it with a new valve, and fix it
by the valve.
To the next page
444C-500P
444C-501P
444C-502P