00193688-03.pdf - 第79页
Installation and Configuration Guide SIPLACE Explorer 4 Configuration Edition 02/2005 EN 4.1 Standard Monitoring Application (SMA) 79 → Click on the Edit button to enable the entry fields. The following details can be de…
4 Configuration Installation and Configuration Guide SIPLACE Explorer
4.1 Standard Monitoring Application (SMA) Edition 02/2005 EN
78
NOTE
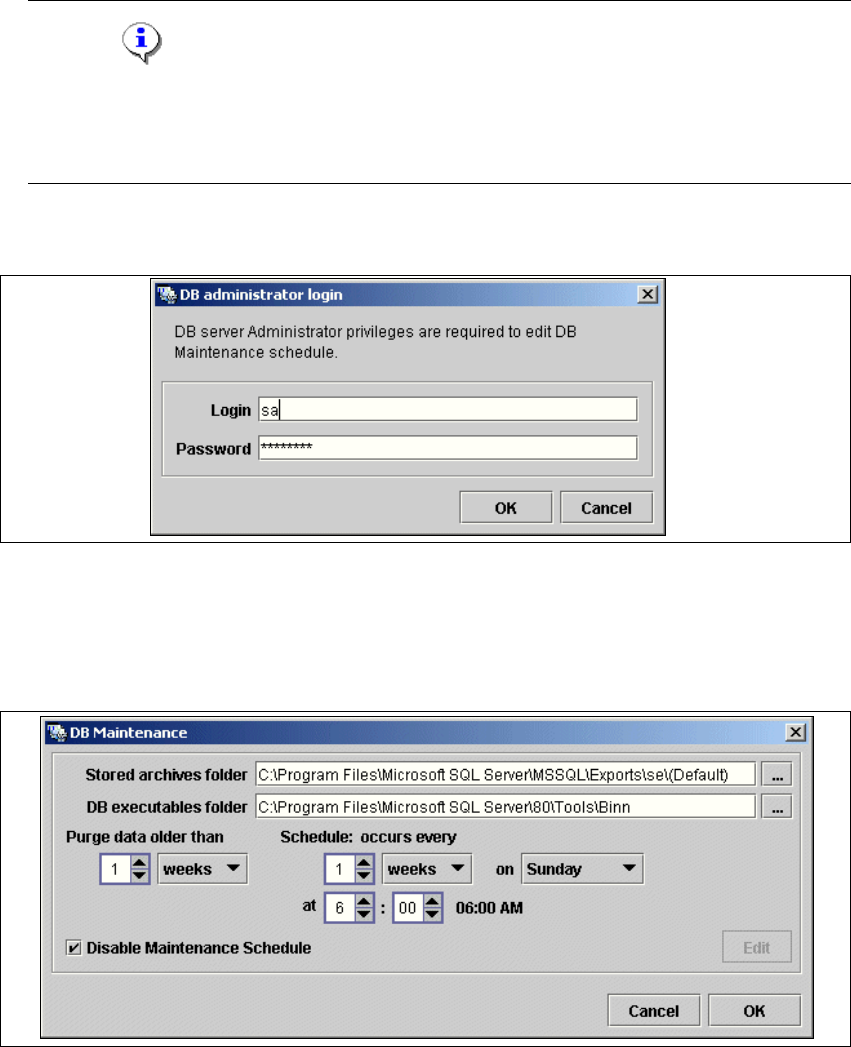
Please note, that to start or edit a DB maintenance schedule, the user must have
administrator privileges for the database and the database connection must already be
established. 4
→ to open the DB Administrator Login dialog box.
4
Fig. 4 - 16 DB administrator login
→ Enter the access data here and confirm your entries with OK.
→ The DB Maintenance dialog box will open. This is where you can either create a new
archiving schedule for the database or edit the default maintenance schedule.
4
Fig. 4 - 17 DB maintenance

Installation and Configuration Guide SIPLACE Explorer 4 Configuration
Edition 02/2005 EN 4.1 Standard Monitoring Application (SMA)
79
→ Click on the Edit button to enable the entry fields. The following details can be defined:
– The file and path for the archived data
– A schedule specifying the intervals and times when data is to be removed from the line
system database and stored in the archive.
– When to execute the maintenance schedule.
– The archiving schedule defined here will be stored in the database and can be called up
when required.
→ You must start the SQL server agent for the MSDE or MS SQL server installation, otherwise
the DB maintenance schedule can not be performed.
→ Once you have defined all settings in Step 5, click on Next to continue with the next step.
NOTE
Remember to regular perform a database backup for the line database. This can be carried out
with the database tool on your computer e.g. with the Enterprise Manager for the MS SQL server.4
4 Configuration Installation and Configuration Guide SIPLACE Explorer
4.1 Standard Monitoring Application (SMA) Edition 02/2005 EN
80
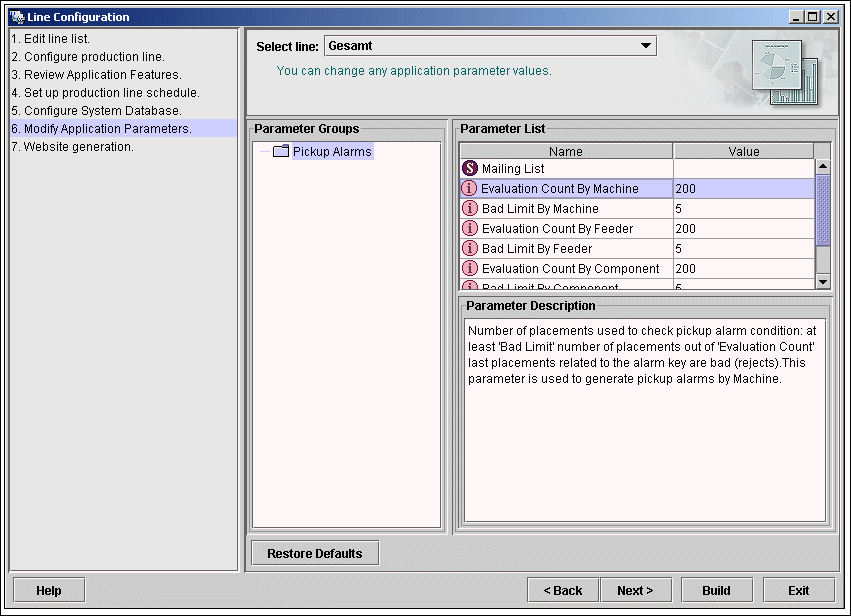
4.1.1.7 Step 6 - Modify Application Parameters
→ Parameters for the application you have created can be checked and edited here.
4
Fig. 4 - 18 Step 6: modify application parameters
→ Once you have made all modifications, click on Next to continue with the next step.