bnp-b2365(eng)b.pdf - 第349页
6. Troubleshooting 6 - 44 6-3-4 Parameter numbers during initial parameter error If an initial parameter error (alarm 37) occurs, t he alarm and th e number of the parameter that may have been set exceeding the setting r…
6. Troubleshooting
6 - 43
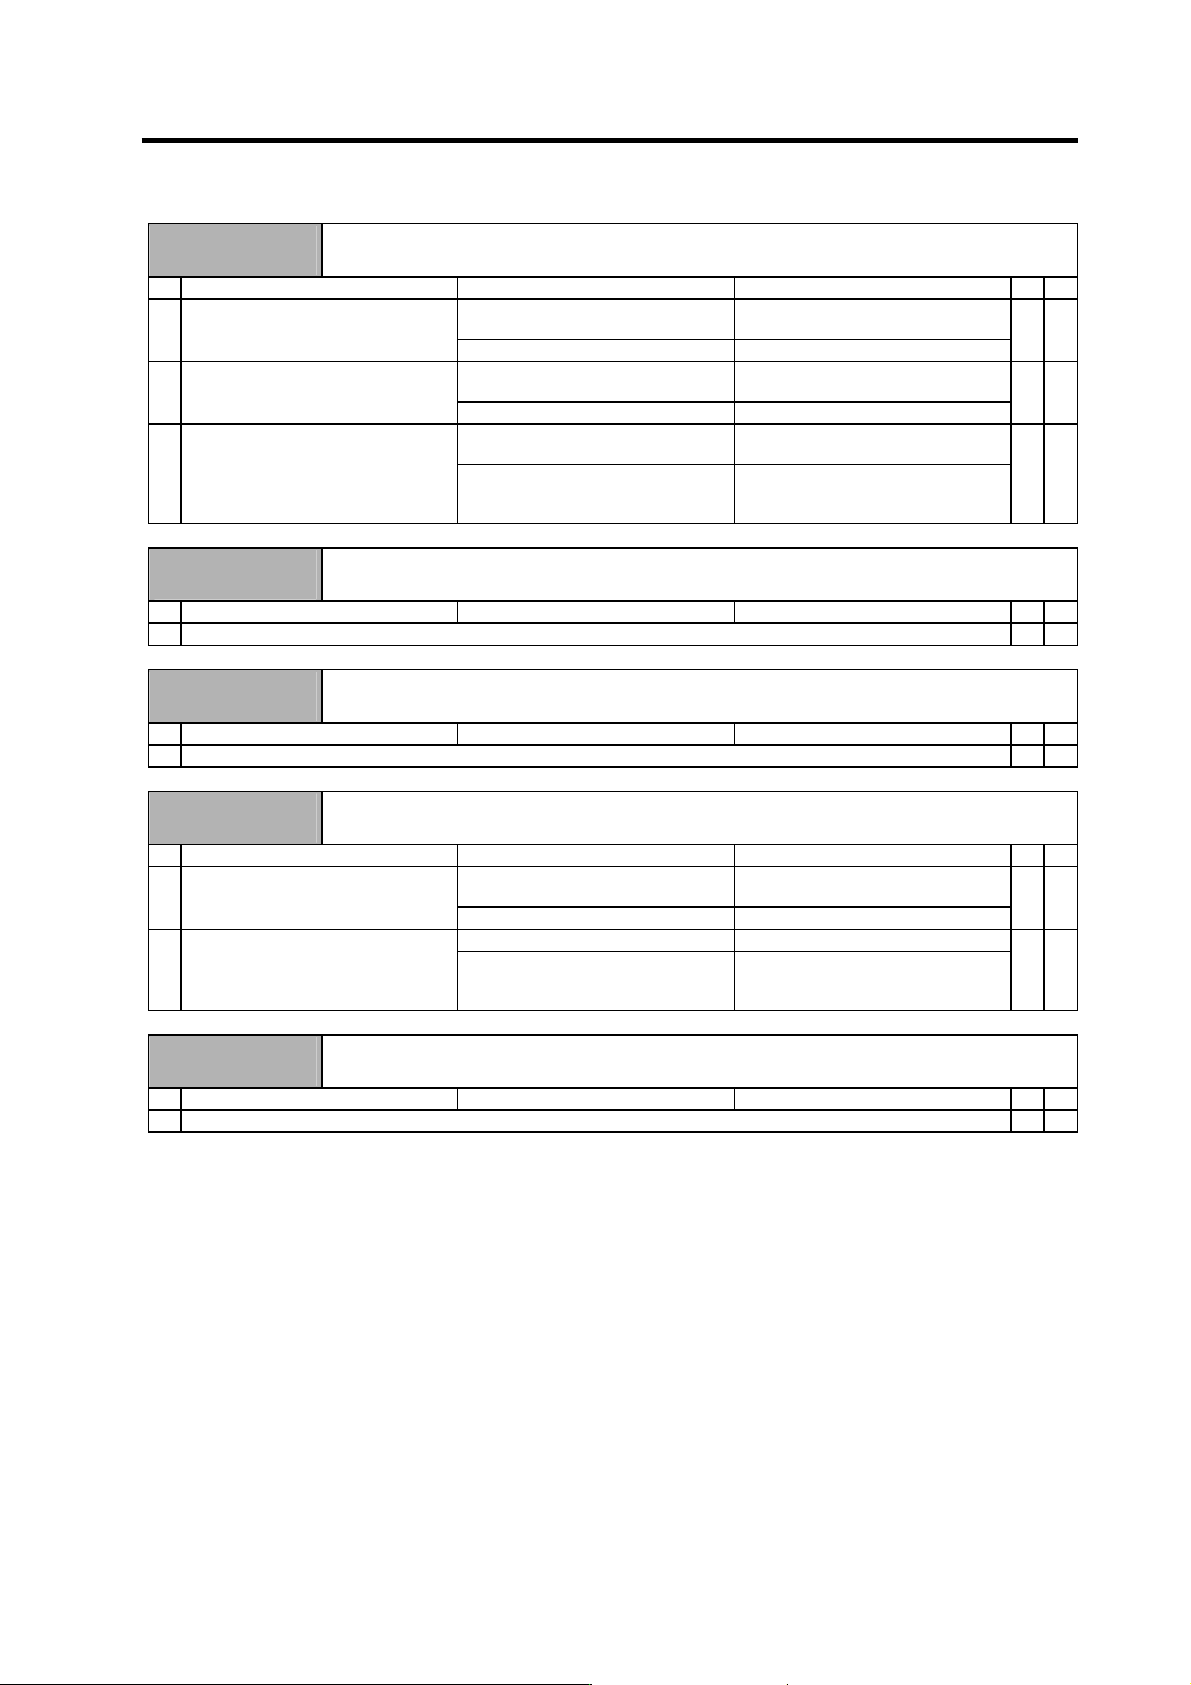
Warning No.
E7
NC emergency stop
Emergency stop was input from the NC.
Investigation details Investigation results Remedies SV SP
Emergency stop was input. The NC is in the emergency stop
state. (Normal)
1 Check whether NC emergency stop
was input.
Emergency stop was not input. Investigate item 2.
{ {
An alarm is occurring in another drive
unit.
Reset the alarm in the other drive
unit.
2 Check whether an alarm is occurring
in another drive unit.
An alarm is not occurring. Investigate item 3.
{ {
The terminator or battery unit's cable
is disconnected.
Correctly connect. 3 Check the NC communication bus
line.
The NC communication bus
connector (CN1A, CN1B) is loose, or
the cable is broken.
Correctly connect the cable.
{ {
Warning No.
E8
Auxiliary regeneration frequency over
Regeneration at the power supply performance limit is occurring frequently.
Investigation details Investigation results Remedies
CV CR
1 Check the alarm No. "75" items.
{
Warning No.
E9
Instantaneous power failure warning
An instantaneous power failure occurred.
Investigation details Investigation results Remedies
CV CR
1 Check the alarm No. "71" items.
{
Warning No.
EA
External emergency stop
The external emergency stop signal was input.
Investigation details Investigation results Remedies
CV CR
Use not allowed. Invalidate the external emergency
stop.
1 Check whether the specifications
allow use of the external emergency
stop.
Use is allowed. Investigate item 2.
{
24V is input. Replace the power supply unit. 2 Measure the input voltage of the
CN23 connector. (While emergency
stop is cancelled.)
24V is not input. Check whether the external
emergency stop cable is broken, or
check the external contact operation.
{
Warning No.
EB
Over-regeneration warning
The over-regeneration level is 80% or more.
Investigation details Investigation results Remedies
CV CR
1 Check the alarm No. "73" items.
{
6. Troubleshooting
6 - 44
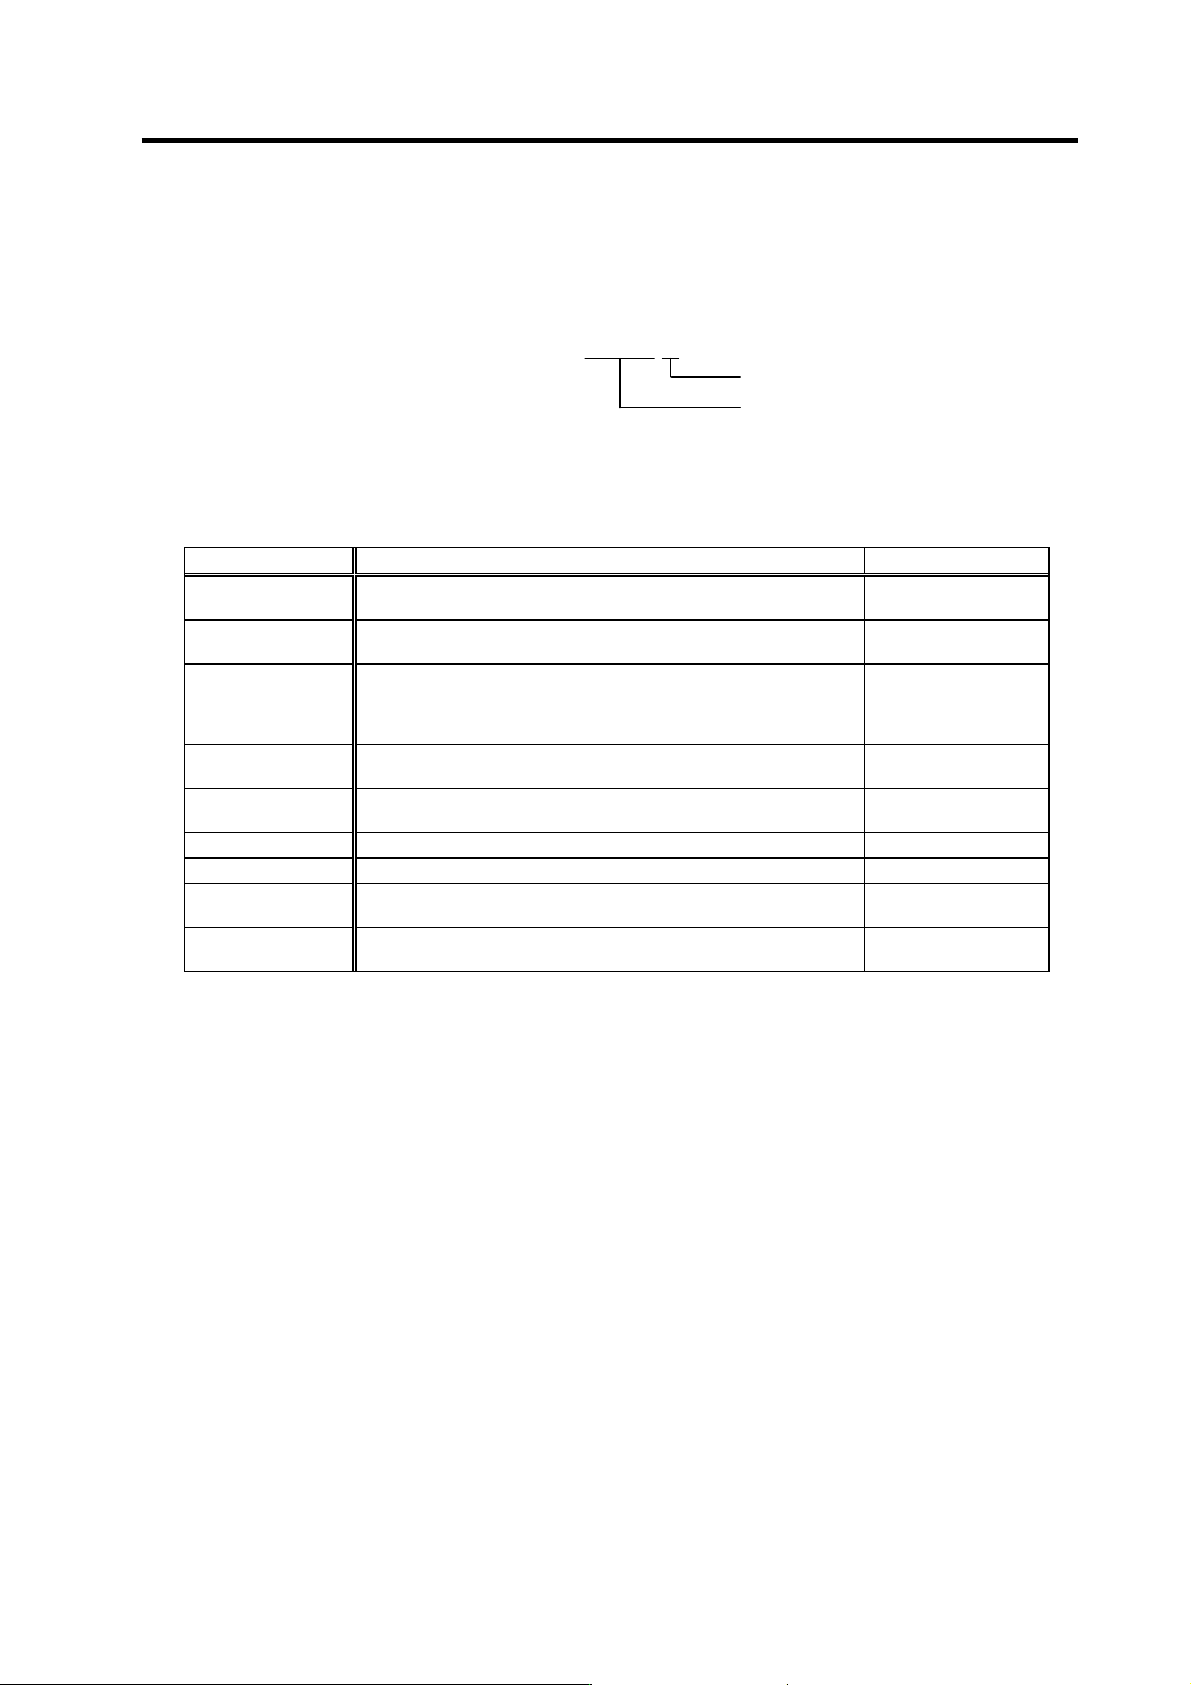
6-3-4 Parameter numbers during initial parameter error
If an initial parameter error (alarm 37) occurs, the alarm and the number of the parameter that may
have been set exceeding the setting range will appear on the CNC Diagnosis screen. (For M60S, E60
Series NC.)
S02 Initial parameter error {{{{
Axis name
Error pa rameter
If an error number larger than the servo parameter number is displayed for the servo drive unit
(MDS-C1-V1/V2), the alarm is occurring for several related parameters. Refer to the following table,
and correctly set the parameters.
Error parameter No. Details Related parameters
2269 The CNC setting maximum rapid traverse rate value is incorrect.
The CNC system software may be illegal. Turn the power ON again.
NC setting
rapid
2271 The CNC setting maximum cutting speed setting value is incorrect.
The CNC system software may be illegal. Turn the power ON again.
NC setting
clamp
2301 The following settings are overflowing.
Electronic gears
Position loop gain
Speed feedback
SV001, SV002 SV003,
SV018
SV019, SV020
SV049
2302 The absolute position parameter is valid when OSE104 and OSE105
are connected.
SV017, SV025
2303 The servo option is not available.
The closed loop or dual feedback control function is set.
SV025, SV017
2304 The servo option is not available. The SHG control function is set. SV057, SV058
2305 The servo option is not available. The adaptive filter function is set. SV027
2306 The servo option is not available. The MP scale absolute position
function is set.
SV017
2308 The valid/invalid setting of the 4th or 5th notch filter is changed from
the initial setting.
SV087, SV088
6. Troubleshooting
6 - 45
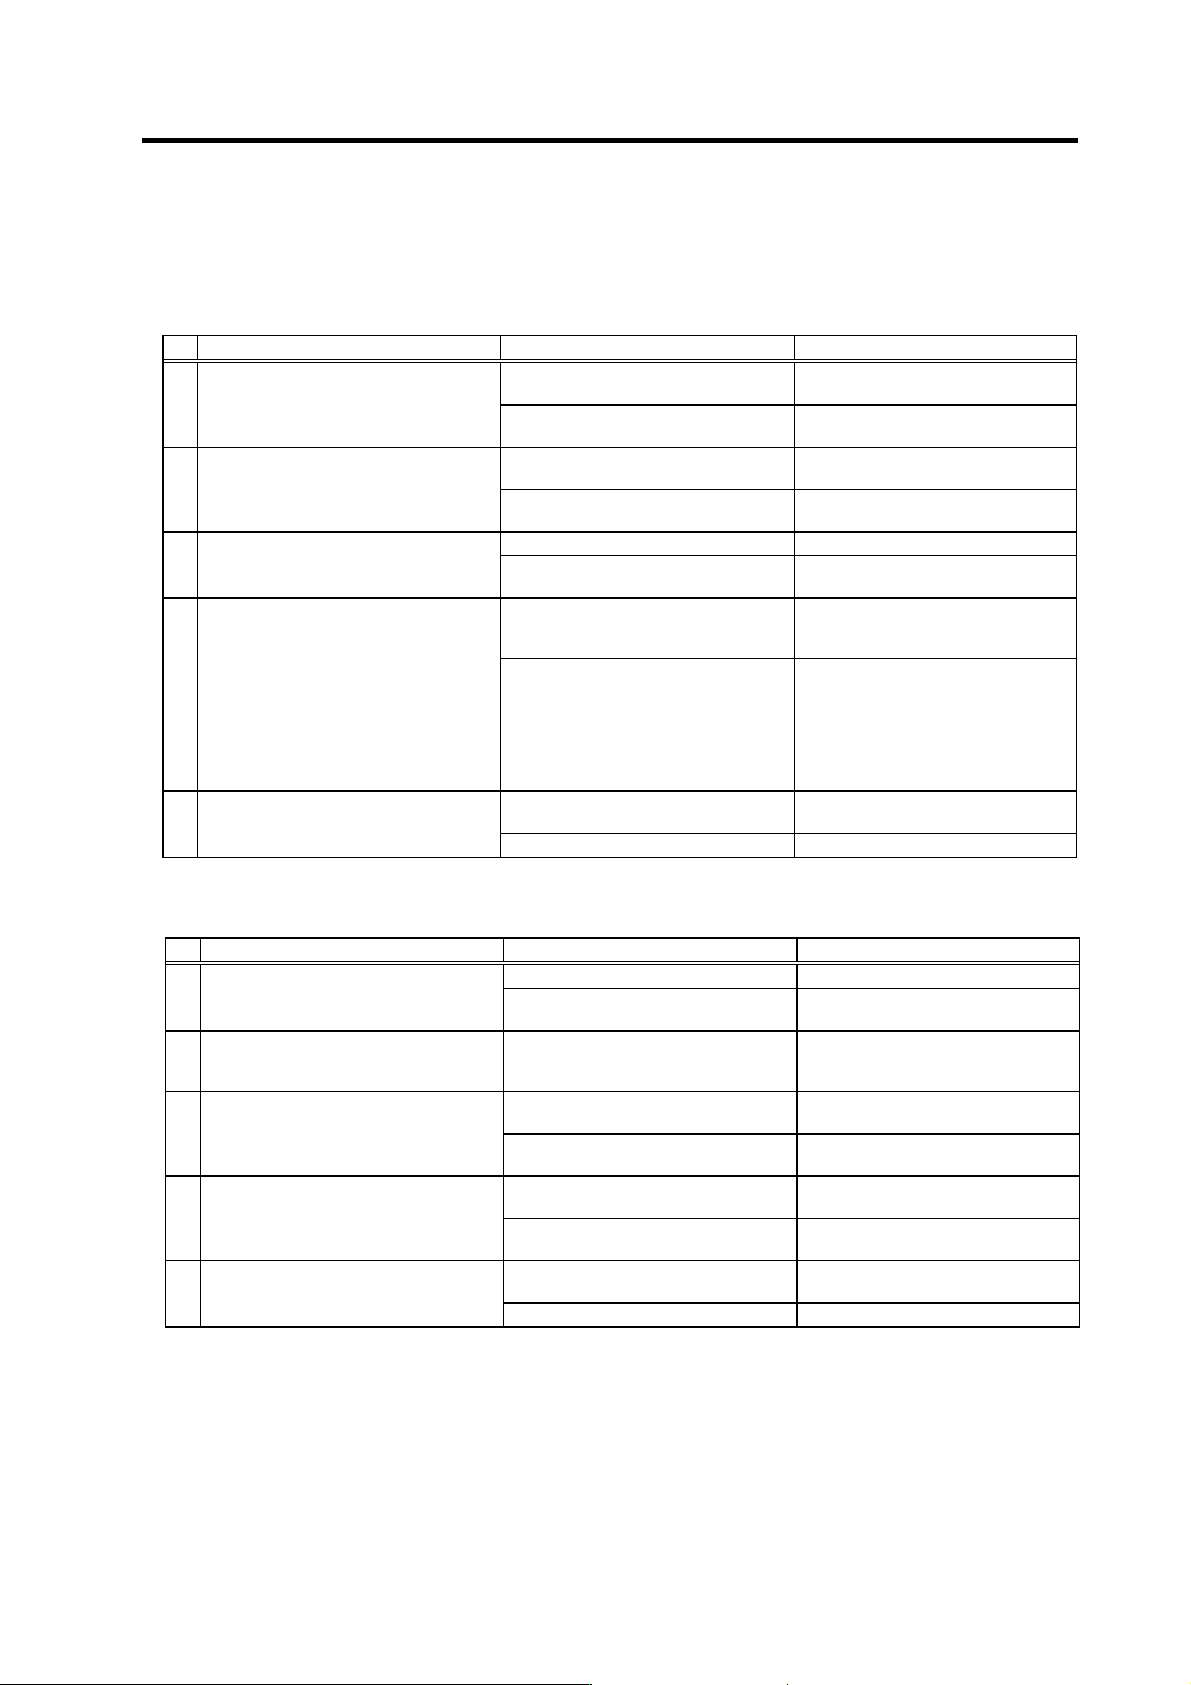
6-3-5 Troubleshooting the spindle system when there is no alarm or warning
If an abnormality is observed in the spindle system but no alarm or warning has occurred, refer to the
following table and check the state.
[1] No abnormality is displayed, but the motor does not rotate.
Investigation item Investigation results Remedies
The wiring is incorrect, the screws are
loose, or the cables are disconnected.
Correctly wire. Correctly tighten the
screws. Replace the cables.
1
Check the wiring around the spindle drive
unit.
Also check for loosening in the terminal
screws and disconnec- tions, etc.
No particular problems found.
Investigate investigation item 2 and
remedy.
The voltage is exceeding the
specification value.
Restore the power to the correct state.
2 Check the input voltage.
The voltage is within the specification
value.
Investigate investigation item 3 and
remedy.
The correct values are not set. Set the correct values.
3 Check all of the spindle parameters.
The correct values are set.
Investigate investigation item 4 and
remedy.
The signals are not input or the
sequence is incorrect.
The orientation command is input.
Correct the input signals.
4
Check the input signals.
• Are the READY, forward run and
reverse run signals input?
• In particular, the forward run and
reverse run signals must be input at
least one second after READY is
turned ON.
• Check whether the forward run and
reverse run signals are turned ON
simultaneously.
No particular problems found.
Investigate investigation item 5 and
remedy.
The speed command is not input
correctly.
Input the correct speed command.
5 Check the speed command.
The speed command is input correctly. Replace the unit.
[2] No fault is displayed, but the motor only rotates slowly, or a large noise is heard from the
motor.
Investigation item Investigation results Remedies
The wires are not connected correctly. Correctly connect.
1
Check the U, V and W wiring between the
spindle drive unit and motor.
The wires are connected correctly.
Investigate investigation item 2 and
remedy.
2 Check the input voltage.
One of the three phases is not within the
specification value.
No particular problems found.
Restore the power to the correct state.
Investigate investigation item 3 and
remedy.
The speed command is not input
correctly.
Check the NC and PLC sequence.
3 Check the speed command.
The speed command is input correctly.
Investigate investigation item 4 and
remedy.
The connector is disconnected (or
loose).
Correctly connect the connector.
4
Tug on the connector by hand to check
whether the speed detector connector
(drive unit side and speed detector side)
is loose.
The connector is not disconnected (or
loose).
Investigate investigation item 5 and
remedy.
The connection is faulty or disconnected.
Replace the detector cable.
Correct the connection.
5
Turn the power OFF, and check the
connection of the speed detector cable
with a tester.
The connection is normal. Replace the drive unit.