Service Manual SIPLACE SmartFeeder.pdf - 第172页
8 Repairs to SmartFeeder 2x8 mm X / Xi 8.1 Front sliding guide/sliding foil 172 Service Manual SIPLACE SmartFeeder 4 - 8 mm X / Xi SIPLACE SmartFeeder 2 x 8 mm X / Xi 11/2020 8.1 Front sliding guide/sliding foil Spare pa…

8 Repairs to SmartFeeder 2x8 mm X / Xi
Service Manual SIPLACE SmartFeeder 4 - 8 mm X / Xi SIPLACE SmartFeeder 2 x 8 mm X / Xi 11/2020 171
8 Repairs to SmartFeeder 2x8 mm X / Xi
Feeder module Item no. Description
SmartFeeder 2x8mmX 00141269-xx SIPLACE SmartFeeder 2x8 mm X
00141289-xx SIPLACE SmartFeeder 2x8mm X splice sensor
SmartFeeder 2x8 mm X 00141479-03 SIPLACE SmartFeeder 2x8mm Xi
00141499-03 SIPLACE SmartFeeder 2x8mm Xi splice
Notes about SmartFeeder Xi
The SmartFeederXi feeder modules support high infeed speeds for maximum utilization of the
machine placement capacity with the SIPLACE SpeedStar CP20P2 placement head.
The corrugated slide on the back of the SmartFeeder is a clear identifying feature of the Smart-
Feeder Xi.
SIPLACE Pro shows the SmartFeederXi as a SmartFeederX. If a CP20P2 head is used in the
setup, SIPLACE Pro automatically assumes that a SmartFeederXi is being used. The maximum
speed of a SmartFeederXi depends on the placement head which uses this feeder module.
The station software also shows a SmartFeederXi as a SmartFeederX. If a faster SmartFeederXi
is needed for performance purposes (machine with CP20P2 head), although a slower Smart-
FeederX is configured, the feeder LED will flash briefly, to signal the status "Not fast enough". The
station software will mark this feeder orange with the status "Too slow".
The SmartFeeder 2x8mmXi feeder module can be operated at any machine which can already
accommodate the SmartFeeder 2x8mmX. The SmartFeeder 2x8mmXi can also be operated with
older station software versions 7xx.x.
For more information about introducing the SmartFeederXi, refer to the technical information "In-
troducing the SmartFeeder modules Xi" (German [TI2018-09D14], English [TI201809E14]).
8 Repairs to SmartFeeder 2x8 mm X / Xi
8.1 Front sliding guide/sliding foil
172 Service Manual SIPLACE SmartFeeder 4 - 8 mm X / Xi SIPLACE SmartFeeder 2 x 8 mm X / Xi 11/2020
8.1 Front sliding guide/sliding foil
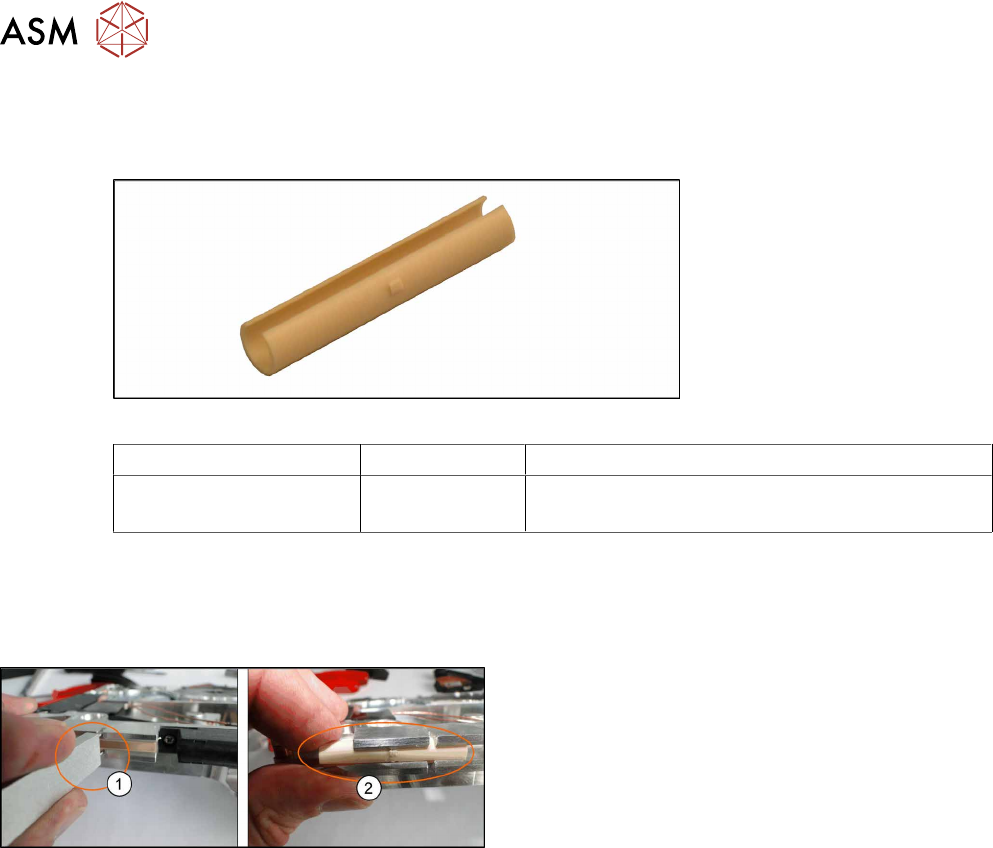
Spare part required
Fig.55: Sliding foil X-Feeder
Feeder module Item no. Designation
SmartFeeder 2x8mmX
SmartFeeder 2x8mmXi
03019604Sxx Front sliding guide
Tools required
●
Sliding foil remover
8.1.1 Removing the Sliding Foil
► Place the feeder on a stable, level and clean sur-
face.
► Insert the sliding foil remover into the sliding
guide.(1)
► Lever the sliding foil out of the engaged position.
► Lever the sliding foil until it has been turned by
approximately90°.
► Push the sliding foil towards the front and out of
the sliding guide.(2)
8.1.2 Fitting the Sliding Foil
► Press the sliding foil slightly together.
► Push the sliding foil from the front into the sliding guide, until it engages.
8 Repairs to SmartFeeder 2x8 mm X / Xi
8.2 Rear Sliding Guide
Service Manual SIPLACE SmartFeeder 4 - 8 mm X / Xi SIPLACE SmartFeeder 2 x 8 mm X / Xi 11/2020 173
8.2 Rear Sliding Guide
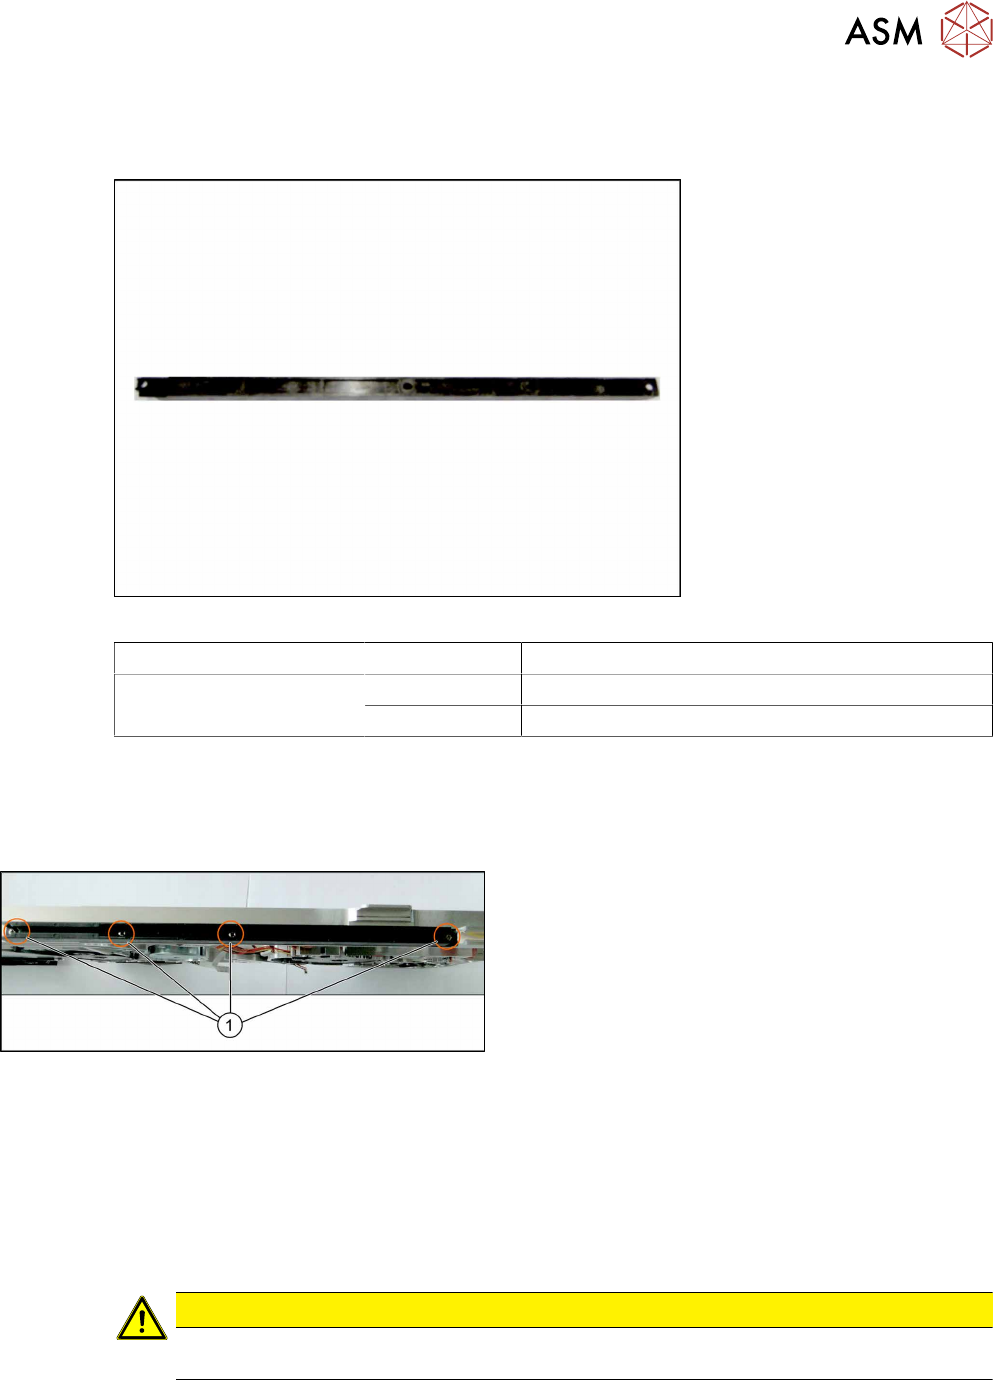
Spare part required
Fig.56: Rear sliding guide L200
Feeder module Item no. Designation
SmartFeeder 2x8mmX
SmartFeeder 2x8mmXi
03003994Sxx Rear sliding guide L200
03010209-xx ISO 7045 - M2.5 x 6-A2-50-H
Tools required
●
Phillips screwdriver 0.6Nm
8.2.1 Removing the Rear Sliding Guide
► Place the feeder on a stable, level and clean sur-
face.
► Loosen the 4 screws(1) on the sliding guide.
► Lift the sliding guide up at the back and pull
upwards and off.
8.2.2 Fitting the Rear Sliding Guide
► Push the left part of the rear sliding guide as far as possible towards the front sliding guide,
and into the recess.
► Now lower the two snap tabs of the guiding slide into the openings provided on the underside
of the feeder module.
► Screw the sliding guide onto the bottom of the feeder module. Use the 03010209-xx ISO7045
- M2.5x 6-A2-50-H screws for this.
CAUTION
► To prevent damage to the pin wheel, make sure that the pickup window is fitted for
this work.