YSD_Users_E.pdf - 第260页
5-71 5 Creating the board data n ”All Setting Dialog” command TIP The task from steps 4 to 6 can be per formed at one time. From the T ool menu, select "Dot Dispense" - "All Setting Dialog" and make t…
5-70
5
Creating the board data
3
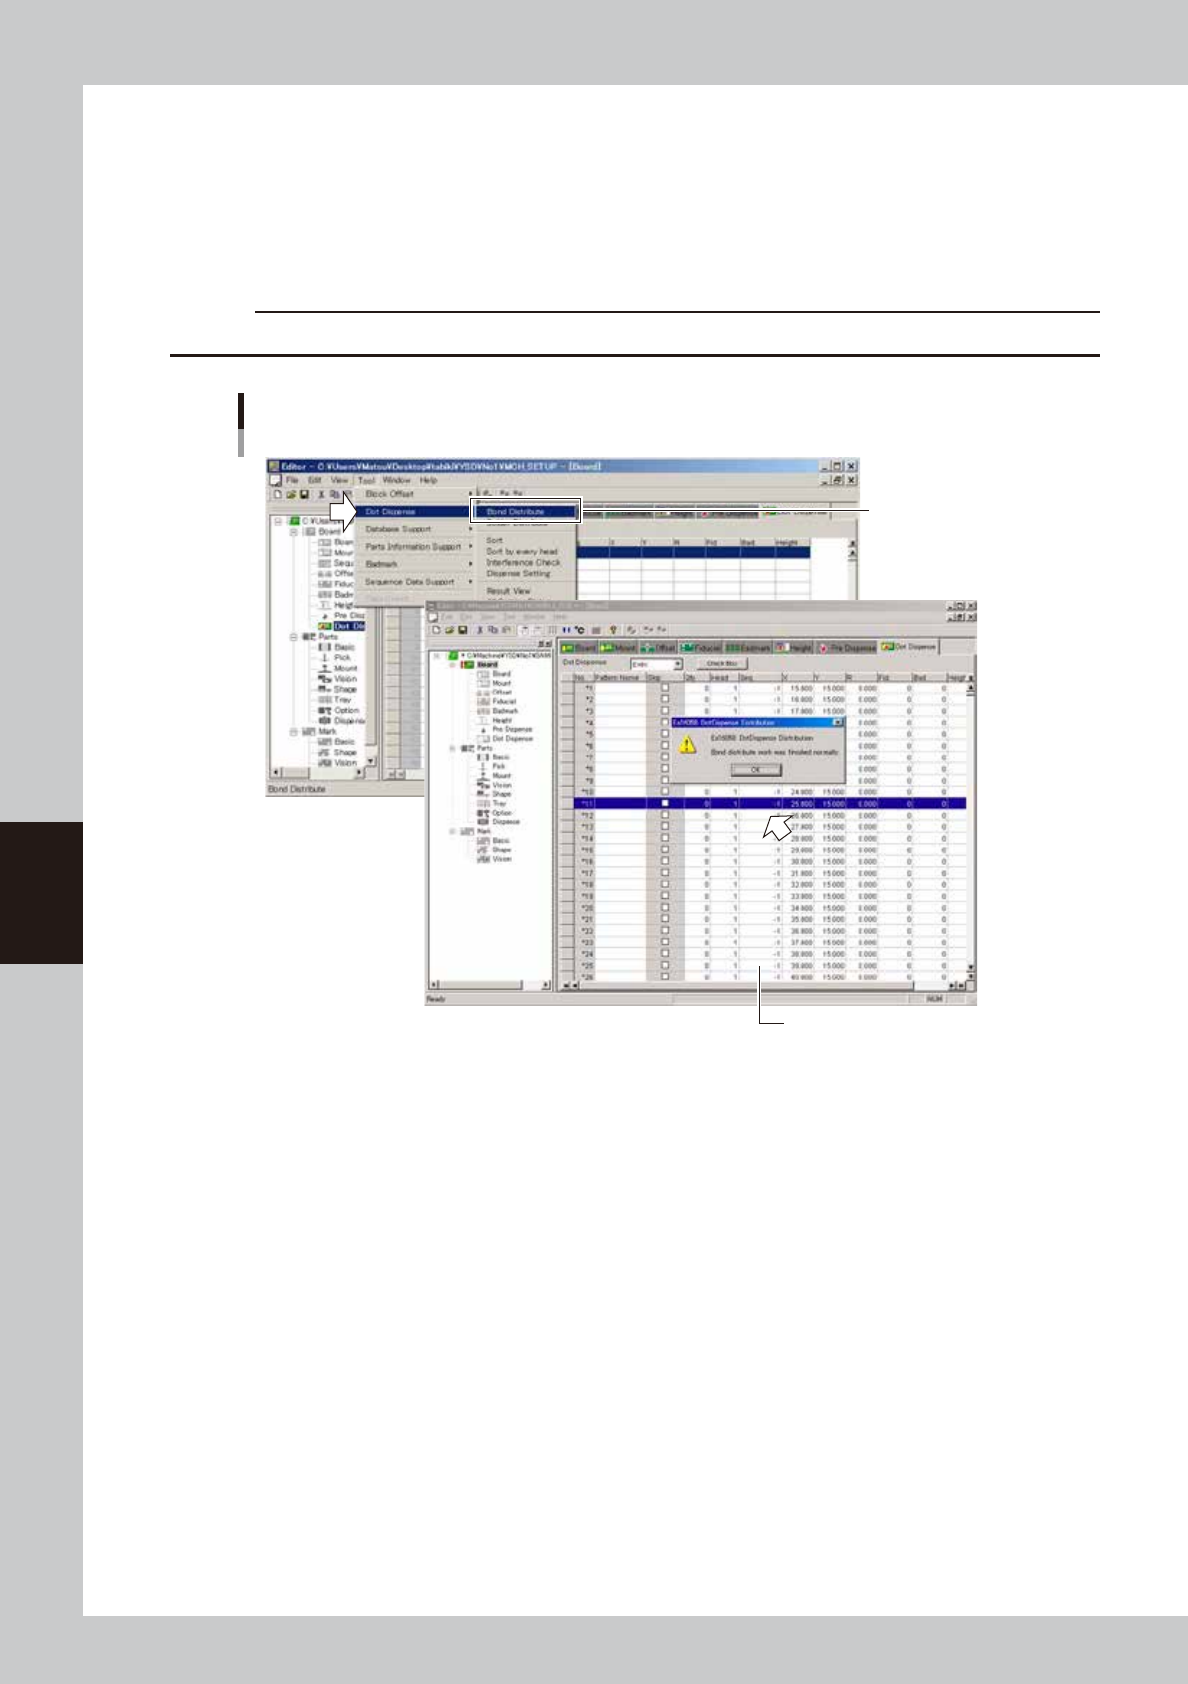
Display the dot dispense parameters.
Click the Dot Dispense icon in the tree view (left pane) or click the [Dot Dispense] tab in the main view
(right pane).
4
Perform dispense distribution.
From the [Edit] menu, select [Dispense Distribute] - [Bond Distribute] or [Solder Distribute].
Dispense distribution will start and dispense coordinates will be created according to the mount data.
c
CAUTION
Performing dispense distribution will overwrite the dispense data which is in effect before dispense distribution.
Dispense Distribution
Select eithter command.
DIstributed data is displayed.
64544-N7-00
5
Sort the dispense coordinates.
From the Tool menu, select "Dispense Distribute" - "Sort" or "Sort at every head".
If you are going to check alignment amount, select [Sort at every head].
6
Perform an interference check.
From the Tool menu, select "Dispense Distribute" - "Interference Check".
Check whether the stopper steps on dispensed dots. If such a possibility exists, the related data rows will
be displayed, so correct them.
5-71
5
Creating the board data
n
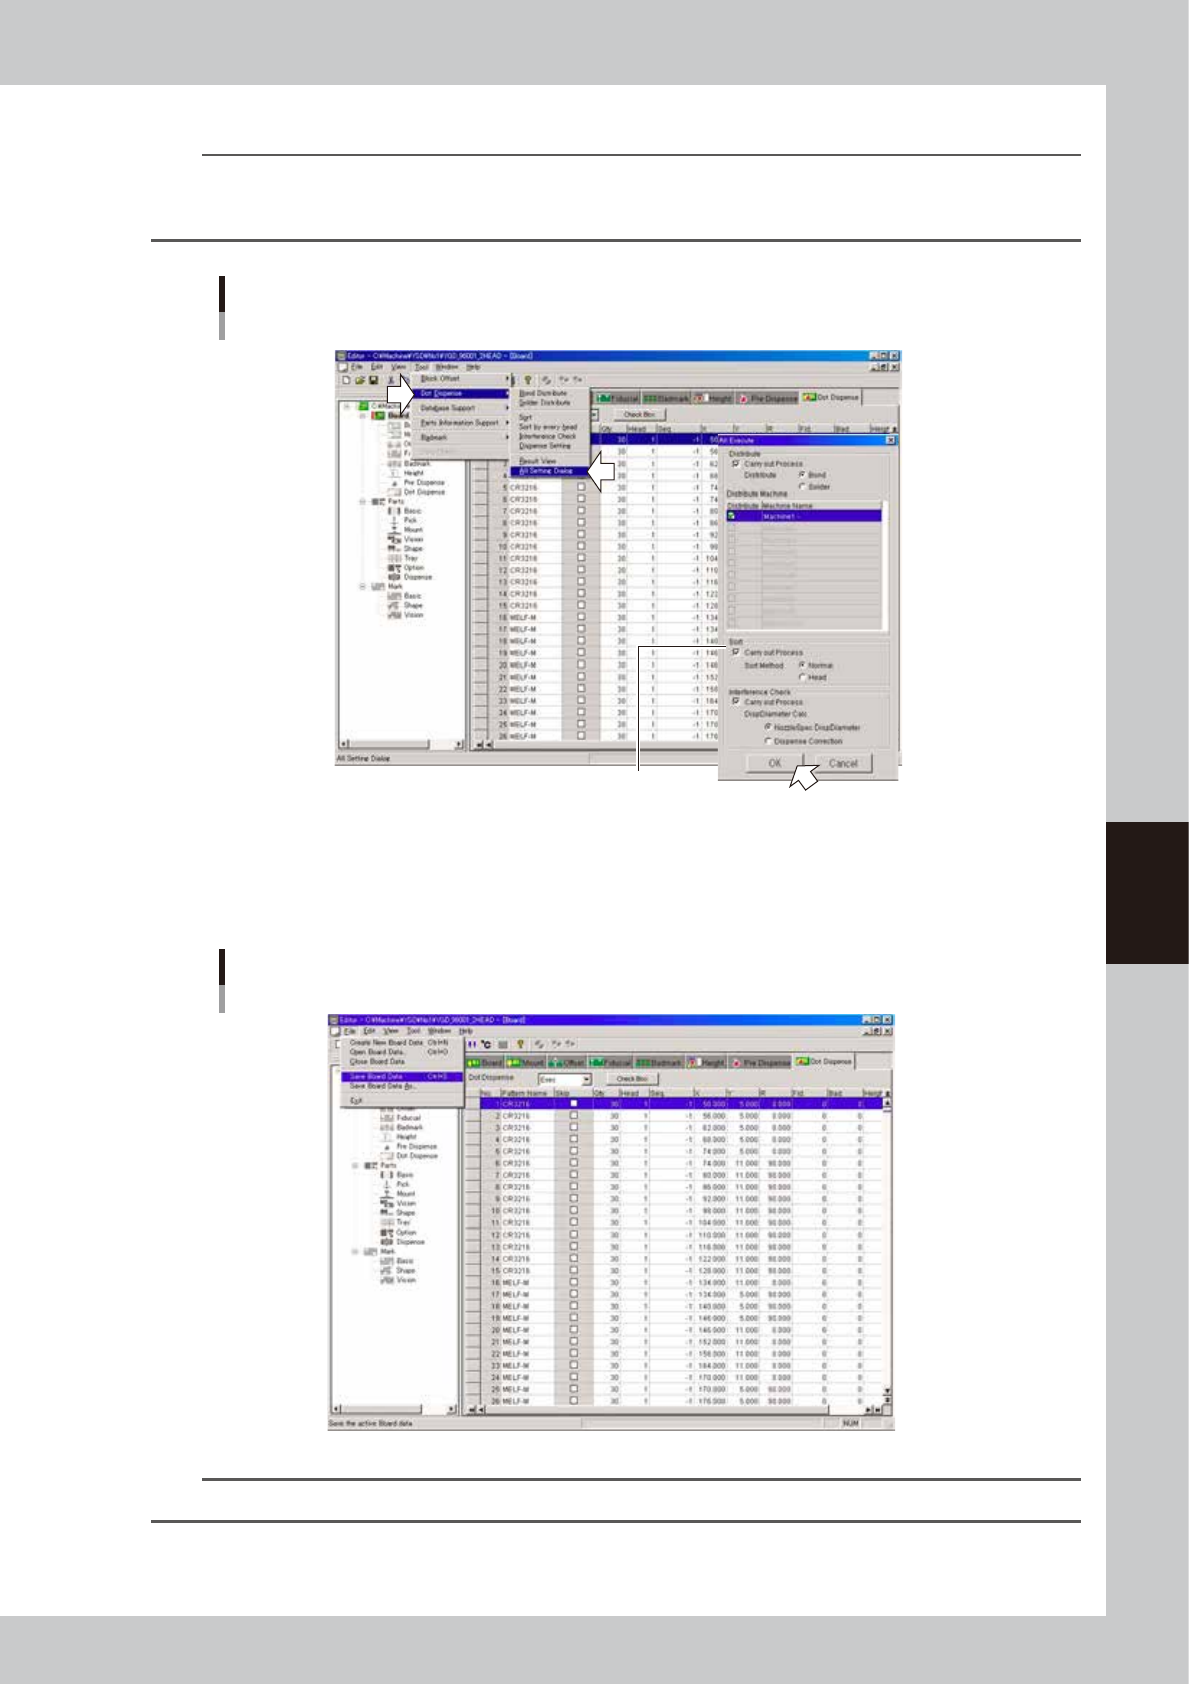
”All Setting Dialog” command
TIP
The task from steps 4 to 6 can be performed at one time.
From the Tool menu, select "Dot Dispense" - "All Setting Dialog" and make the necessary settings in the dialog box that
appears and click the [OK] button.
Dispense distribution
Selecting "All Setting Dialog" command
Select the option buttons as needed.
64545-N7-00
7
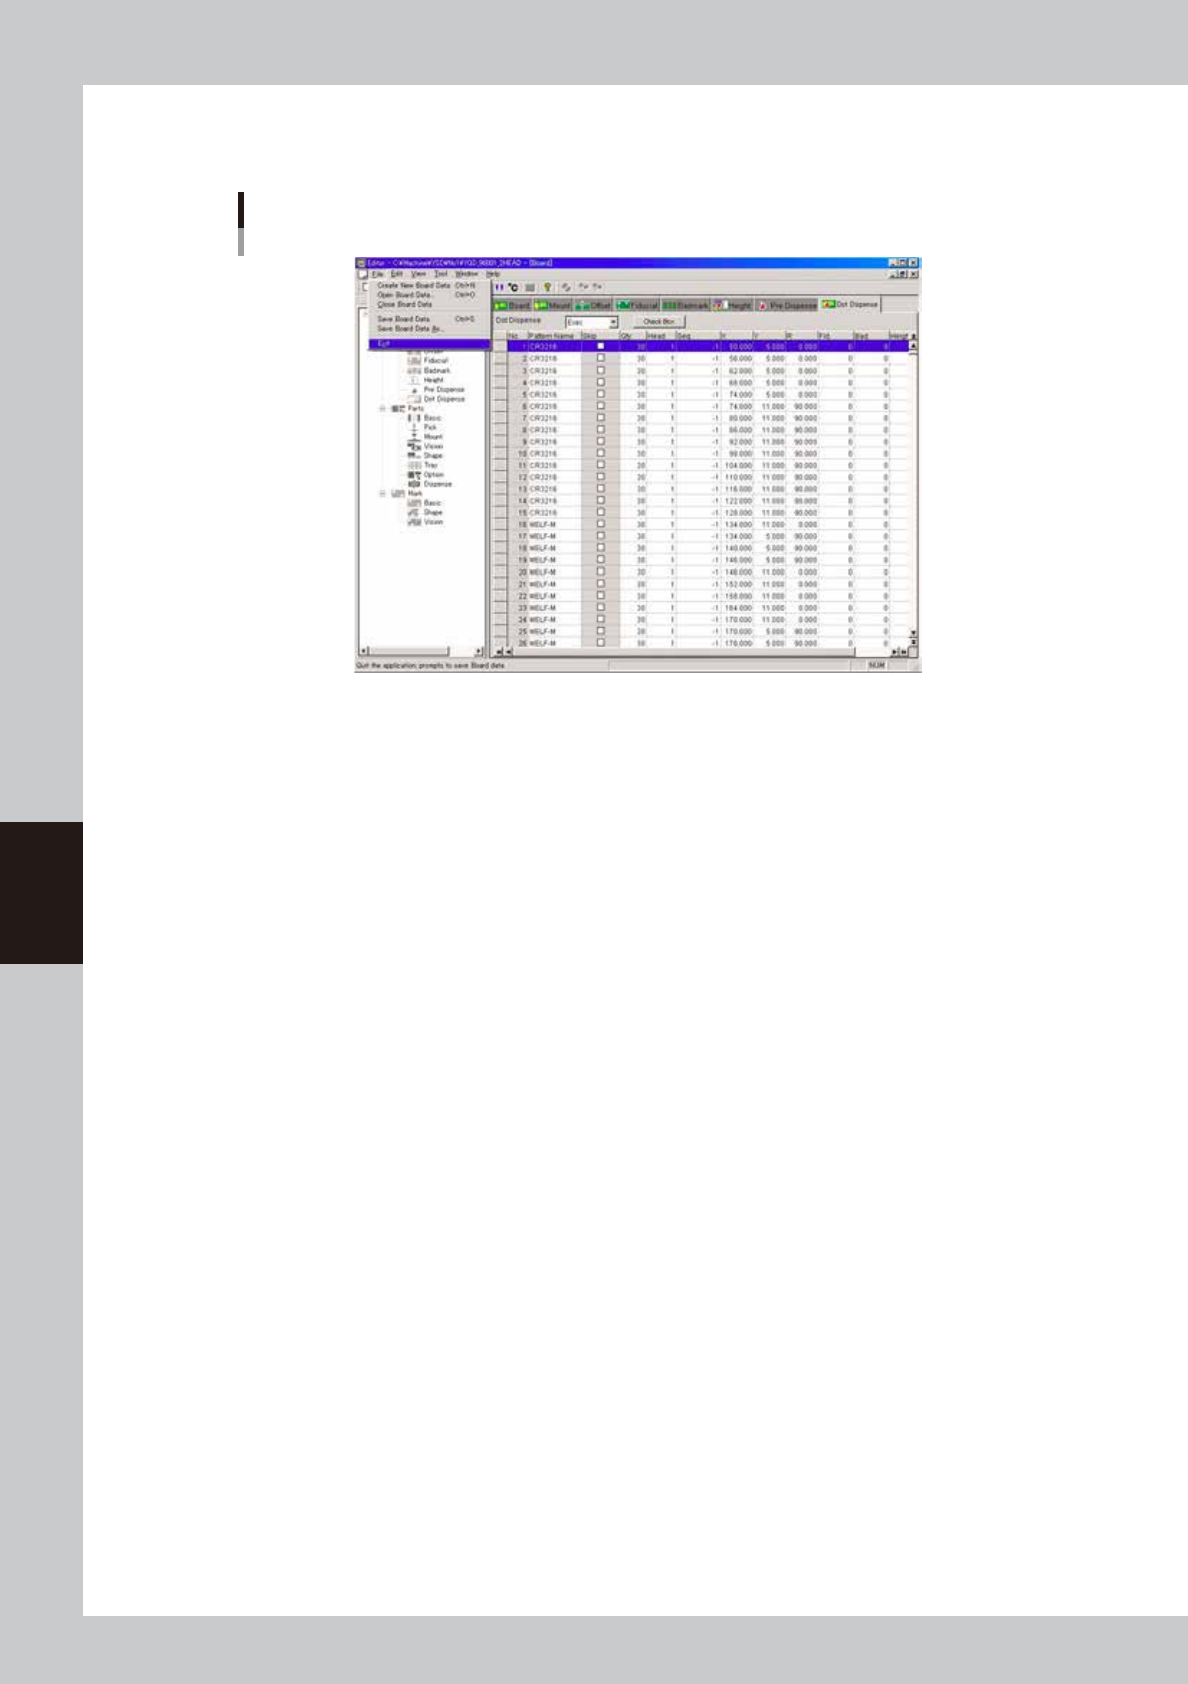
Save the board data and quit the Editor.
1. Select "Save Board Data" from the File menu or click the [Save Board Data] button on the toolbar.
The board data is saved and the existing board data is overwritten.
"Save Board Data" command
64546-N7-00
TIP
If you do not want the existing board data to be overwritten, select "Save Board Data As…" from the File menu.
5-72
5
Creating the board data
2. Select "Exit" from the File menu.
The Editor window closes.
Exiting the Editor
64547-N7-00