YSD_Users_E.pdf - 第269页
Chapter 6 Using the advanced functions Contents 1. Setup parameters 6-1 1.1 Halfway Continue function 6-1 1.1.1 Loading the saved data 6-2 1.1.2 Editing mount flags 6-2 2. T each and trace 6-3 2.1 T race function 6-3 2.2…
5-79
5
Creating the board data
6
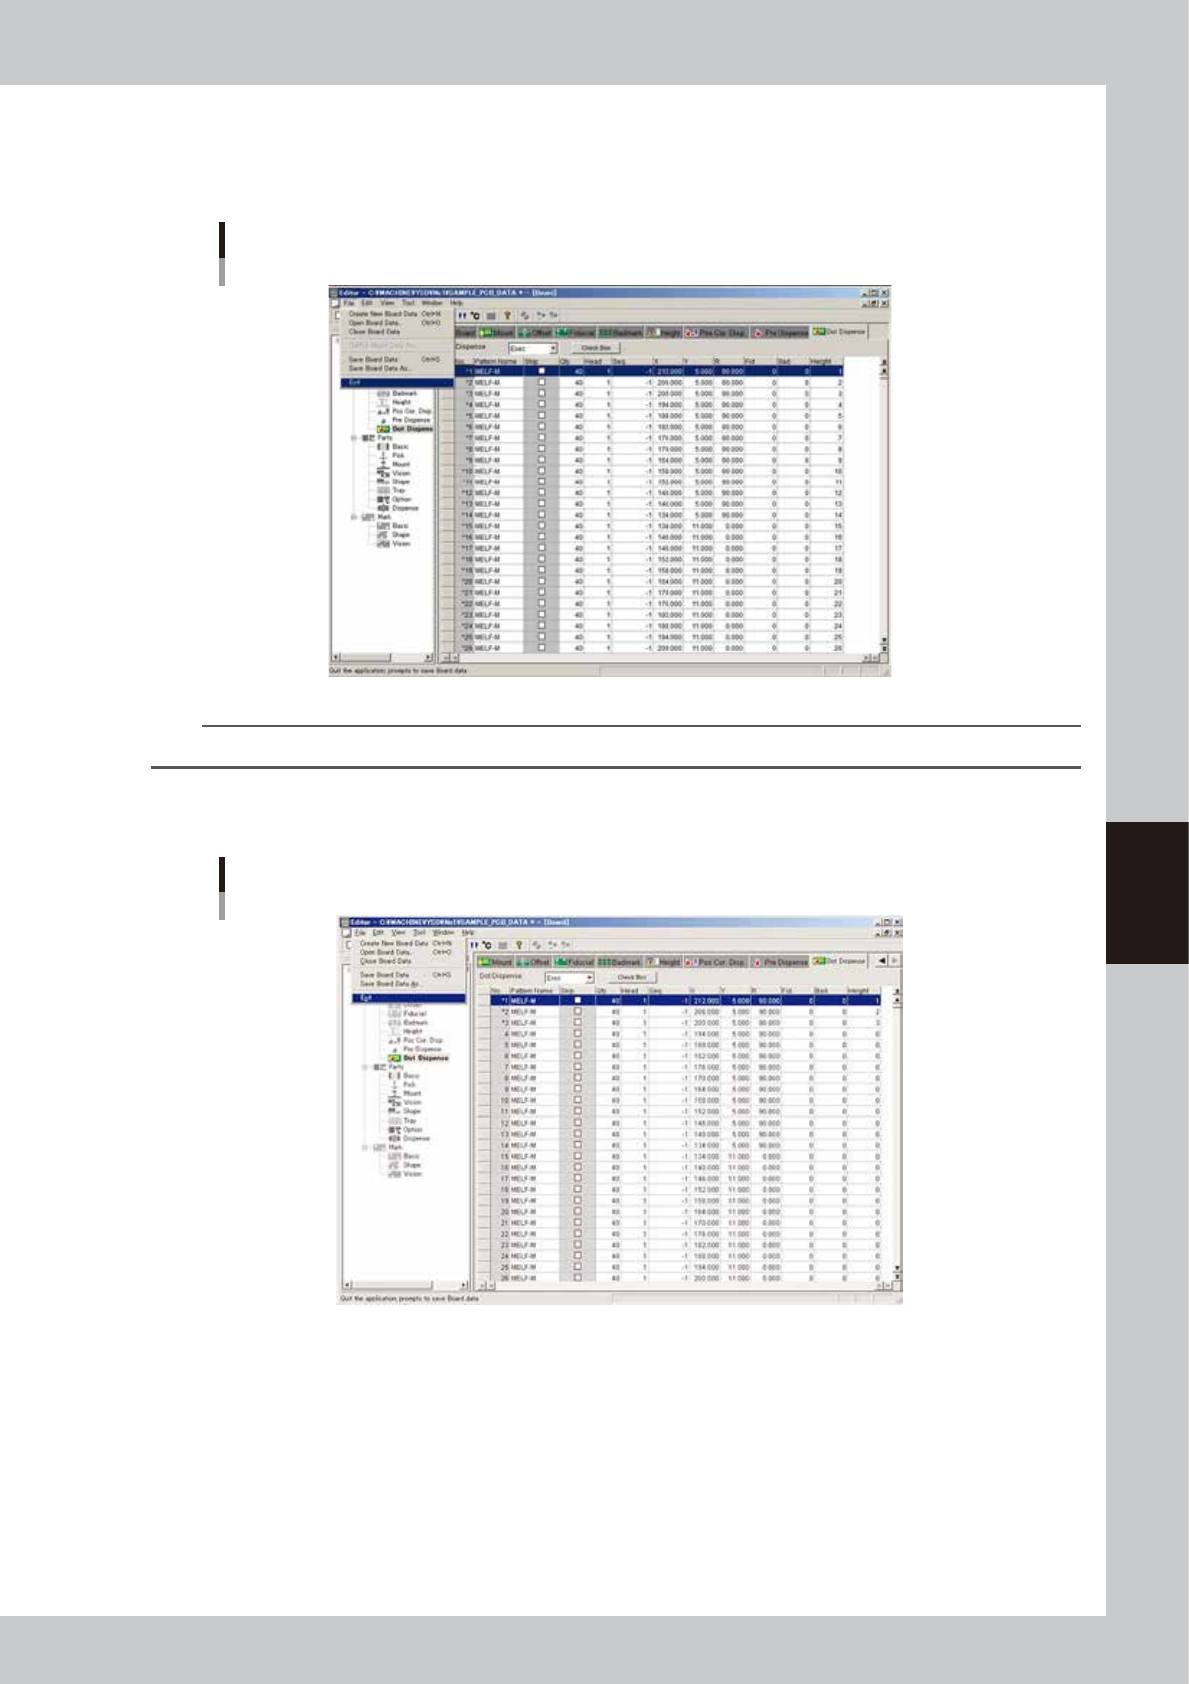
Save the board data and quit the Editor.
1. Select "Save Board Data" from the File menu or click the [Save Board Data] button on the toolbar.
The board data is saved and the existing board data is overwritten.
"Save Board Data" command
64555-N7-00
TIP
If you do not want the existing board data to be overwritten, select "Save Board Data As…" from the File menu.
2. Select "Exit" from the File menu.
The Editor window closes.
Exiting the Editor
64556-N7-00

Chapter 6 Using the advanced functions
Contents
1. Setup parameters 6-1
1.1 Halfway Continue function 6-1
1.1.1 Loading the saved data 6-2
1.1.2 Editing mount flags 6-2
2. Teach and trace 6-3
2.1 Trace function 6-3
2.2 Auto trace function 6-6
2.3 Teaching function 6-7
2.3.1 Point teaching 6-7
2.3.2 Cursor teaching 6-11
3. Edit Assistant function 6-15
3.1 Switching to the Edit Assistant screen 6-15
3.2 Selecting a range of rows 6-16
3.3 Editing rows 6-17
3.4 Find and replace 6-18
3.5 Renumber 6-19
4. Adjustment 6-21
4.1 Dispensing test (Adjustment screen) 6-21
6-1
6
Using the advanced functions
1. Setup parameters
1.1 Halfway Continue function
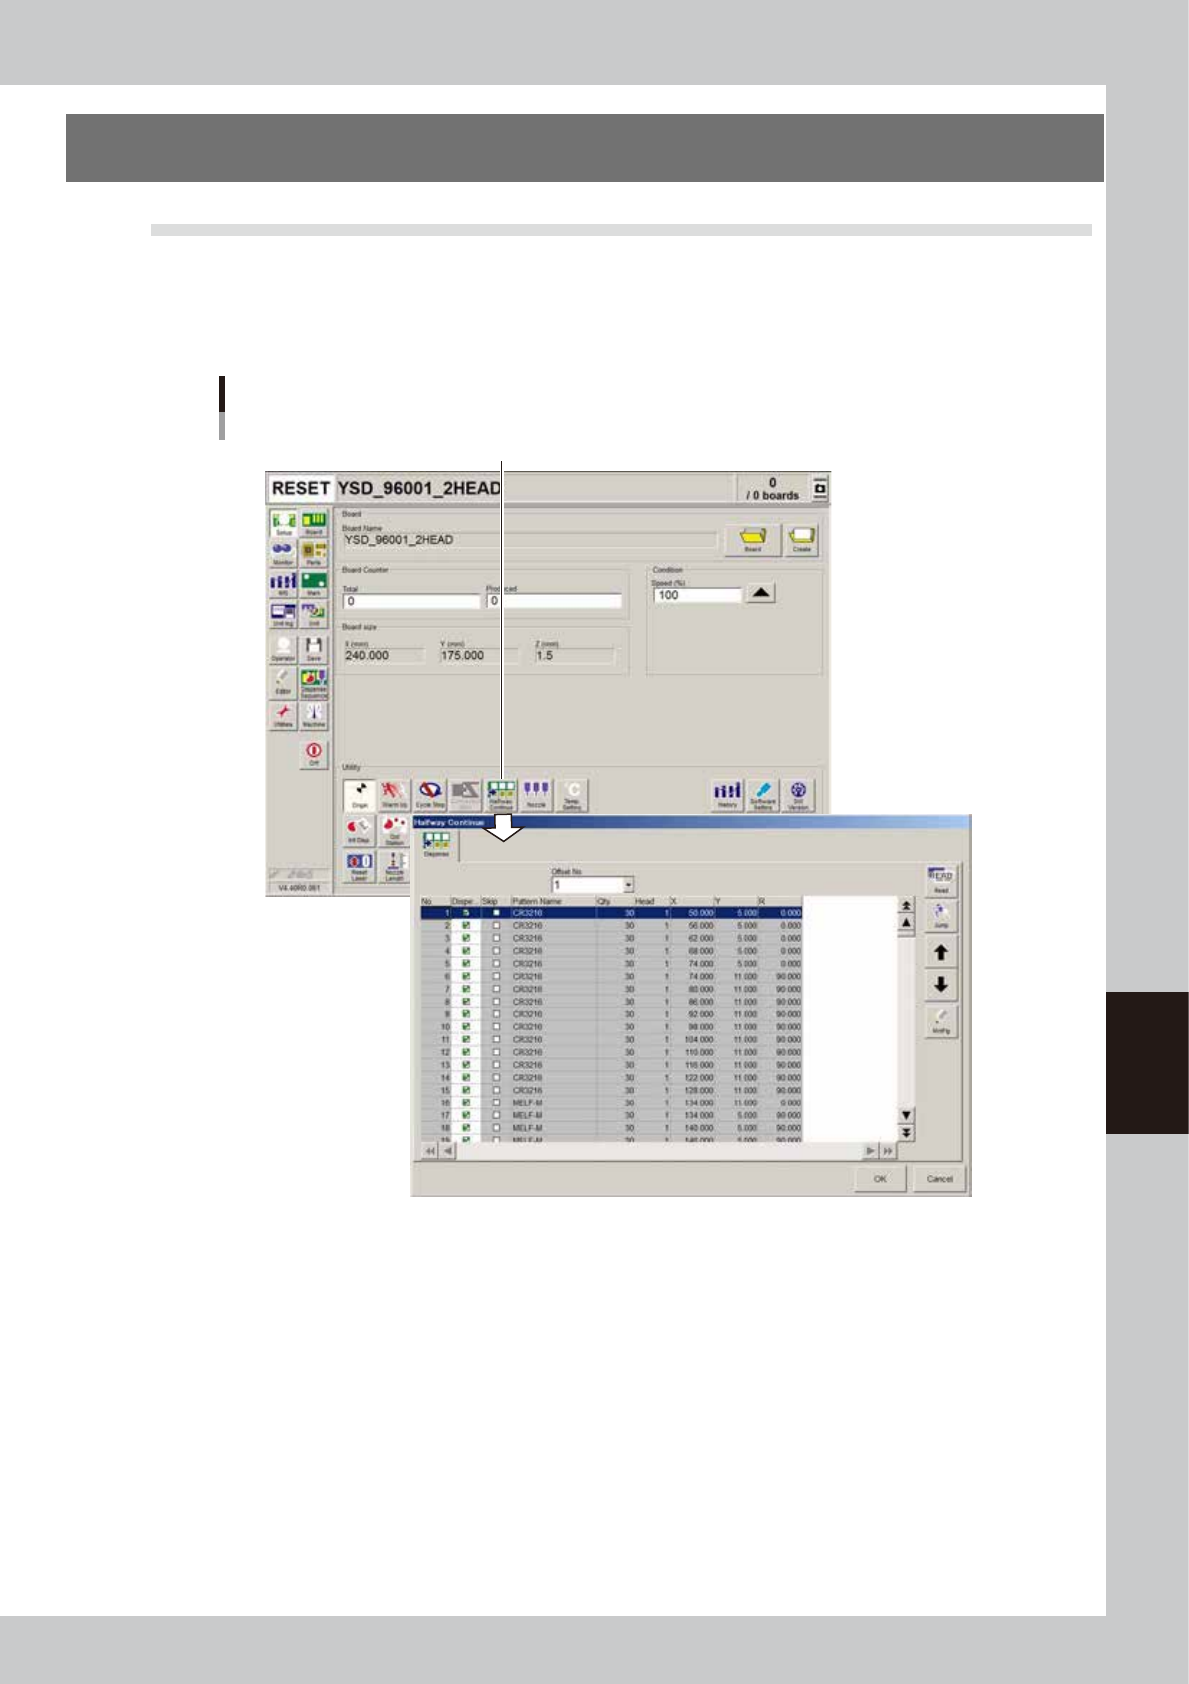
Pressing the [Halfway Continue] button on the Setup screen opens the Halfway Continue dialog box as shown
below. Even after resetting the mounting data, the Halfway Continue function allows you to load that mounting
data to mount components again at a specific block or mount point. Note that the Halfway Continue function
can be used just for the first board, with routine mounting operation beginning from the next board.
[Halfway Continue] button
Halfway Continue screen
64600-N7-00