YSD_Users_E.pdf - 第275页
6-6 6 Using the advanced functions 2.2 Auto trace function T his function automatically traces data continuously and can be used with "Mount" data on the Board screen. When used with "Mount" data, suc…
6-5
6
Using the advanced functions
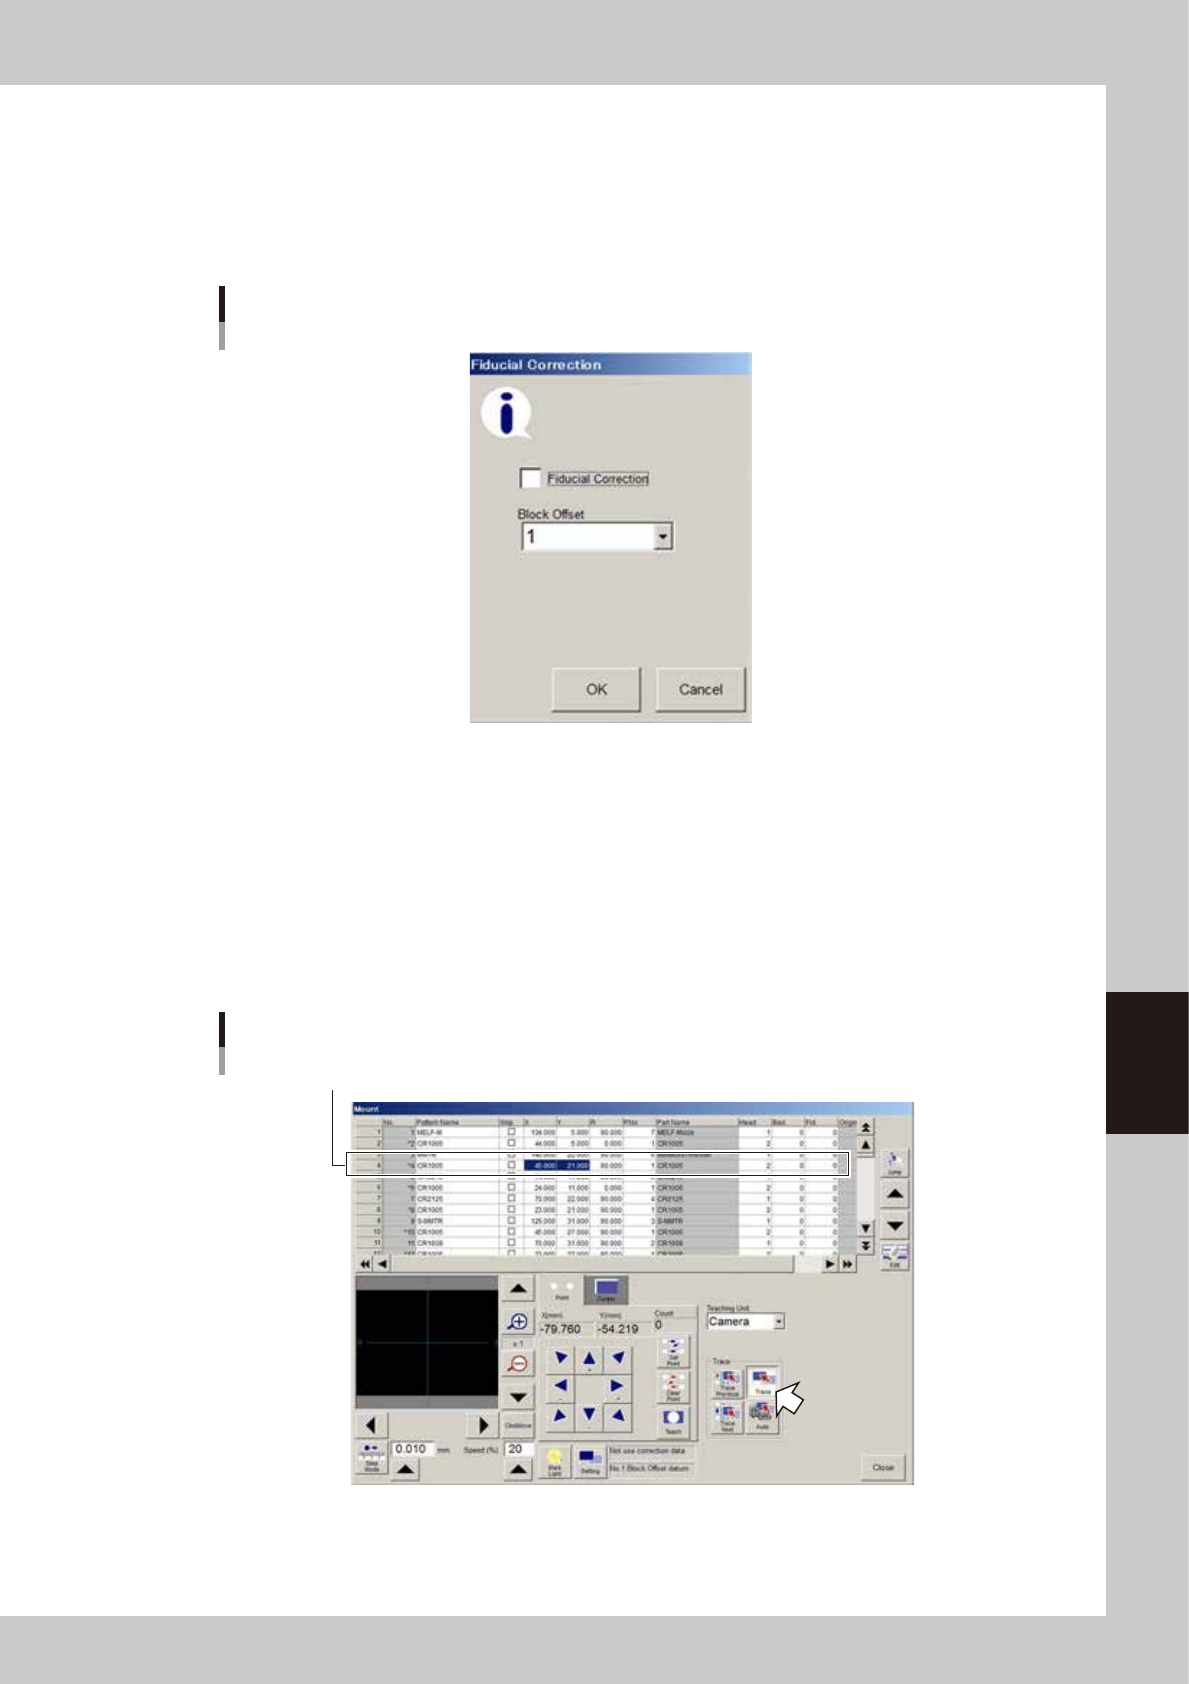
4. [Setting] button (fiducial correction)
Pressing the [Setting] button displays the dialog box for "fiducial correction". You can select whether
to correct board distortions using fiducial marks during trace or teaching. To do this, select the
"Fiducial Adjustment" check box in the dialog box and press the [OK] button. The board fiducial
marks will be automatically recognized to perform more accurate trace or teaching. Note that the
accurate fiducial mark data and coordinates must be set in advance to use this function.
Fiducial correction dialog box
64604-N7-00
4
Select the data to be traced.
Select the data row to be traced.
5
Check the surrounding area for safety.
Upon performing a trace, the teaching (trace) unit will start to move. Stay out of the axis movement
range.
6
Press the [Trace] button.
The teaching (trace) unit moves to the target position specified in step 4.
Performing a trace
Select data row to be traced.
64605-N7-00
6-6
6
Using the advanced functions
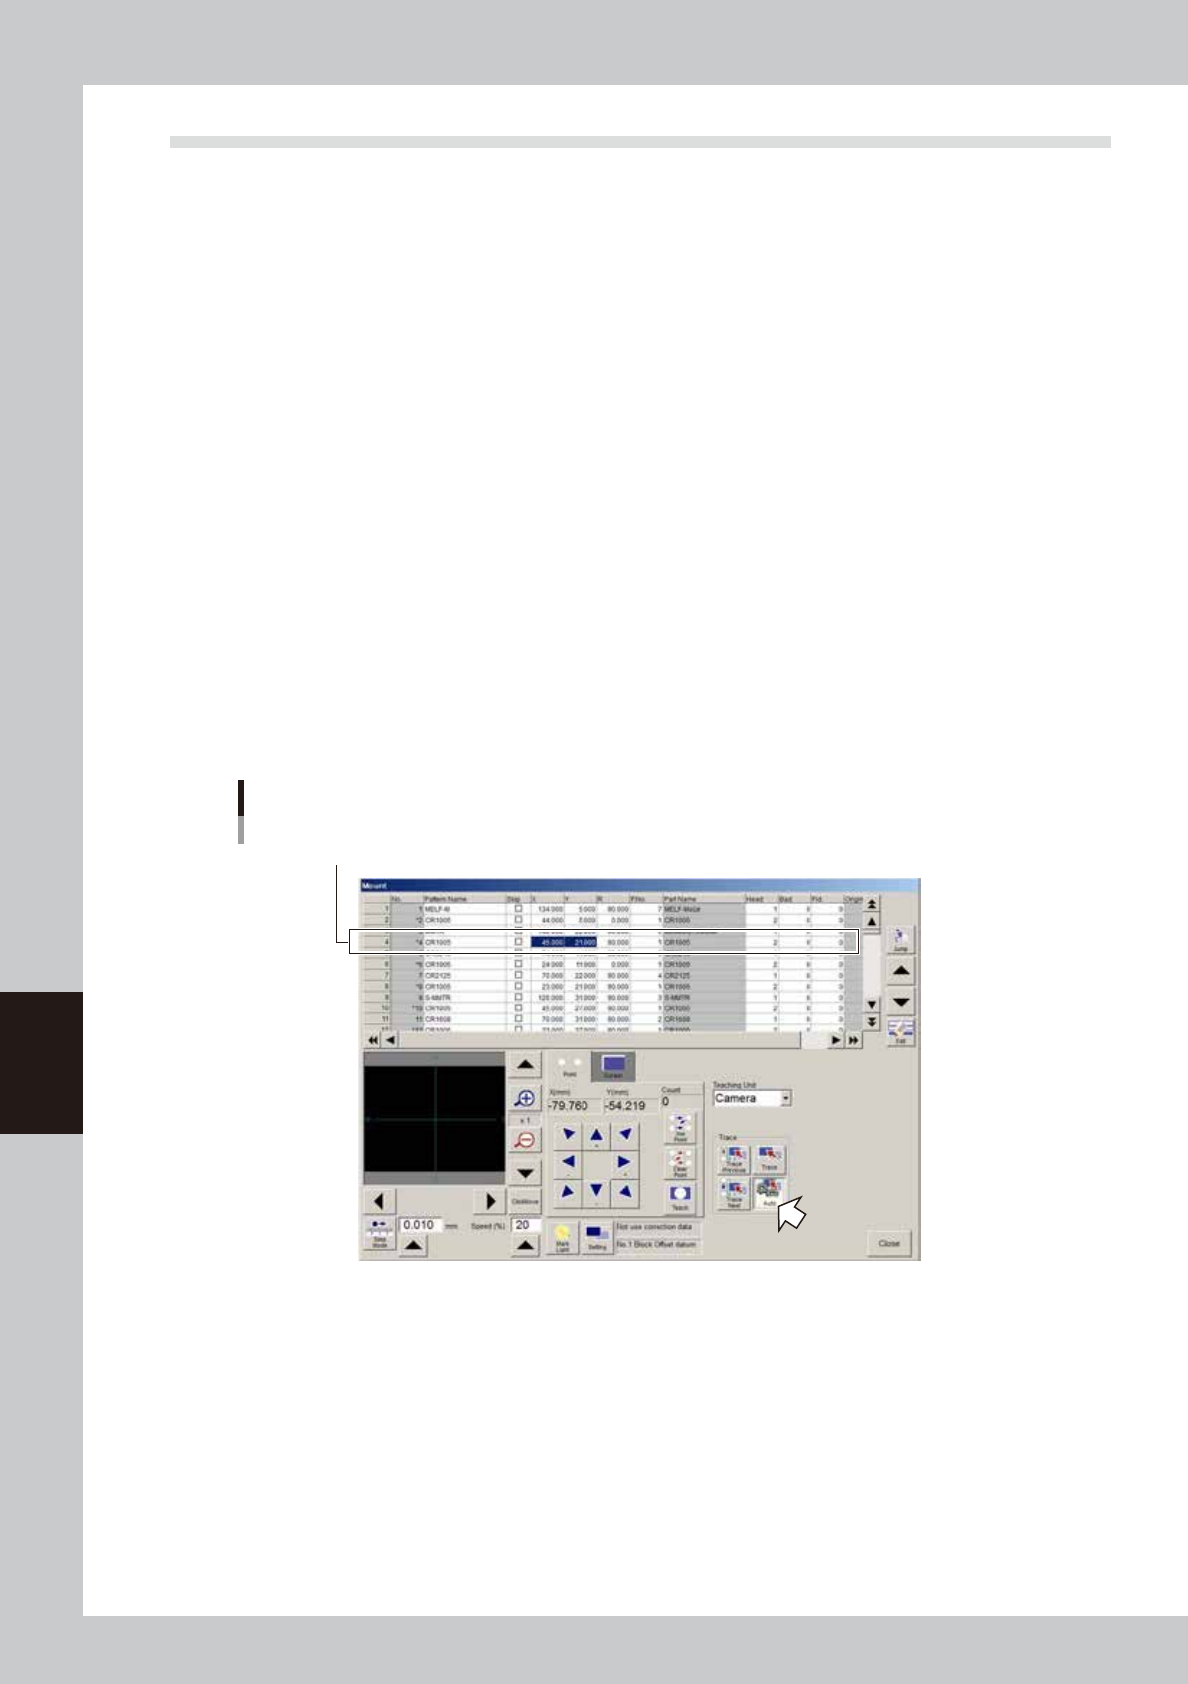
2.2 Auto trace function
This function automatically traces data continuously and can be used with "Mount" data on the Board screen.
When used with "Mount" data, successive mount points are continuously traced.
1
Clamp a board.
Clamp a board on the conveyor.
2
Open the "Mount" data screen, and press the [Teach] button.
3
Set the trace conditions.
Set the "teaching (trace) unit", "speed", and "fiducial correction".
See the previous section "2.1 Trace function" for the setting methods.
4
Specify the data row.
Select the data row from which to start a trace.
5
Check the surrounding area for safety.
Upon performing a trace, the teaching (trace) unit will start to move. Stay out of the axis movement
range.
6
Press the [Auto] button and start a trace.
With the [Auto] button depressed, press the [Trace Next] button to perform continuous trace, starting
from the data row selected in step 4 toward the end of data rows. To stop continuous trace before
reaching the data end, press the [Auto] button.
With the [Auto] button depressed, press the [Trace Previous] button to perform continuous trace,
starting from the data row selected in step 4 toward the top of data rows. To stop continuous trace
before reaching the top data row, press the [Auto] button.
Performing an auto trace
Select data row to start auto trace.
64606-N7-00
6-7
6
Using the advanced functions
2.3 Teaching function
The teaching function is used to teach the machine position such as XY coordinate values using a teaching unit
(camera or head). There are two teaching methods: "point teaching" and "cursor teaching".
2.3.1 Point teaching
Point teaching is further divided into "one-point input" and "multi-point input". The "one-point input" allows the
teaching data to be directly entered. The "multi-point input" gives the center coordinates in the multiple
positions which are specified by teaching.
1
Clamp a board.
Clamp a board on the conveyor.
2
Set the trace conditions.
Set the "teaching unit", "speed", and "fiducial correction".
See the previous section "2.1 Trace function" for the setting methods.
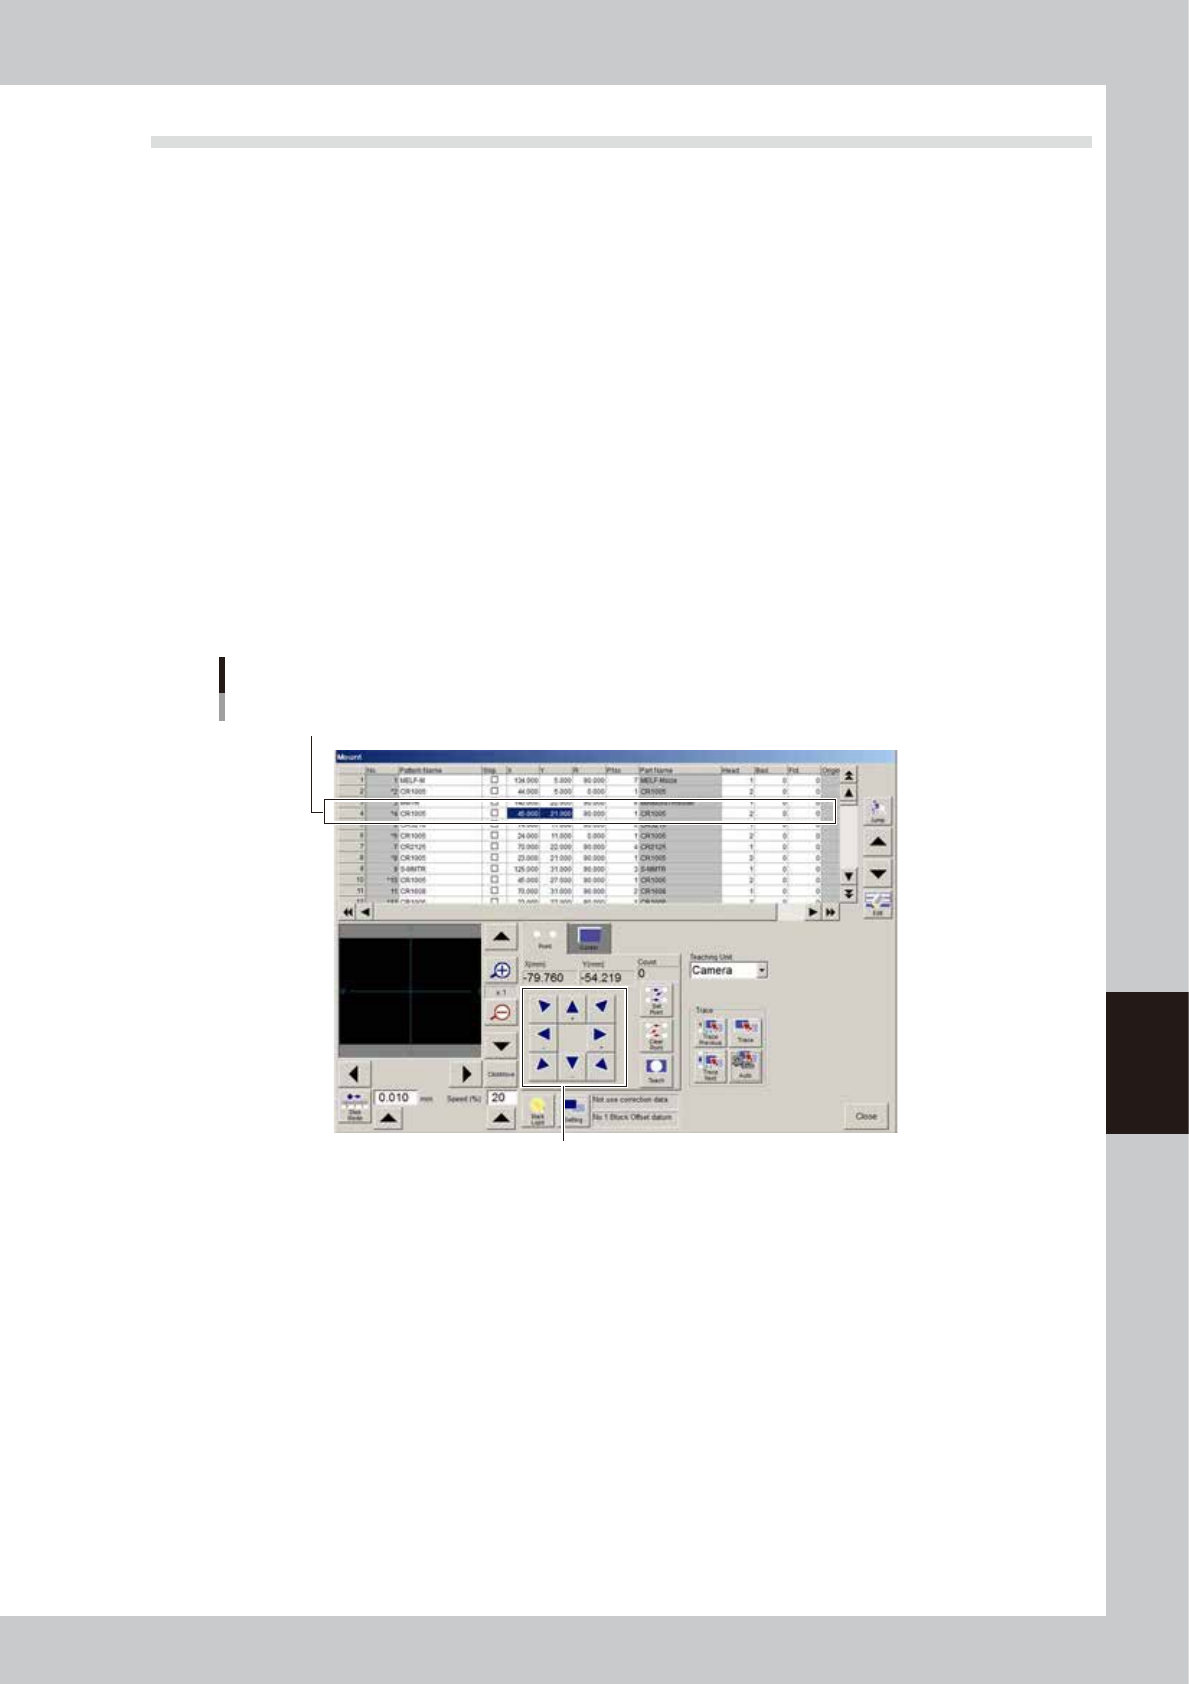
3
Select the item (data) to perform teaching.
4
Move the teaching unit to the target position.
Stay out of the axis movement range and then move the teaching unit to the target position using the
axis move keys.
Moving the teaching unit
Select data row to perform teaching.
Use the axis move keys to move the
teaching unit to the target position.
64607-N7-00