YSD_Users_E.pdf - 第344页
8-24 8 Managing the data 5 Pr ess the [New] button and designate the database number . The database number input dialog box appears. Enter the database number under which the data wi ll be stored. Leave blank to store th…

8-23
8
Managing the data
2. Creating the user database
Registering components (or marks) in the user database will prove convenient if they are not included in the
YAMAHA database or they are used very frequently.
The user database should be registered in the user area of the database. The user database area can be
from No. 1001 onward for the parts database and from No. 1 to No. 149 for the mark database. The
registered data in this area will be retained even if the software version is upgraded.
2.1 Registering data into the user database
This section explains how to register component data or mark data you have created to the user database.
1
Select the board name.
Press the [Board] button on the Setup screen and select the board name.
2
Open the board or mark information screen.
Press the [Board] button or [Mark] button in the main menu button area.
3
Select the copy source data.
Line up the cursor with the component data or mark data you want to copy from.
4
Open the database list.
Press the [Database] button on the Basic tab screen of the board or mark information.
The database list appears.
Copy source
Database list
64820-N7-00
8-24
8
Managing the data
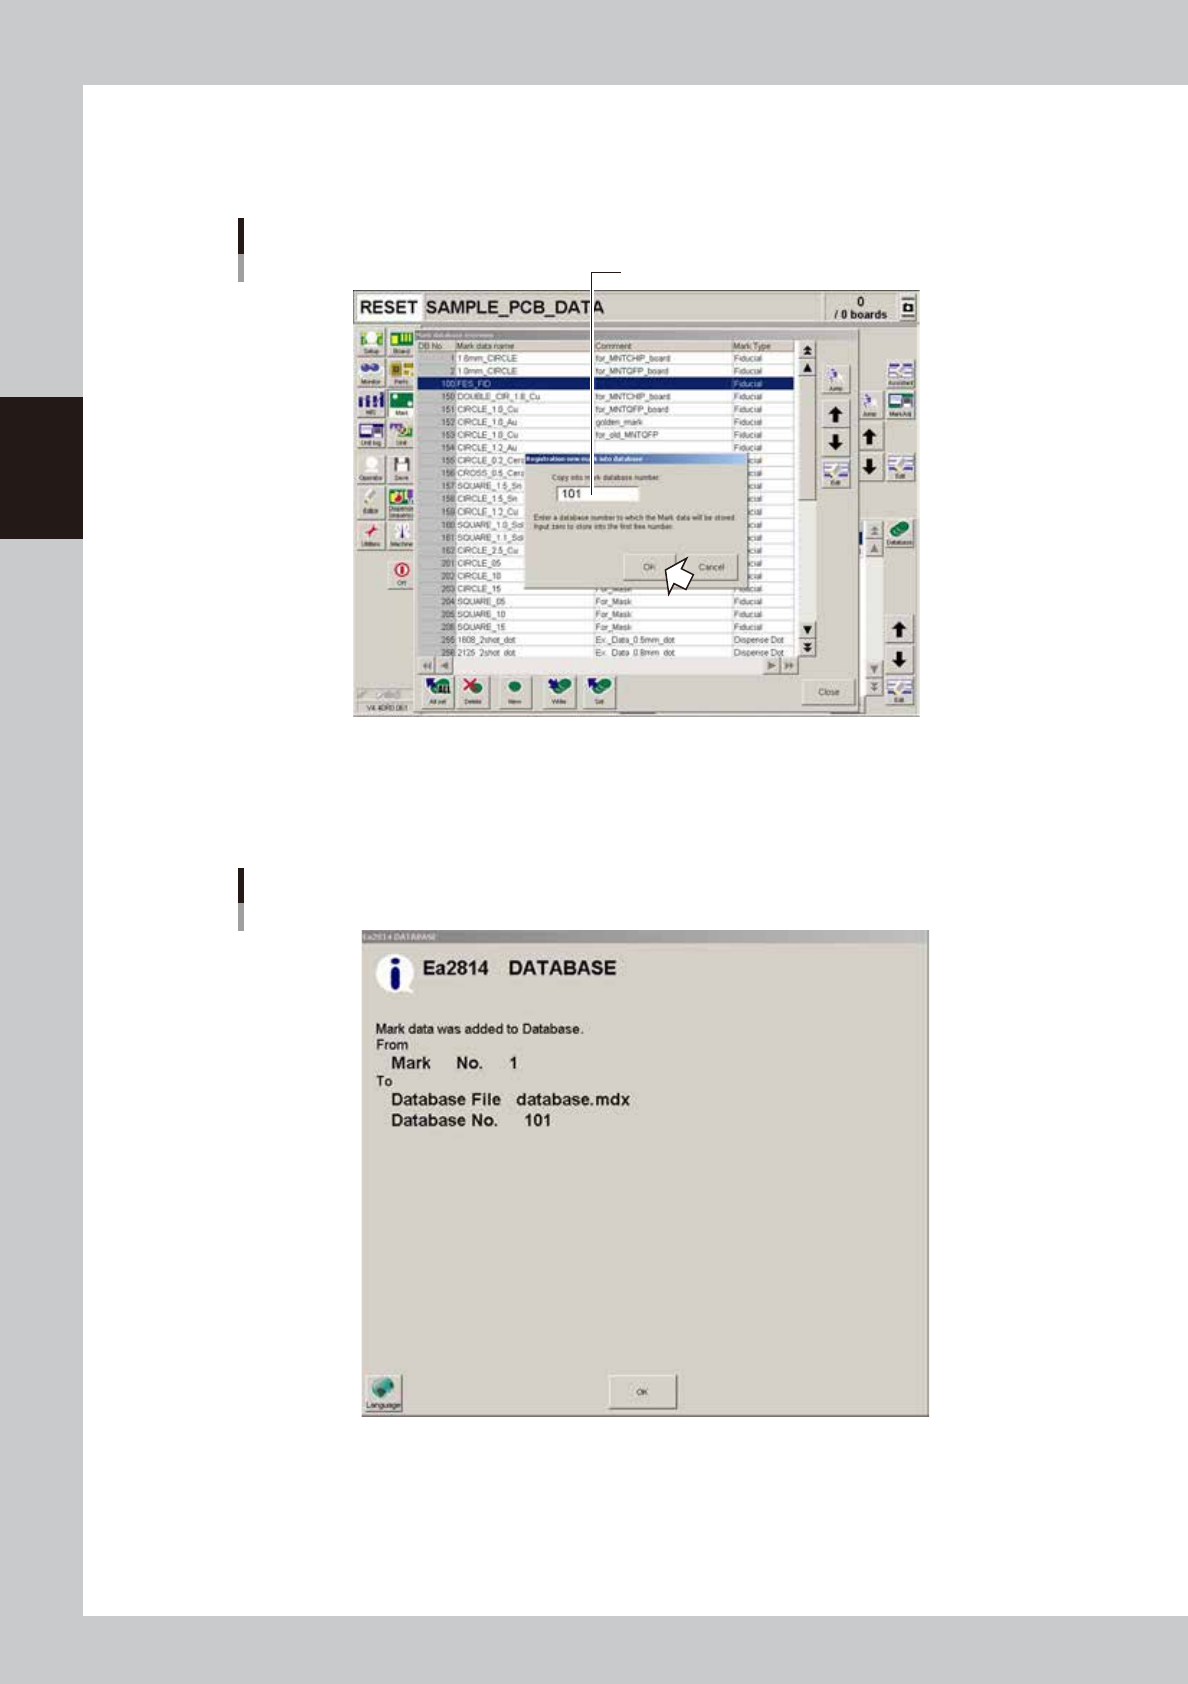
5
Press the [New] button and designate the database number.
The database number input dialog box appears. Enter the database number under which the data will
be stored. Leave blank to store the data in the first free number.
Enter the database number where data should be copied.
Database number input
64821-N7-00
6
Press the [OK] button to copy the data into the database.
All items of the selected data including the data name and comment will be copied.
Press the [Clear] button to return to the database list.
Database registration message
64822-N7-00
7
Press the [Close] button to close the database list.
If you want to copy other data into the database, repeat the above procedure.
8-25
8
Managing the data
3. Production log management
3.1 Production log types
This machine stores production logs per machine and per board data.
The production logs are broadly grouped into 2 types. One is a log history and the other is a machine operation
data count log.
The log history is mainly a log of errors and program tasks, and a log of board-related items. These logs can be
viewed on the production log data screen (MIS screen) that opens when you press the [MIS] button.
The operation data count log is a collection of error rates and operations for each head, nozzle, and
component, which can be viewed on the screen (Unit Log screen) that opens when you press the [Unit Log]
button.
TIP
In the production log data, board data names are handled as production lot names, and comments for board data
as production lot ID.
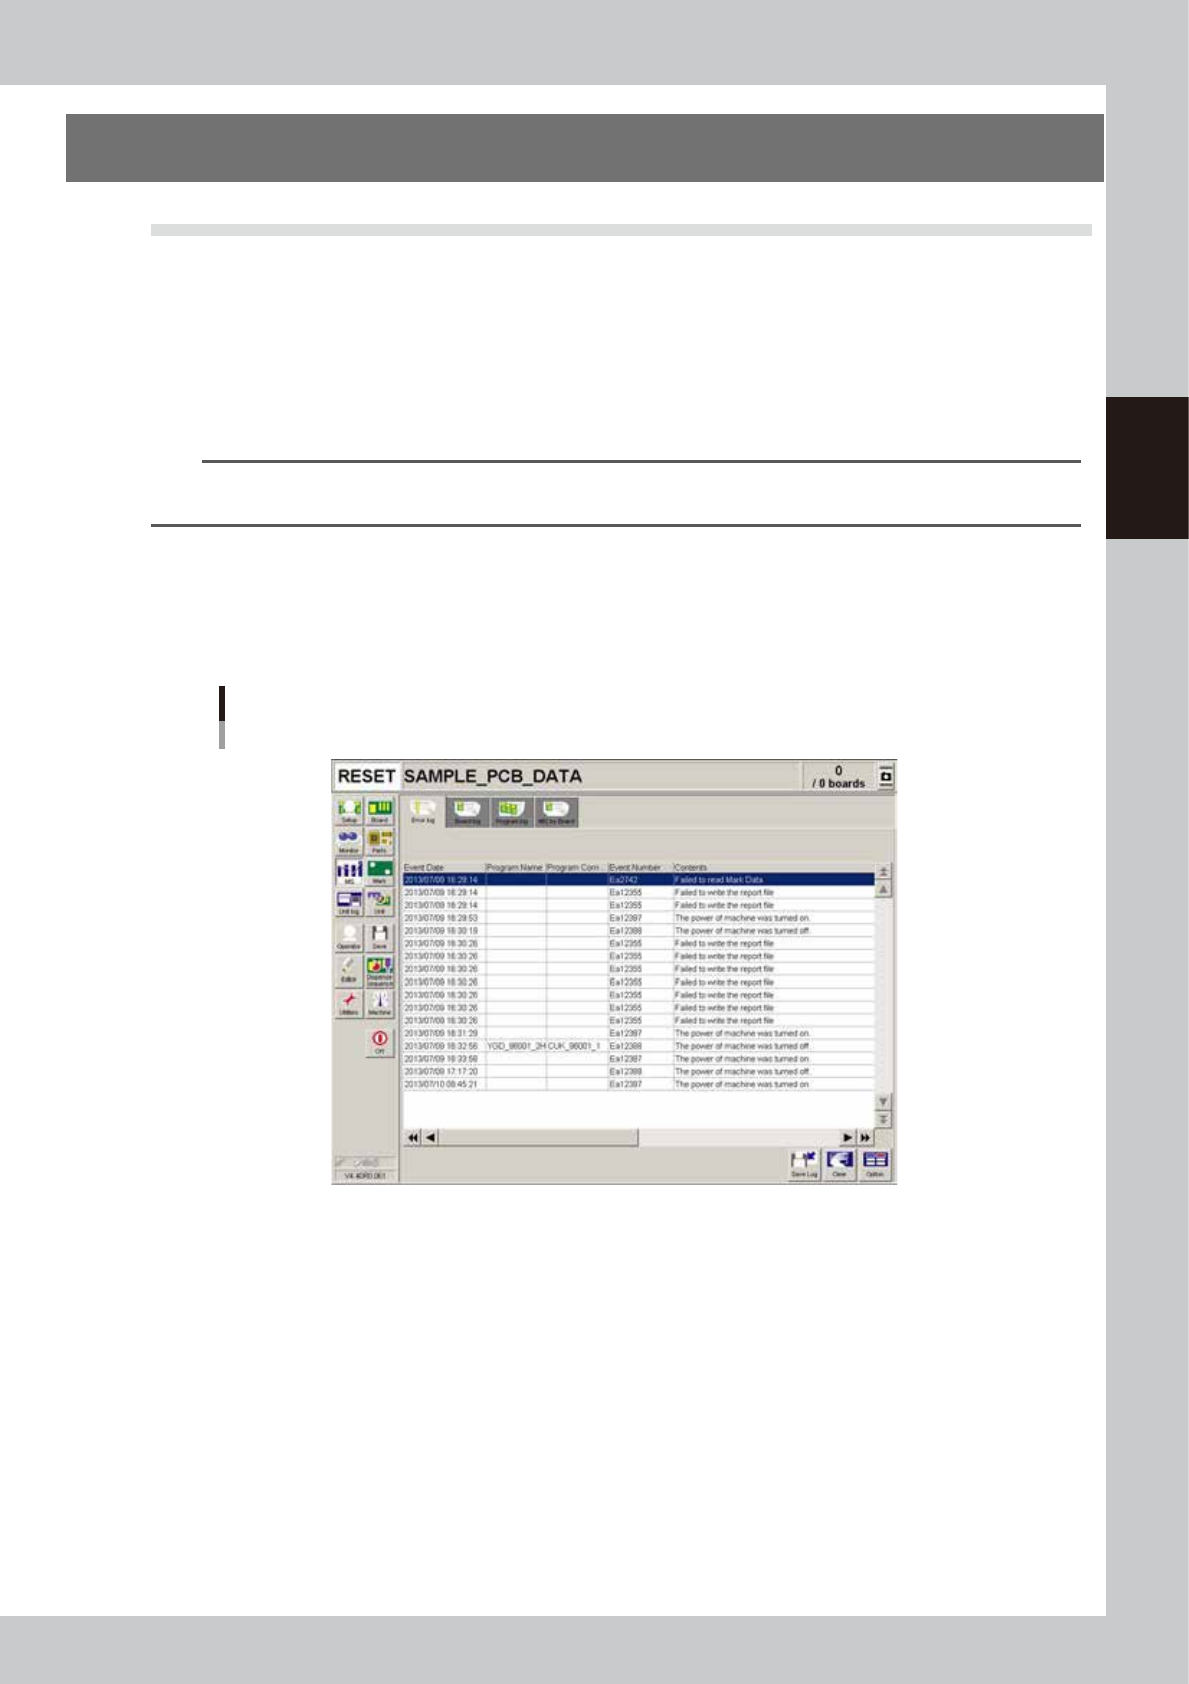
3.1.1 Production log (MIS)
Pressing the [MIS] button opens the "MIS" screen with the [Error Log], [Board Log] and [Program Log] tabs. The
[MIS by Board] tab also appears if the function for storing production logs per board data is enabled. For how
to enable that function, refer to "3.2.1 Setting to store production logs per board data" described later on.
Production log ("MIS" screen)
[Error Log] tab
64823-N7-00
Error Log
Displays error and operation logs.
One error or one operation is listed in one data row. Up to 1000 rows can be displayed.
Board Log
Displays production logs per board.
One data row is used to record one board. Up to 1000 rows can be displayed.
Program Log
Displays production results per lot, with one lot treated as the interval from the loading of a program (board data) until
switching over to the next program.
One data row is used to record one lot. Up to 1000 rows can be displayed.
MIS by Board
Displays production logs per board data, which are sub-divided into "Board Info", "Parts Info", and "Head Info".