YSD_Users_E.pdf - 第88页
2-28 2 Basic operation 3 Pr ess the [Start] button to start warm-up. The warm-up progress time and status will appear under the "Progress Status". Warm-up screen 64208-N7-00 c CAUTION If an abnormality occurs d…
2-27
2
Basic operation
3.5 Starting and warming up the machine
After setting up the head unit, perform warm-up operation. A warm-up of about 10 minutes is usually adequate.
If less than two hours has elapsed after the machine was last used for production, no warm-up is necessary.
1
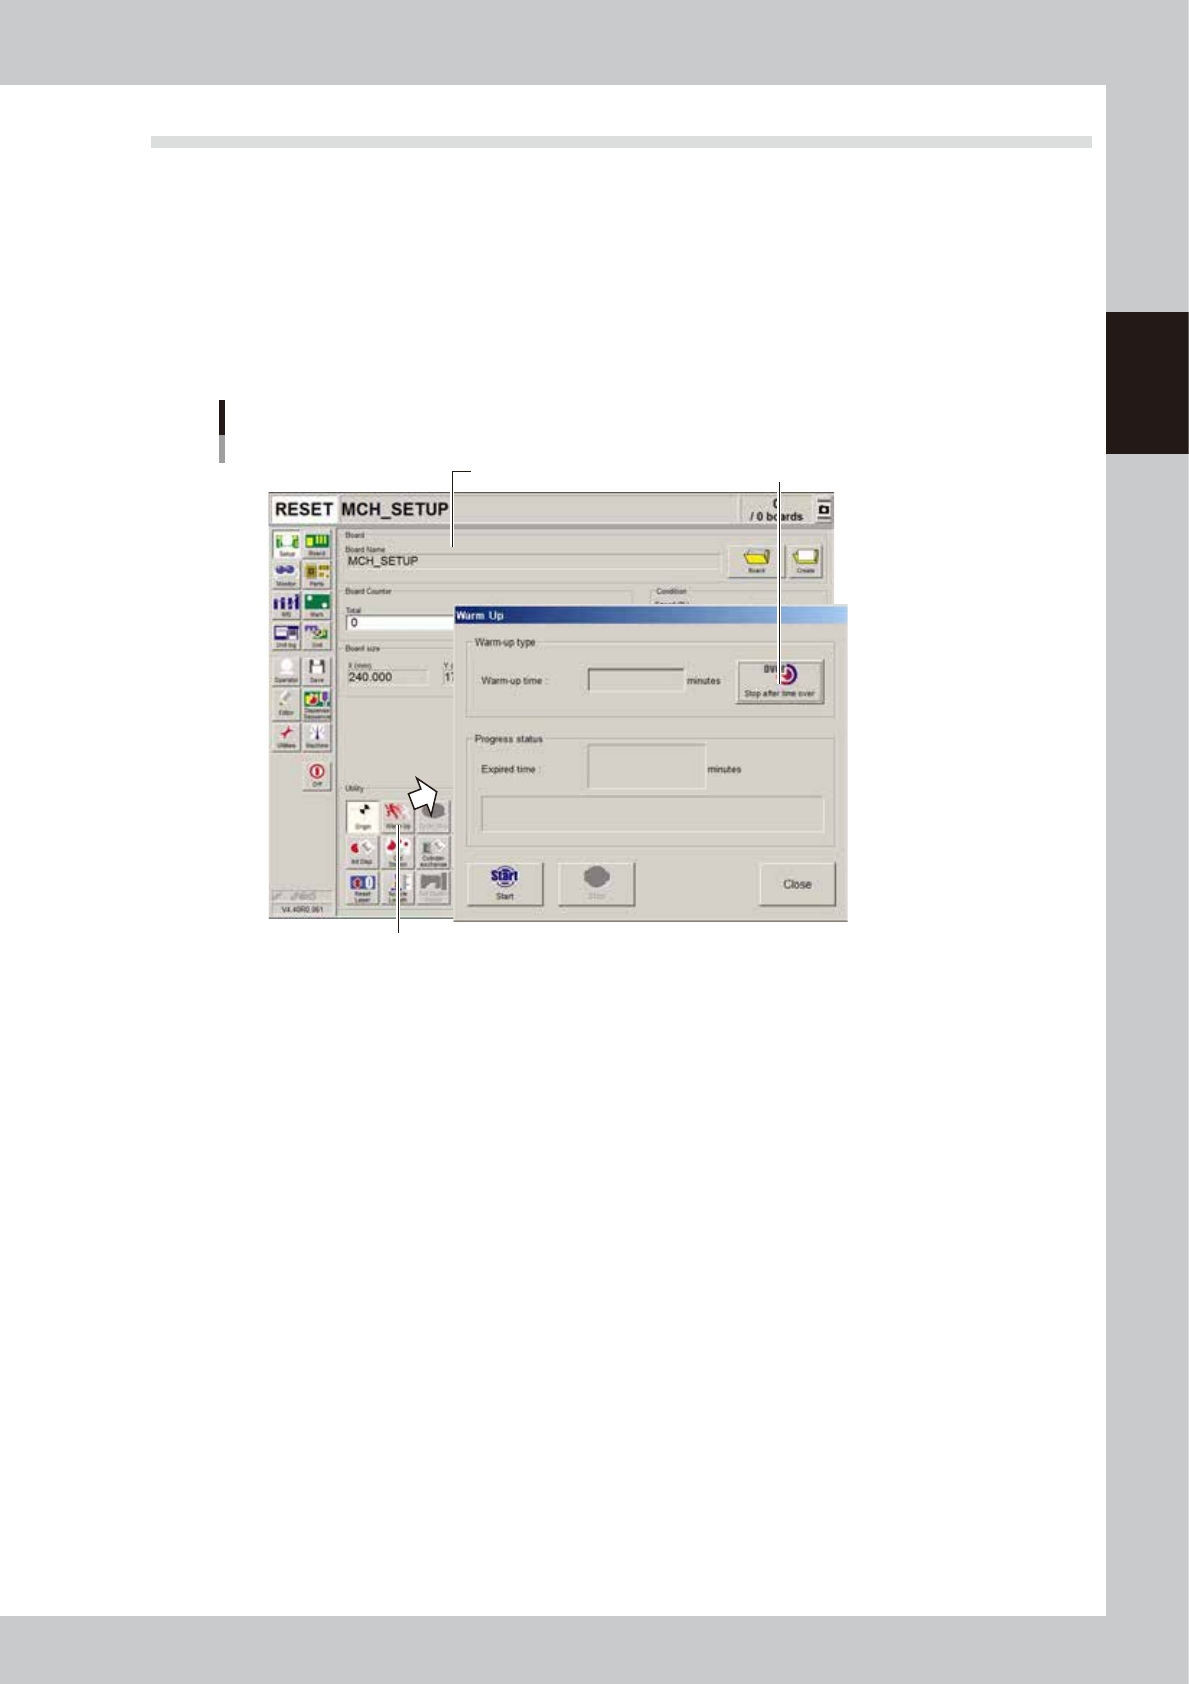
Press the [Warm Up] button on the Setup screen.
The Warm-up screen then appears.
2
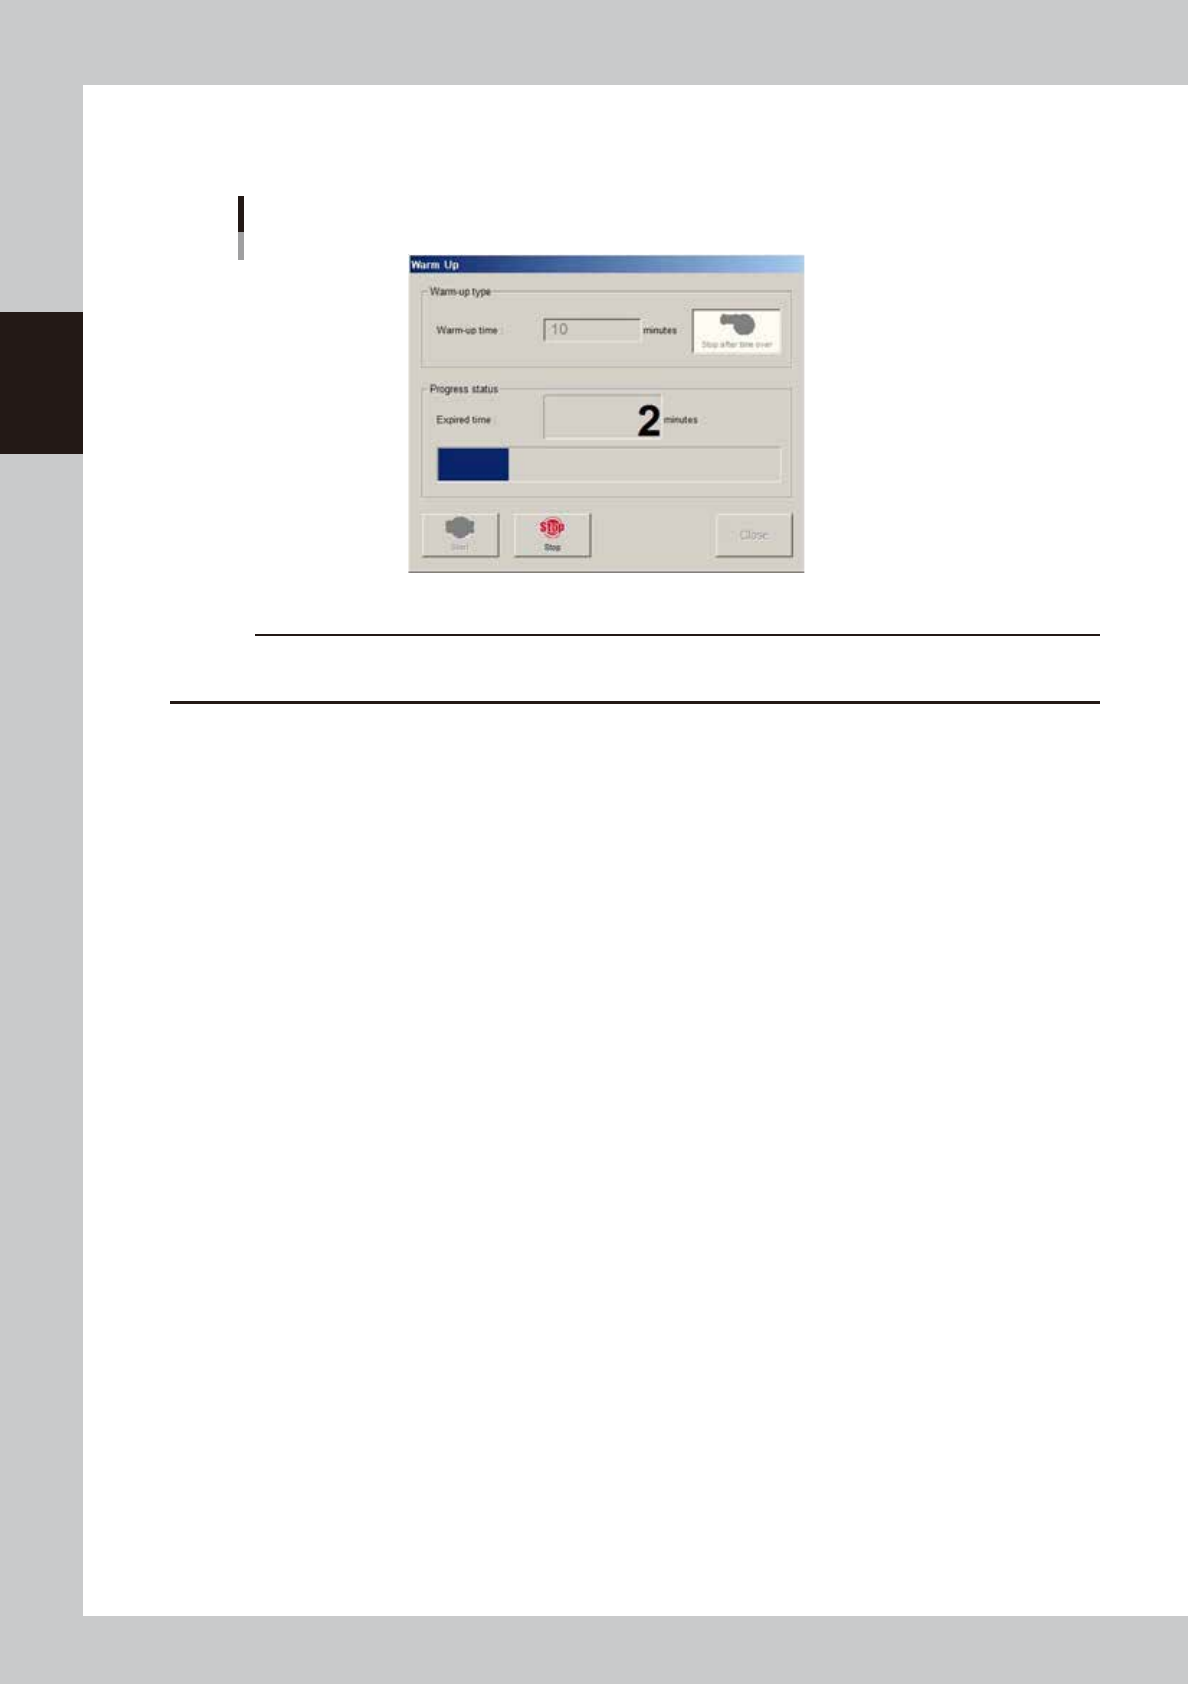
Enter a warm-up time.
Press the [Stop after time over] button and enter the warm-up time. Warm-up will automatically stop
when the warm-up time you set has elapsed. Normally, about a 10-minute warm-up is recommended.
Warm-up time setting screen
Press [Warm Up] button to open "Warm Up" screen.
Setup screen Press this button to set warmup time.
64207-N7-00
2-28
2
Basic operation
3
Press the [Start] button to start warm-up.
The warm-up progress time and status will appear under the "Progress Status".
Warm-up screen
64208-N7-00
c
CAUTION
If an abnormality occurs during warm-up, press the [Stop] button to stop operation immediately, check the cause of
the problem and eliminate it.
4
Finish the warm-up.
Warm-up will automatically stop when the warm-up time you set is reached. Press the [Close] button,
and return to the previous screen.
2-29
2
Basic operation
3.6 Bleeding the nozzle air
To optimize the pressure in a syringe, the air in the nozzle must be bled out.
Use the following procedure to dispense adhesive from the head to bleed the air. Do this just before starting
production.
c
CAUTION
When temperature setting is used, allow at least 15 minutes after installing the syringe before bleeding the air so that
the temperature of the temperature regulator unit is sufficiently transmitted to the syringe.
1
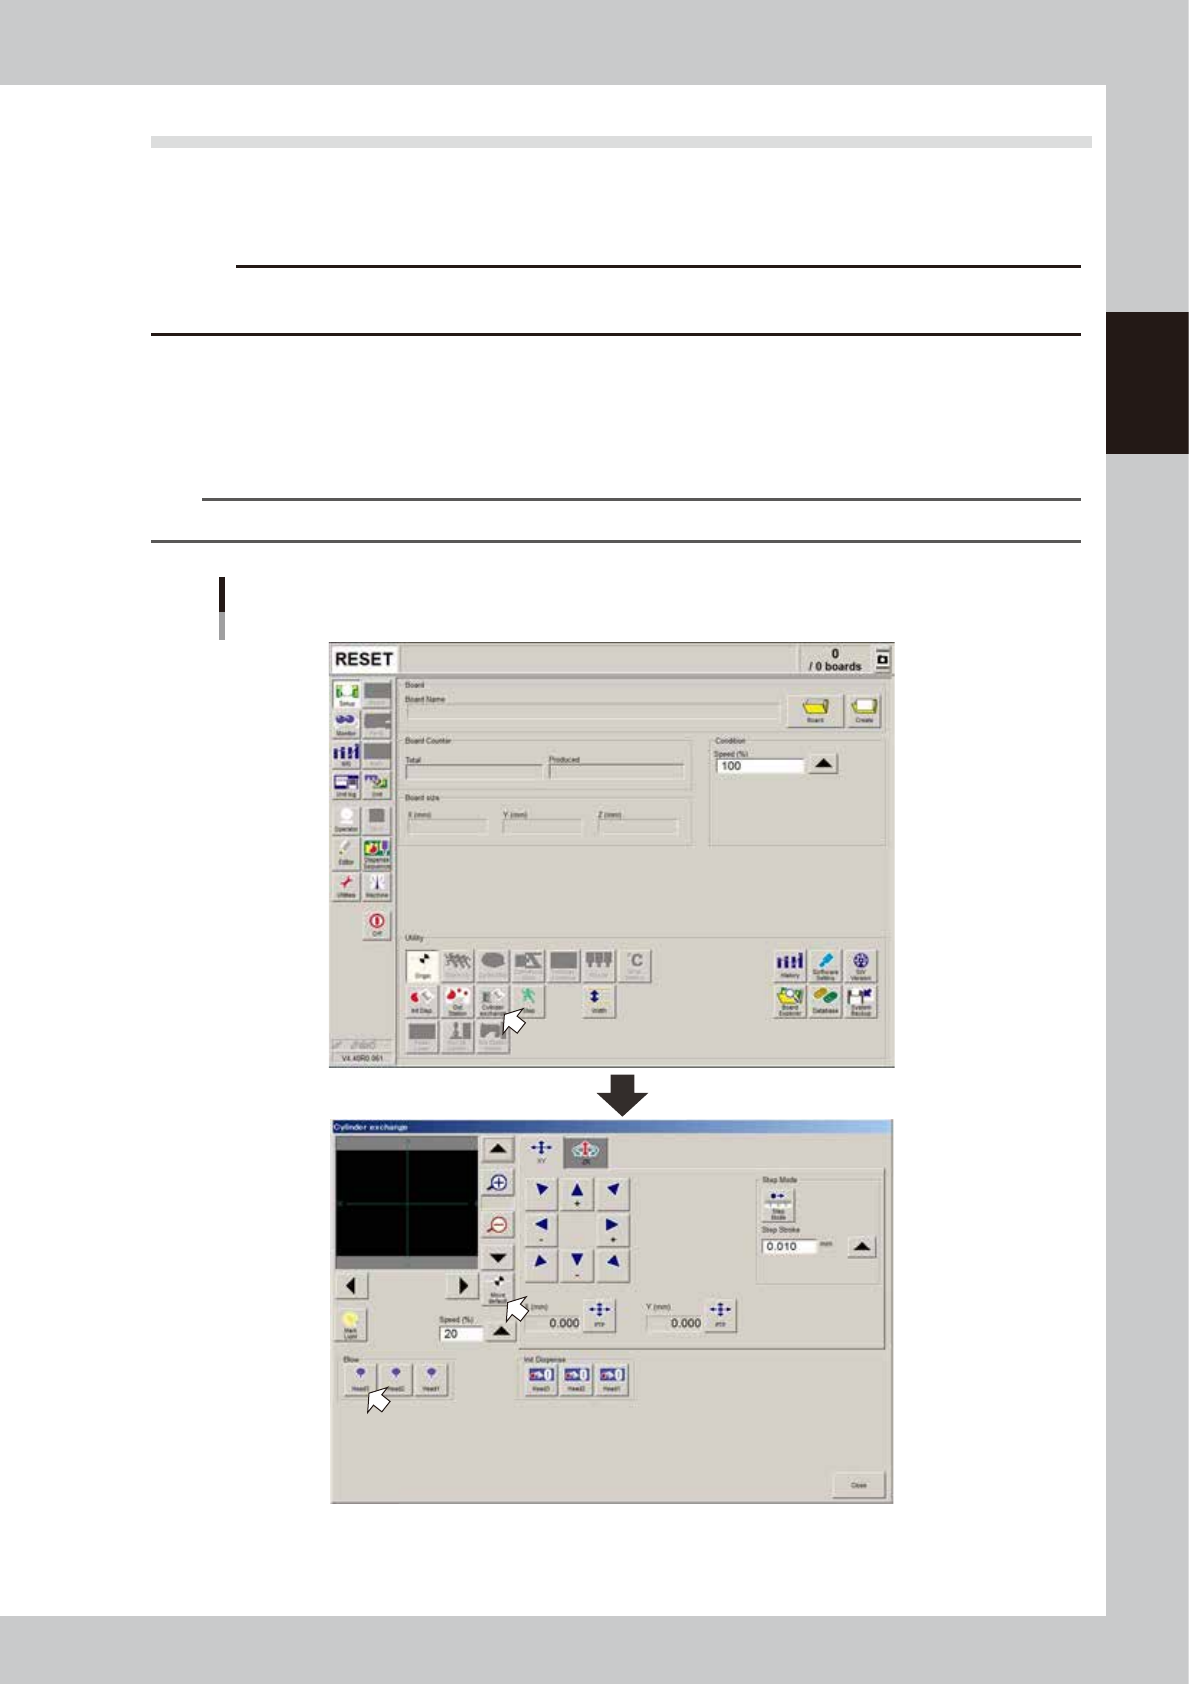
Press the [Cylinder exchange] button.
The “Cylinder exchange” window appears.
2
Move the head to the syringe replacement position.
Press the [Move default] button to move the head to the syringe replacement position.
TIP
You may press the emergency stop button and then move the head by hand to the syringe replacement position.
“Move axis” window
64205-N7-00