88192278-01-19 Installation Master.pdf - 第179页
POWER UP SEQUENCE MACHINE POWER UP SEQU ENCE Chapter Issue 10, Nov 19 Installation Manual 5.3 3. Select Change date and time... . 4. Set the correct date on the calendar display . 5. Using the arrows set the correct time…
POWER UP SEQUENCE
MACHINE POWER UP SEQUENCE
5.2 Installation Manual Chapter Issue 10, Nov 19
MACHINE POWER UP SEQUENCE
Apply Systems
Power
1. Connect the pneumatic supply to the connection on the rear, bottom left of
the machine, External Services the Services Required chapter refers.
2. Connect the mains supply to the machine.
3. Turn the Mains Isolation Switch ON.
4. Select Diagnostics.
5. Ensure that System is highlighted and select Select Module.
6. Select the Previous button once to highlight Terminate Control Program.
7. Select Run Diagnost.
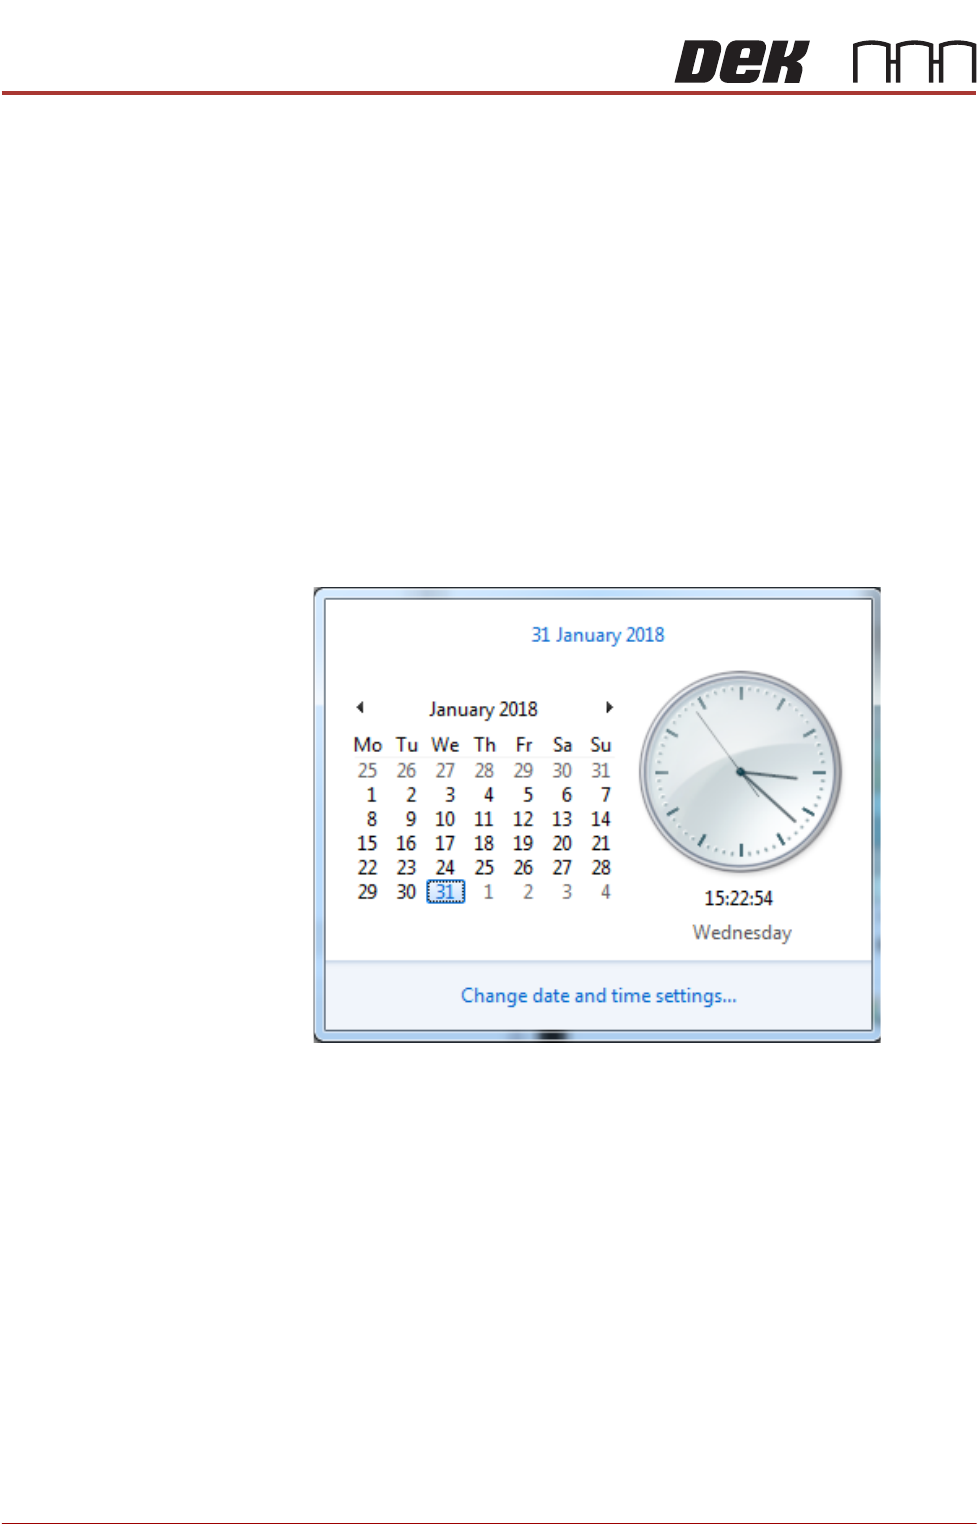
Date and Time In order for the machine PC to log events correctly, the system time, date and
correct time zone must be set.
Windows 7 1. Select the clock displayed at the right hand side of the Windows taskbar.
The following window is displayed:
2. Select Change date and time settings....
POWER UP SEQUENCE
MACHINE POWER UP SEQUENCE
Chapter Issue 10, Nov 19 Installation Manual 5.3
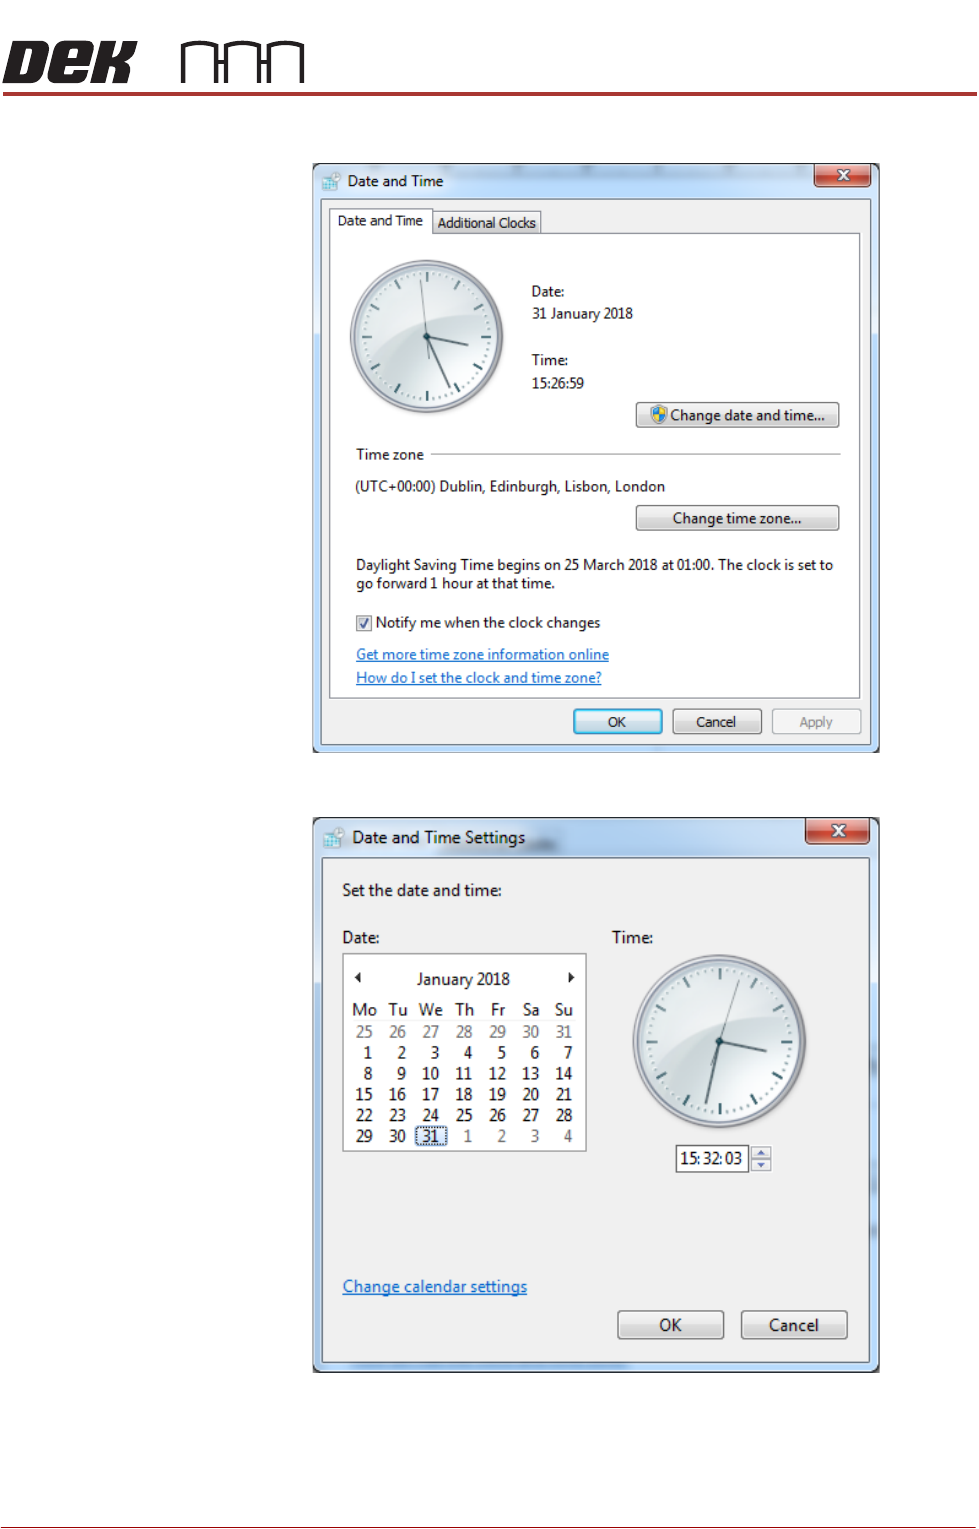
3. Select Change date and time....
4. Set the correct date on the calendar display.
5. Using the arrows set the correct time on the digital display beneath the
analogue clock.
6. Select OK.
POWER UP SEQUENCE
MACHINE POWER UP SEQUENCE
5.4 Installation Manual Chapter Issue 10, Nov 19
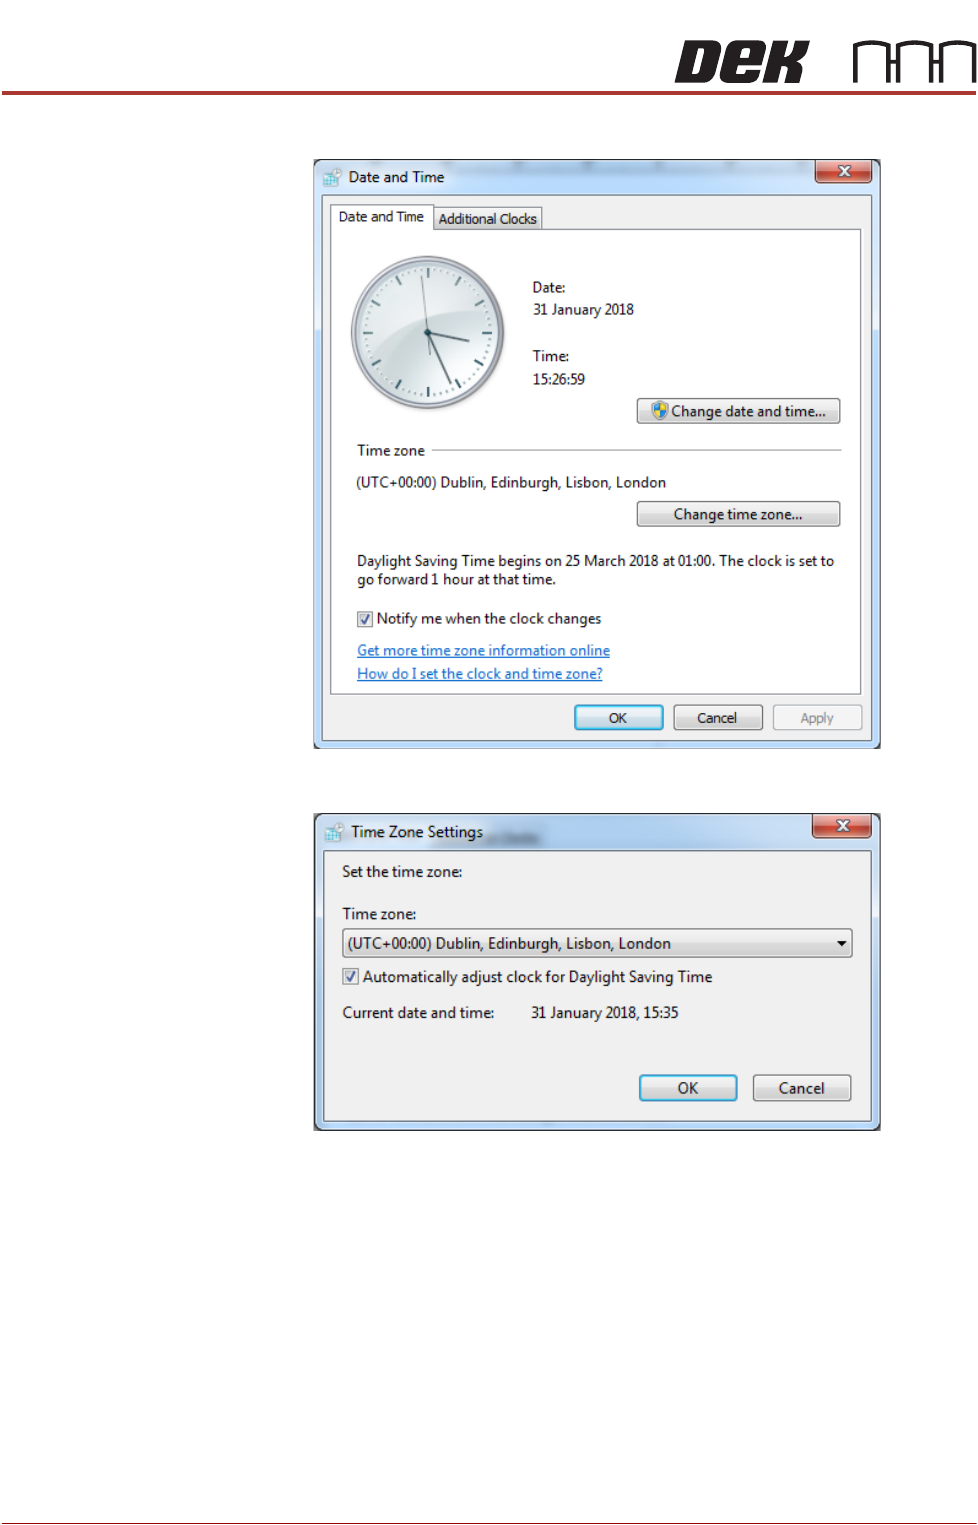
7. Select Change time zone....
8. Using the drop down box, select the appropriate time zone.
9. Select OK.
10. Select OK.
11. Select Start on the taskbar.
12. Select DEK Printer Software.
13. Press the System button.