00197184-01_IM_Celsius_W510_Windows7_EN.pdf - 第10页
Celsius W510 with Win dows 7 10/2011 Edition After some minutes, the first dialog appears. Figure 3-2: Language selection dialog ► Select the appropriate language. In this documentation, we select English . Figure 3-3: S…
Celsius W510 with Windows 7 10/2011 Edition
3 Finishing the pre-installed Windows 7 (64 Bit)
Installation
The following chapter describes the completion of the pre-installed Windows 7 Professional 64 Bit
installation as delivered by Fujitsu.
If you need to reinstall the computer completely (deleting all previously stored data), please refer to
the chapter Performing a new Installation of Windows 7 on page 24.
NOTICE
Pre-installed Windows is 64 Bit only
If you have software or hardware that requires you to use the 32 bit version of Windows
instead of the pre-installed 64 bit bersion, you will have to perform a complete
reinstallation of Windows as described later in this document.
► To begin, ensure you’ve connected all necessary cables to the computer, except the power
cord.
► Connect the power cord.
► If the computer doesn’t start automatically, press the Power button on your computer.
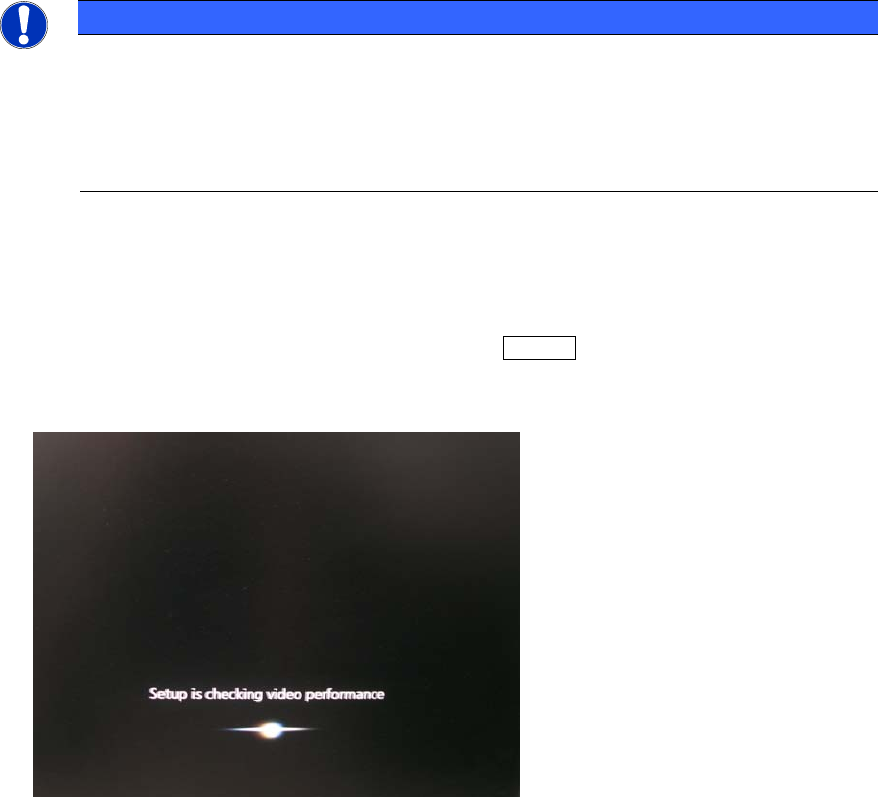
When booting up, the windows logo will appear a couple of seconds. After that, windows will
perform some initialization steps as shown in the following picture.
Figure 3-1: Windows performing initialization steps
9

Celsius W510 with Windows 7 10/2011 Edition
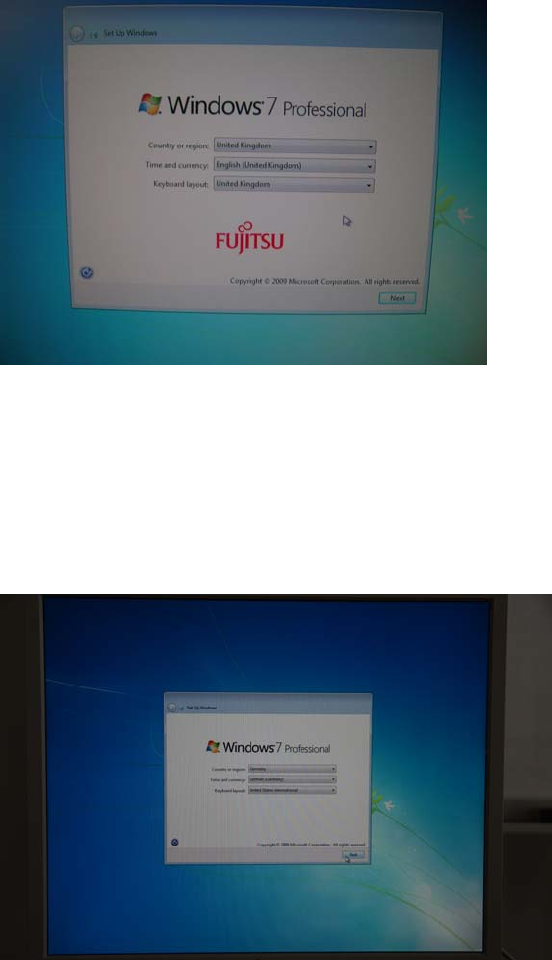
After some minutes, the first dialog appears.
Figure 3-2: Language selection dialog
► Select the appropriate language.
In this documentation, we select English.
Figure 3-3: Selecting English language
► Click the Next button to continue.
10
Celsius W510 with Windows 7 10/2011 Edition
The regional settings dialog appears.
Figure 3-4: Regional settings
► Select the appropriate country or region.
► Select the appropriate time and currency format.
► Select the appropriate keyboard layout. For SIPLACE Line Computers, the default is US.
In this documentation, we use German for country and time/currency and United States for the
keyboard layout.
Figure 3-5: Customized Regional settings
► Click the Next button to continue.
11