00197184-01_IM_Celsius_W510_Windows7_EN.pdf - 第24页
Celsius W510 with Win dows 7 10/2011 Edition 4 Performing a new Installation of Windows 7 This chapter describe s the (new) installation of Windows 7 Profe ssional on the Celsiu s W510 computer using the delivered DVDs. …

Celsius W510 with Windows 7 10/2011 Edition
3.2 Before you continue
► Before you continue preparing the system with Support Media, ensure you check the
configuration (accounts, network, etc.) as described in the document “Required Steps before
using Support Media”, item no. 00197185-xx.
WARNING
Check Configuration before installing any Software.
Please ensure that your account and network configuration is appropriate before
installing any software.
23
Celsius W510 with Windows 7 10/2011 Edition
4 Performing a new Installation of Windows 7
This chapter describes the (new) installation of Windows 7 Professional on the Celsius W510
computer using the delivered DVDs.
WARNING
Backup important Data
This procedure will remove any data from the first hard disk.
Before you continue, please ensure you’ve backed up all important data.
NOTICE
Existing Data assumed
The screenshots and descriptions in this chapter assume that you have a previous
installation on your hard disk. The procedure may differ a bit if you already have erased
your disk.
4.1 Installing Windows
► To begin, ensure you’ve connected all necessary cables to the computer, except the power
cord.
► Connect the power cord.
► If the computer doesn’t start automatically, press the Power button on your computer.
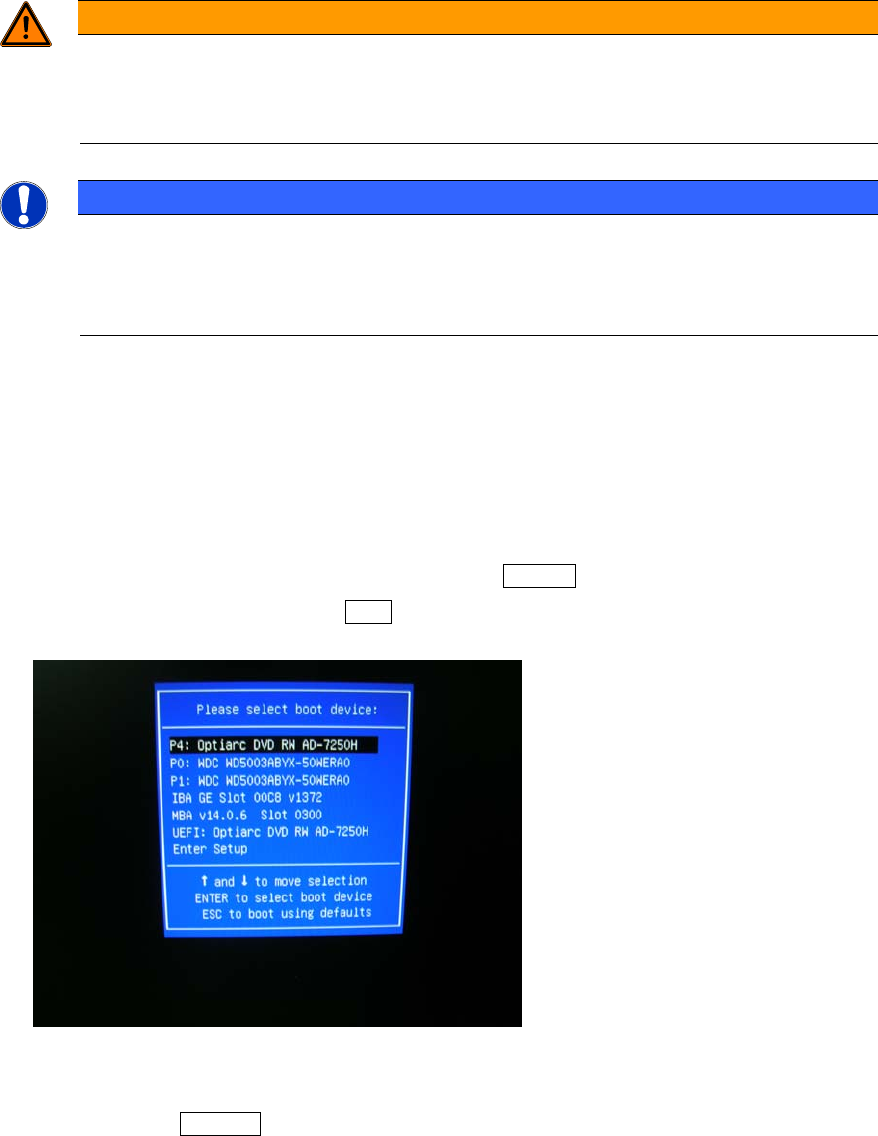
► During the boot process, press the F12 key multiple times to ensure that the boot menu
appears as shown in the following picture.
Figure 4-1: Boot menu of Celsius W510 with DVD selected
► By using the arrow keys, select the appropriate entry for the DVD drive of the computer, but
don’t press the ENTER key yet!
24
Celsius W510 with Windows 7 10/2011 Edition
NOTICE
Don’t use UEFI entry
If two DVD drive entries are shown, please don’t use the UEFI entry – this may break
compatibility with other hardware- related tools.
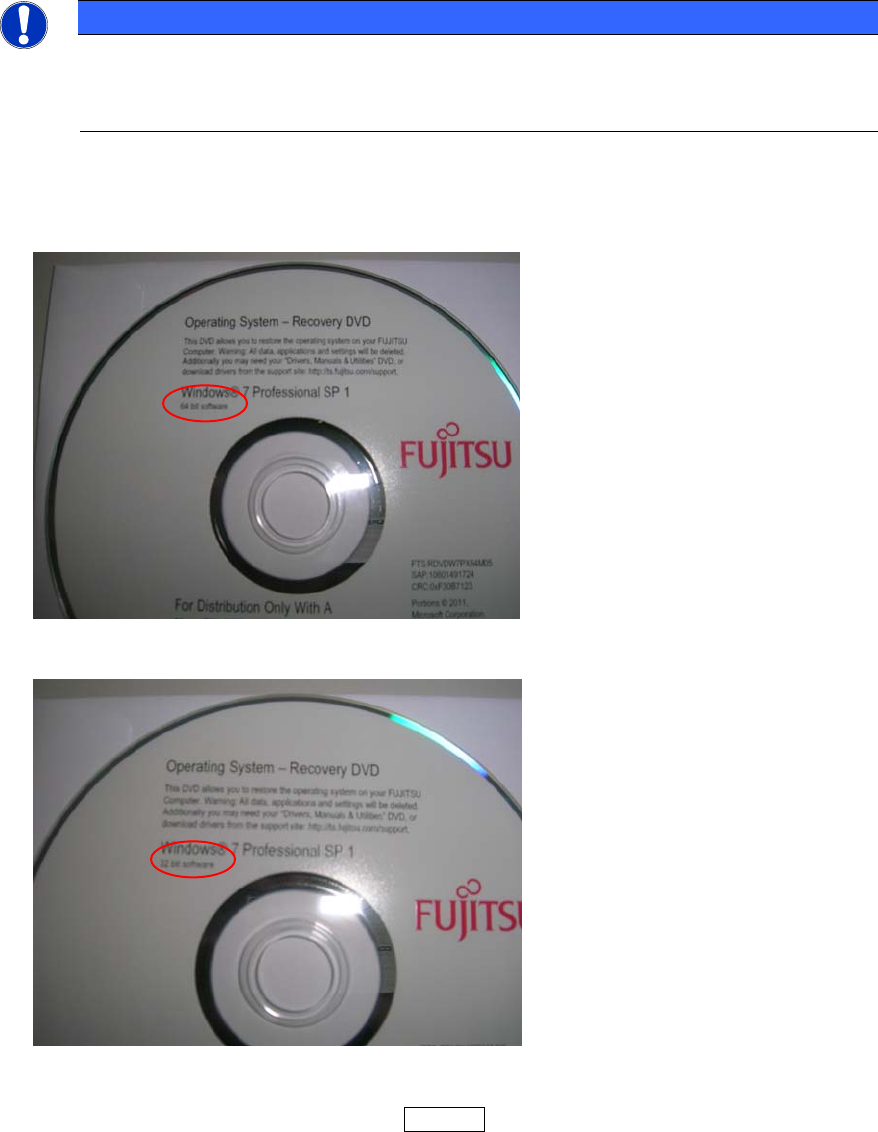
► Insert the appropriate Windows 7 DVD, depending on the architecture you decided to use.
The following pictures show you the different delivered versions of Windows 7.
Figure 4-2: Windows 7 Professional, 64 bit DVD
Figure 4-3: Windows 7 Professional, 32 bit DVD
► Insert the appropriate DVD and press the ENTER key.
25