JANETS_INM.pdf - 第106页
JaNets Instr ucti on Man ual 3. Launcher 3- 11 Launcher Display a co nfirmati on message f or checke d out fil es on exit: When this item is checke d, the message a ppears if t here is any f ile checke d out with the Pro…
JaNets Instruction Manual 3. Launcher
3-10
Server Name:
Enter the host name or the IP address of the Data Manager to which the system is to be
connected or click the <Browse> button to select the connecting destination PC.
Port No.:
Enter the port number of the Data Manager to which the system is to be connected.
Normally use the default number (80).
Connection Test:
Runs a connection test for the Data Manager.
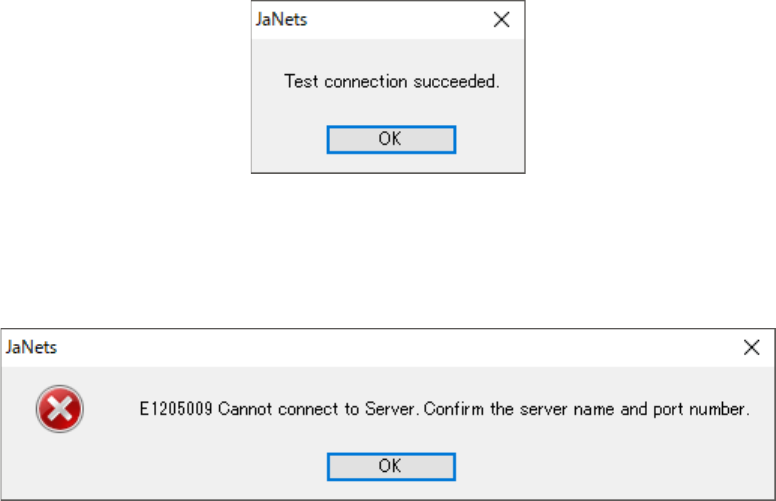
When the connection test finishes successfully, the following screen appears.
Figure 3.5-3 When the test connection succeeded
If the connection test fails, the following screen appears.
Check the server name, the port number and the network settings of the PC.
Figure 3.5-4 When the connection test failed
JaNets Instruction Manual 3. Launcher
3-11
Launcher
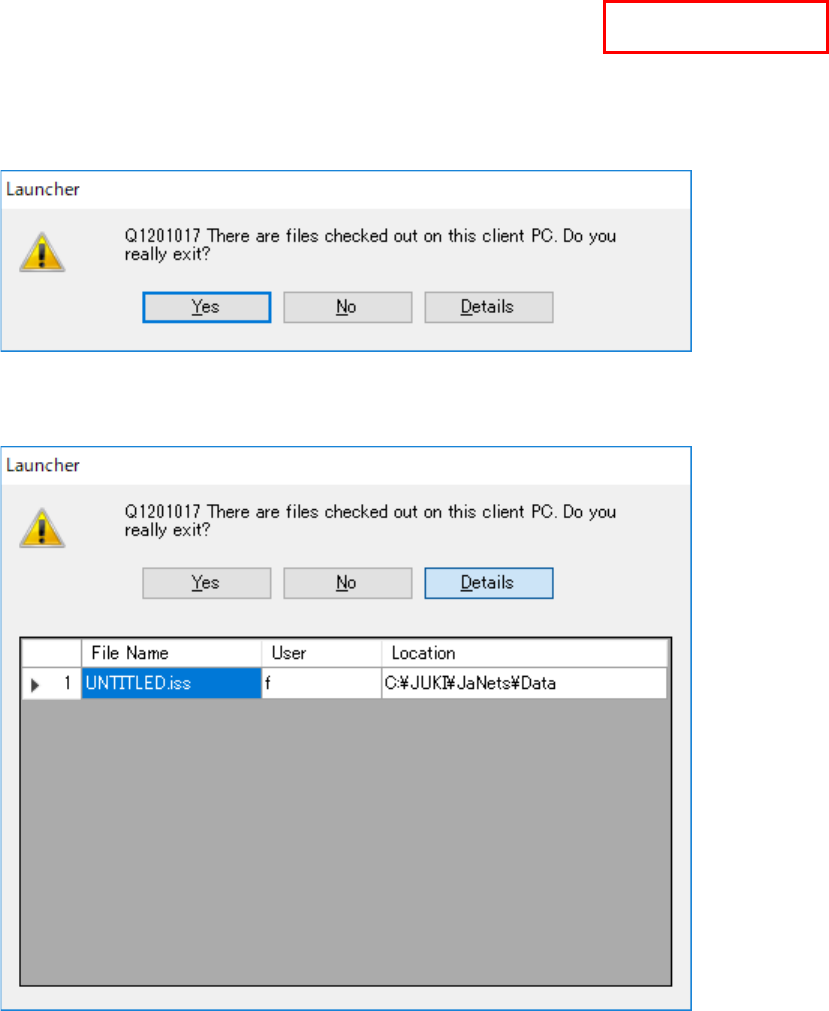
Display a confirmation message for checked out files on exit:
When this item is checked, the message appears if there is any file checked out with the
Program Explorer on termination.
The default setting is OFF.
Figure 3.5-5 If there is any file checked out with the Program Explorer
When you press the <Details> button, the list of files checked out appears on the screen.
Figure 3.5-6 List of files checked out
Automatic backup
Validate the automatic backup:
When this item is checked off, the MDB files of the component database, feeder database,
mark database set in the shop floor setup at the end of launcher are backed up. The default
setting is OFF.
Execution interval:
Set up the backup time to be executed in some days subsequent to the last backup. The
default setting is 3 days.
Automatic backup folder:
Specify the folder for backup. Specify a folder that permits writing.
Data Manager
JaNets Instruction Manual 3. Launcher
3-12
TraceMonitor
Use/Not use:
When you select the “Use” radio button, TraceMonitor is displayed
on the “Shared” screen of the Launcher.
Collect:
When you put a checkmark in this check box, information on each device is collected.
If you do not have the TraceMonitor license, it is not displayed on the screen.
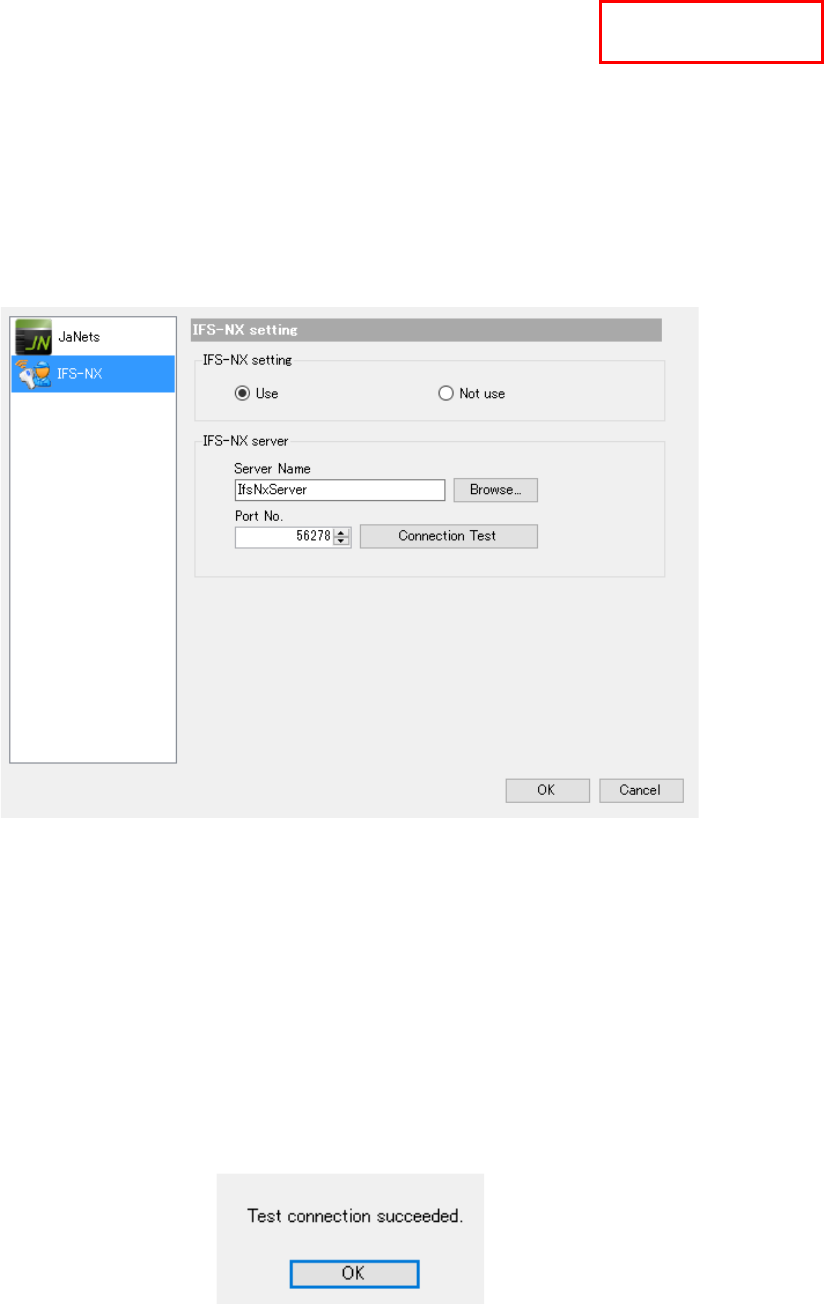
When you select “IFS-NX,” you can make settings of the environment for IFS-NX.
When linking to the IFS-NX, select the "Use" of the IFS-NX and set up a server name etc. to
perform a connection test.
When you do not use the IFS-NX, select the "Not use."
Figure 3.5-7 “Set Environments” dialog box (for setting the IFS-NX)
IFS-NX Configuration : Set whether to use the IFS-NX function.
Server Name : Enter a server name directly, or select the <Browse> to specify a
network computer.
Browse : When you click this button, the dialog box for browsing the network
computers appears on the screen.
Port No. : Enter the port number of the IFS-NX server.
When you select the <Connection Test> button after setting a server name, the system performs
the connection test for the IFS-NX. When the system is connected to the IFS-NX successfully, the
following message appears on the screen.
Figure 3.5-8 When the system is connected to the IFS-NX server successfully
When you click the <OK> button, the “Set Environments” dialog box reappears.
TraceMonitor