JANETS_INM.pdf - 第149页
JaNets In structio n Manual 5. Shopflo or Setu p 5- 29 4) Example of an RP - 1 print er This printer d oes not have any of t he followin g options: Standard Dev ices, Opt ion Device s and Operat ion Opt ions. The system …
JaNets Instruction Manual 5. Shopfloor Setup
5-28
Figure 5.4-18 Option Devices (JM-20)
Figure 5.4-19 Option Devices (JM-100)
Figure 5.4-20 Operation Options (JM-20)
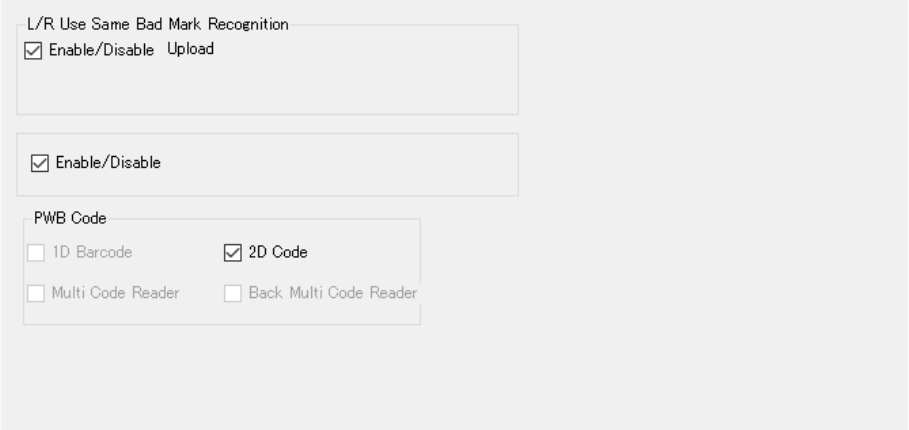
* Operation options cannot obtain information with the "Learn Conditions."
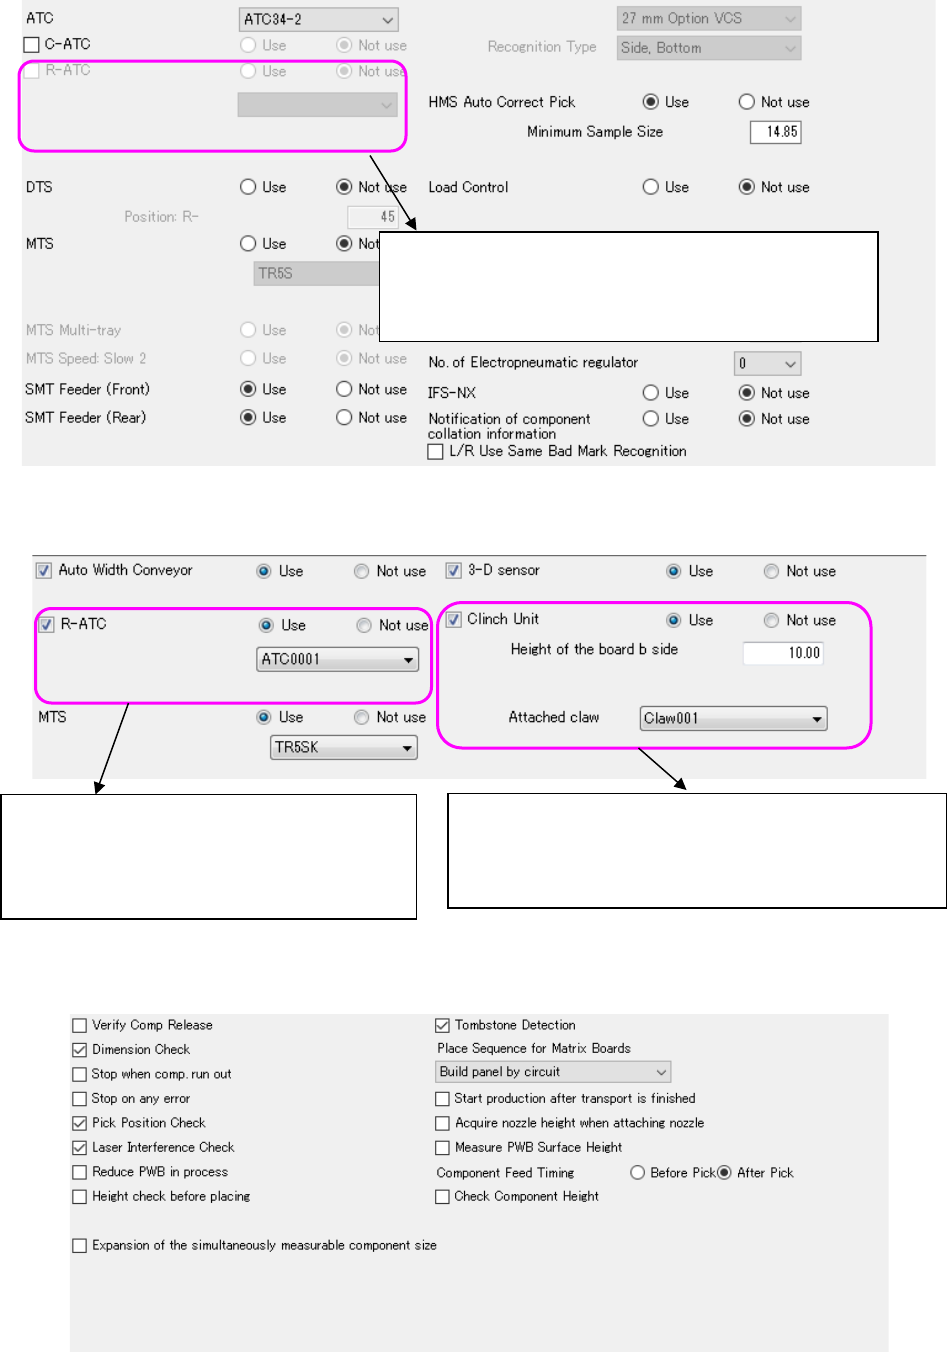
You can select the imported R-ATC with selecting [Tool] –
[Equipment Setup] – “R-ATC.”
When you import an R-ATC, you can perform this operation.
The imported R-ATC is able to be selected by Tool
→ Equipment Setting → R-ATC (JM-100).
Operation becomes capable when R-ATC is
imported.
The imported Claw is able to be selected by Tool →
Equipment Setting → Claw.
Operation becomes capable when Claw is imported.
JaNets Instruction Manual 5. Shopfloor Setup
5-29
4) Example of an RP-1 printer
This printer does not have any of the following options: Standard Devices, Option Devices
and Operation Options.
The system cannot obtain the printer status, but the Connection Test function can check
whether it can communicate with the printer.
5) Example of an RV-1 inspection machine
The system cannot obtain the status of an inspection machine, but the Connection Test
function can check whether it can communicate with the inspection machine.
Figure 5.4-21 Option Devices (RV-1)
JaNets Instruction Manual 5. Shopfloor Setup
5-30
Setting a Production Line to Be Monitored
Select it from the arranged line on the created floor.
It is impossible to select an unarranged line, “Floor” and “Machine” hierarchy, and specify a
registered line.
When the program downloader (or external output monitor) is already started, the monitor line
cannot be set.
Setting method
“Monitor line setting” is displayed on the main screen by pressing the “Tool” – “Monitor line setting”
(or monitor line setting icon of the tool bar).
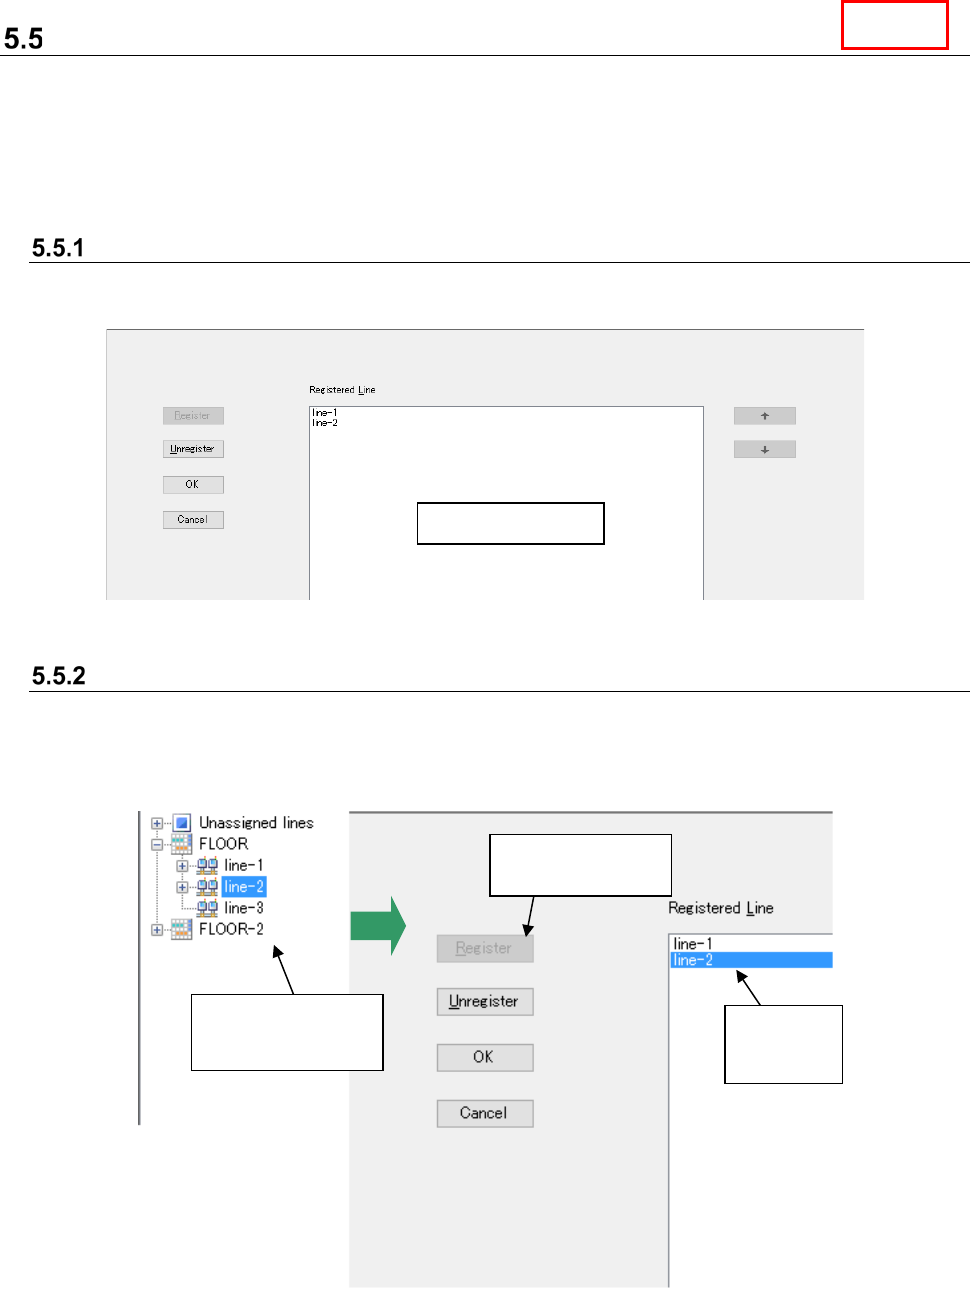
Figure 5.5-1 Screen for setting a production line to be monitored
Registration of a line to be monitored
Select a production line to be registered from the “Floor Configuration” of the Explorer (you cannot
select two or more lines). Then, select the “Register” button on the “Set Lines to Monitor” screen.
The selected production line is added to the “Registered Line” list.
When another line is already registered, it is added to the last line in the list.
Figure 5.5-2 Registering a production line to be monitored ①
Machine details
Select a production
line with the Line
Explorer.
“Line 1-4”
is added to
the list.
Click the
“Register” button.
Line