JANETS_INM.pdf - 第162页
JaNets In structio n Manual 5. Shopflo or Setu p 5- 42 Import of adhesive parameter The adhes ive param eter i s immediate ly refl ected on to the dat abase by im port (t ake - in). Figure 5.6 - 17 Import status Overwrit…
JaNets Instruction Manual 5. Shopfloor Setup
5-41
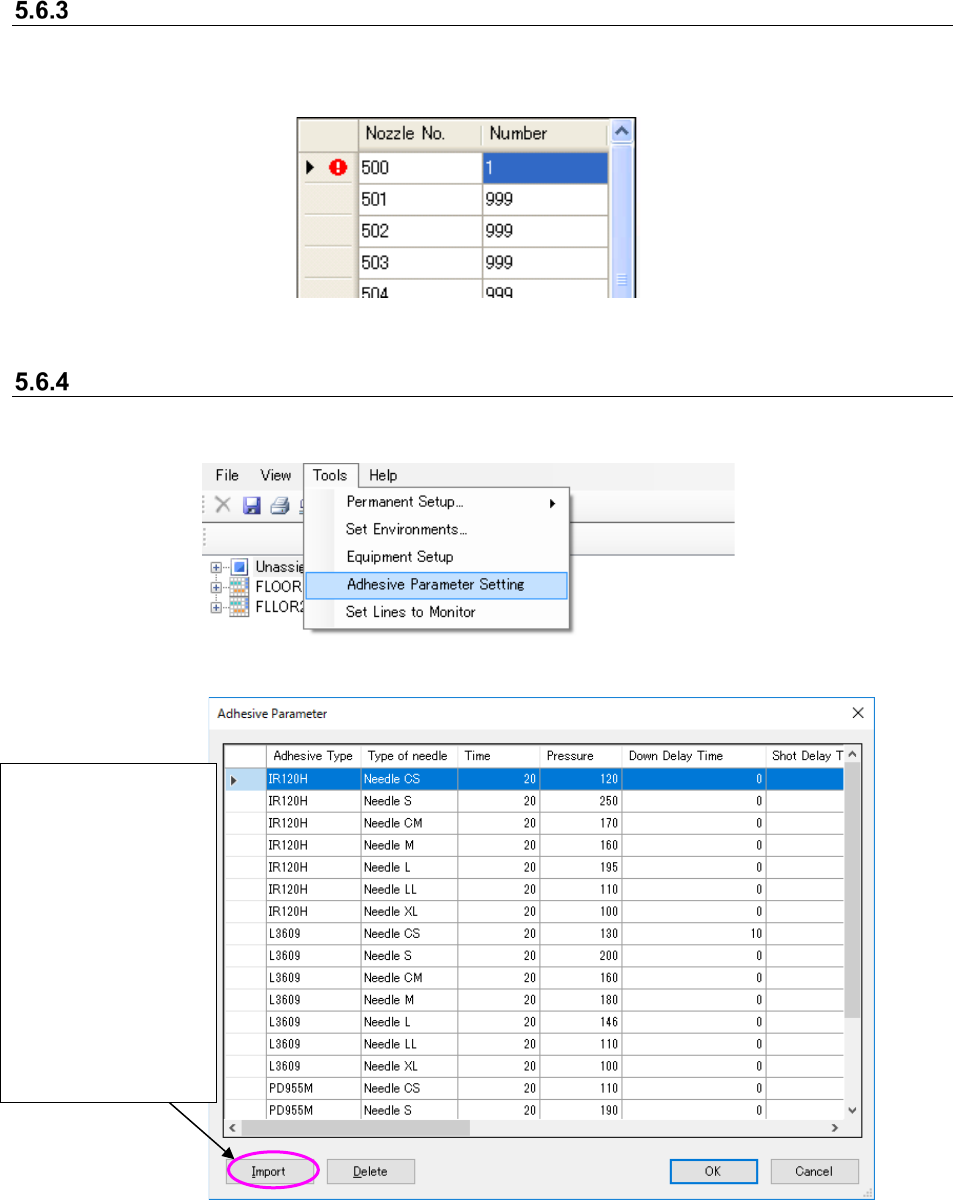
Error operation
If any invalid value is entered, the corresponding error message appears on the screen. Click the
<OK> button on the displayed screen, and enter data again on the line on which the error mark is
displayed.
Figure 5.6-14 Input error
Adhesive parameter setting
The list of adhesive parameters that are now registered is displayed by selecting “Tool” -
“Adhesive parameter setting.”
Figure 5.6-15 “Tool” - “Adhesive parameter setting”
Figure 5.6-16 “Adhesive parameter setting” screen
* The adhesive parameter cannot be edited directly.
Import the adhesive
parameter from the
adhesive parameter
file (*AD2).
* The adhesive
parameter that can
be imported is only
the adhesive
parameter file of
*AD2 type.
* Only the imported
adhesive parameter
can be deleted.
JaNets Instruction Manual 5. Shopfloor Setup
5-42
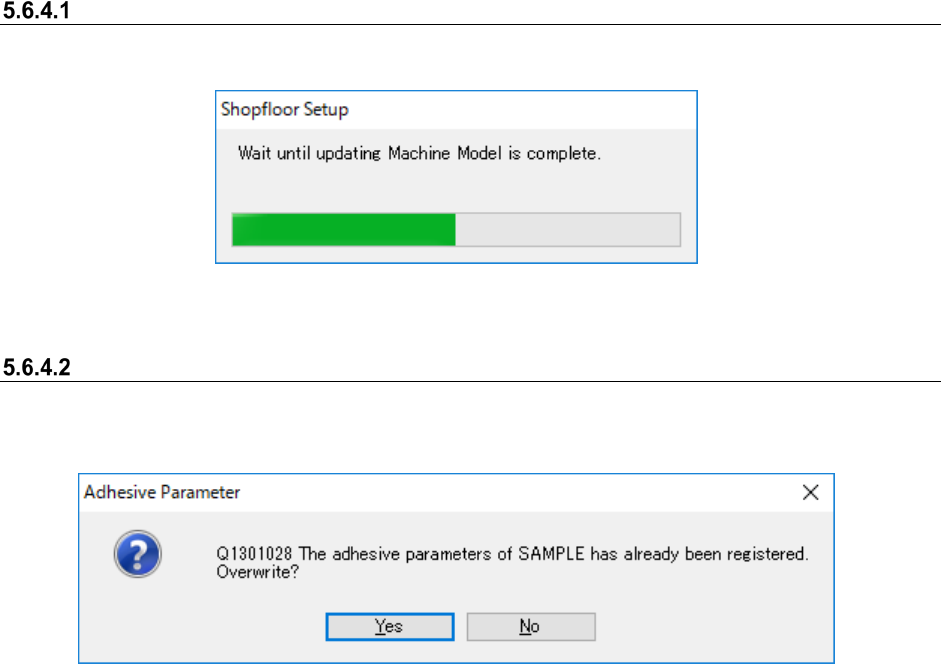
Import of adhesive parameter
The adhesive parameter is immediately reflected onto the database by import (take-in).
Figure 5.6-17 Import status
Overwrite register
When an adhesive parameter registered by the above import is selected, the confirmation dialog is
displayed.
Figure 5.6-18 Overwrite confirmation dialog
* After an adhesive parameter is overwritten, all the needle parameters defined in the adhesive
parameter file are updated.
JaNets Instruction Manual 5. Shopfloor Setup
5-43
Print
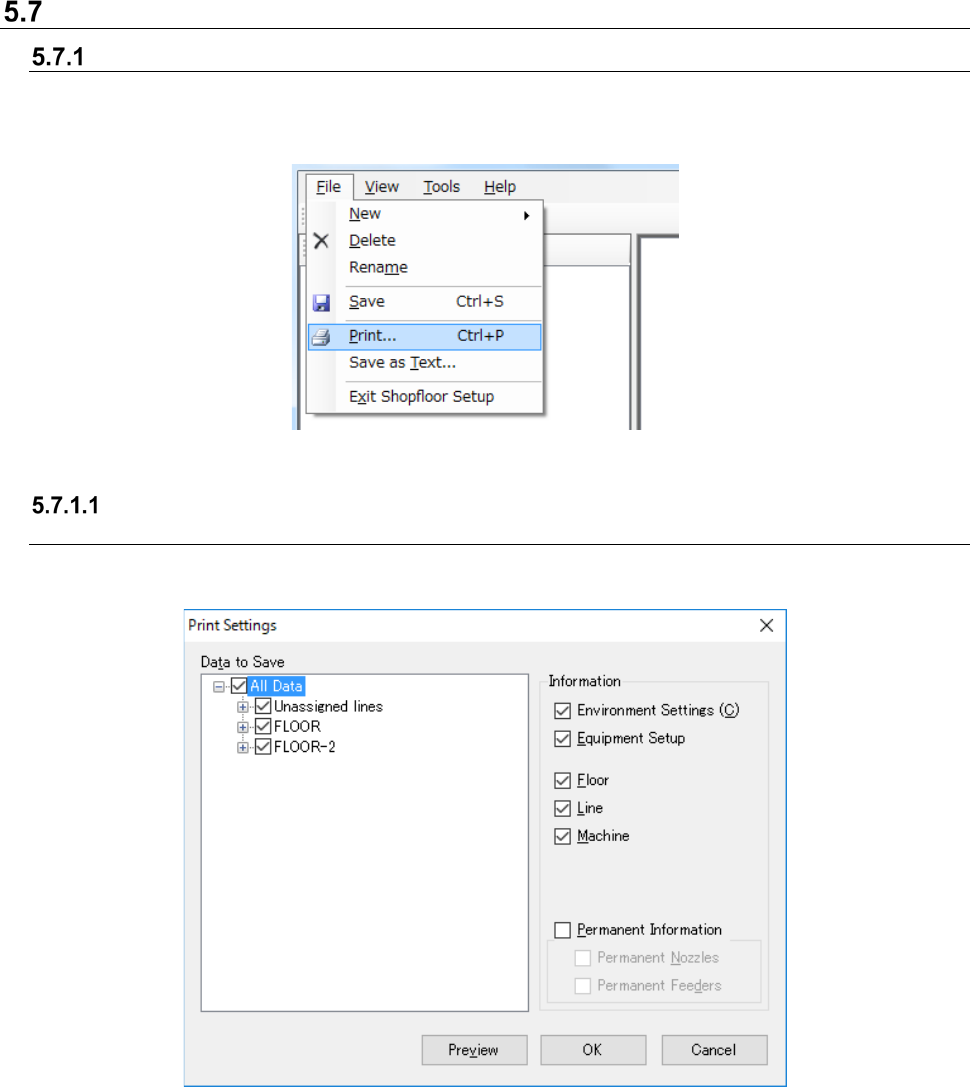
Print
When you select the [File] command on the menu bar, and then the [Print] command on the “File”
menu, the “Print Settings” screen appears, and it allows you to print information on the production
line (settings, production line/machine information).
Figure 5.7-1 [File] – [Print]
Printing production line information
(settings, production line/machine information)
If the equipment list is not displayed on the screen, the system prints the settings and
production/machine information.
Figure 5.7-2 “Print Settings” screen
Data to Save:
A combination of selection on the tree and that of the “Information” group box decides what to
be printed. When a floor, production line and/or machine is checked on the “Data to Save”
tree, you have to check the corresponding check box on the “Information” group box area
except for the “Environment Settings” check box and the “Equipment Setup” check box. When
this “Print Settings” screen starts up, all kinds of data are checked on the “Data to Save” tree,
and all check boxes except for the “Permanent Information” check box are checked on the
“Information” group box area by default.
OK: Displays the “Print Settings” dialog box on the screen.