JANETS_INM.pdf - 第163页
JaNets In structio n Manual 5. Shopflo or Setu p 5- 43 Prin t Print When you se lect the [F ile] command o n the men u bar , and then the [Print] command on t he “File” menu, the “Pri nt Settin gs” screen appe ars, and i…
JaNets Instruction Manual 5. Shopfloor Setup
5-42
Import of adhesive parameter
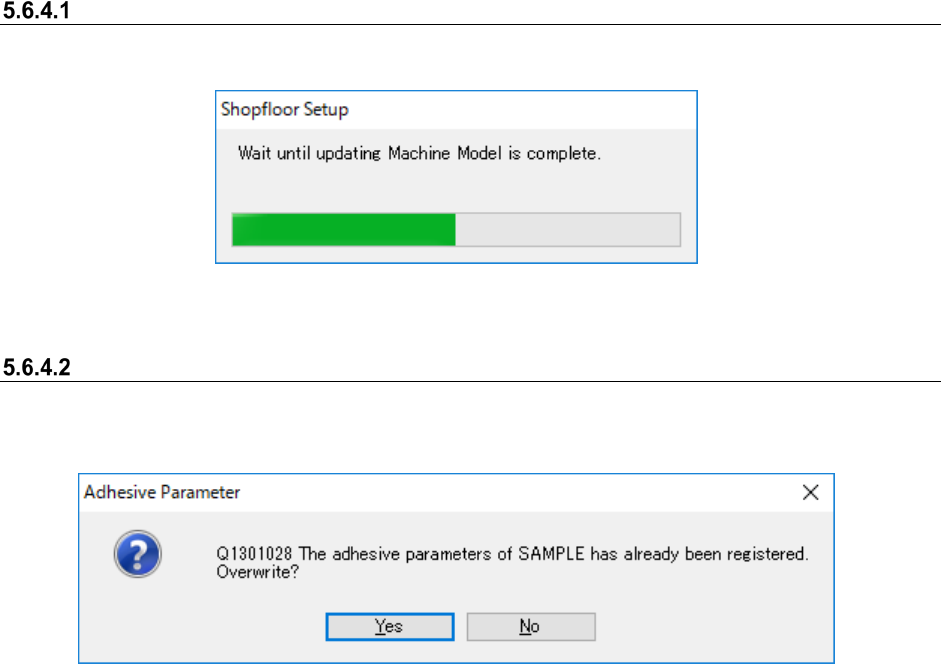
The adhesive parameter is immediately reflected onto the database by import (take-in).
Figure 5.6-17 Import status
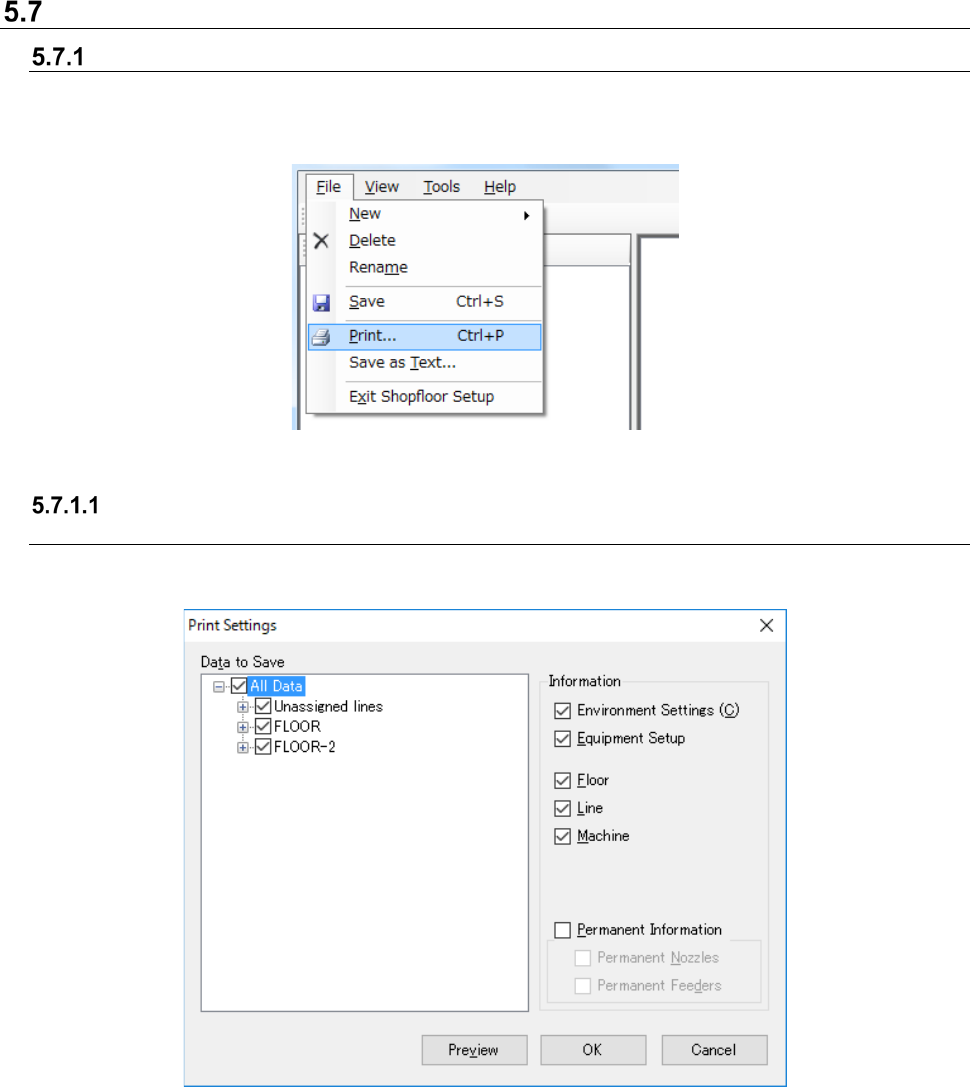
Overwrite register
When an adhesive parameter registered by the above import is selected, the confirmation dialog is
displayed.
Figure 5.6-18 Overwrite confirmation dialog
* After an adhesive parameter is overwritten, all the needle parameters defined in the adhesive
parameter file are updated.
JaNets Instruction Manual 5. Shopfloor Setup
5-43
Print
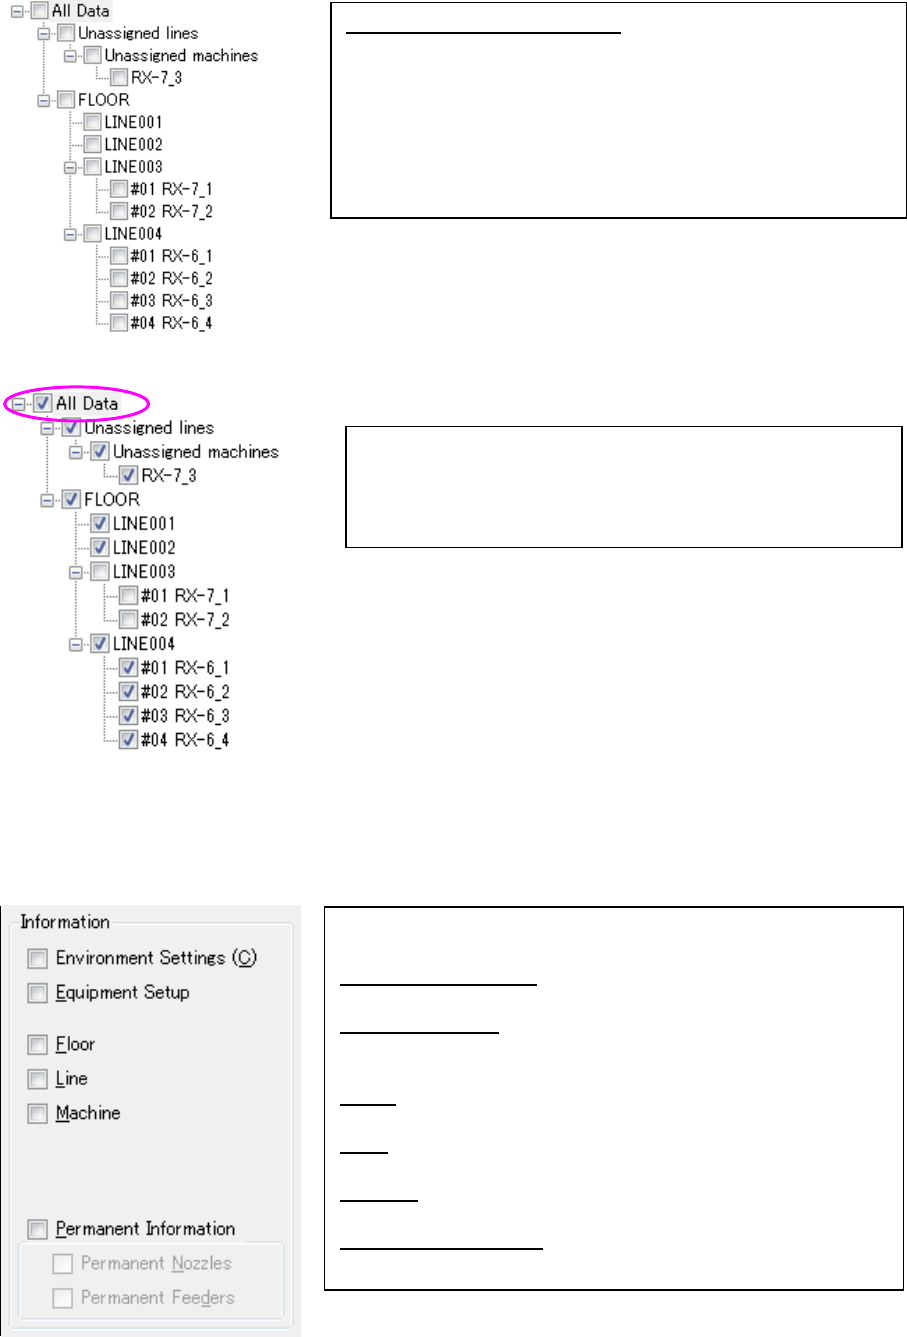
Print
When you select the [File] command on the menu bar, and then the [Print] command on the “File”
menu, the “Print Settings” screen appears, and it allows you to print information on the production
line (settings, production line/machine information).
Figure 5.7-1 [File] – [Print]
Printing production line information
(settings, production line/machine information)
If the equipment list is not displayed on the screen, the system prints the settings and
production/machine information.
Figure 5.7-2 “Print Settings” screen
Data to Save:
A combination of selection on the tree and that of the “Information” group box decides what to
be printed. When a floor, production line and/or machine is checked on the “Data to Save”
tree, you have to check the corresponding check box on the “Information” group box area
except for the “Environment Settings” check box and the “Equipment Setup” check box. When
this “Print Settings” screen starts up, all kinds of data are checked on the “Data to Save” tree,
and all check boxes except for the “Permanent Information” check box are checked on the
“Information” group box area by default.
OK: Displays the “Print Settings” dialog box on the screen.
JaNets Instruction Manual 5. Shopfloor Setup
5-44
Setting the “Data to Save” tree
Figure 5.7-3 “Data to Save” (T) tree – Unchecking the higher hierarchy
Figure 5.7-4 “Data to Save” (T) tree – Unchecking the middle hierarchy
Setting the “Information” group box
Set which information of the hierarchy checked on the “Data to Save” tree is to be printed.
Figure 5.7-5 “Information” group box
How to check the tree structure:
When you click the [+]/[-] mark on the “Data to Save” tee, the lower
hierarchy is displayed or not. When you press the [Alt] key and the
[T] key at the same time, the “All Data” check box can be checked
on the “Data to Save” tree. When you press the [↑] key or the [↓]
key, you can move to the check box of the higher or lower
hierarchy. When you press the [←] key or the [→] key, you can
develop the hierarchy.
If you deselect the check box of the middle hierarchy when the “All
Data” check box is checked, its lower hierarchies are unchecked,
and the higher hierarchy they belong to are marked to indicated
that it is checked and unchecked.
Check the check box of the desired item displayed on the left to
select it.
Environment Settings: The units set on the “Set Environments”
screen are to be printed.
Equipment Setup: The number of each of tape feeders, stick
feeders, bulk feeders, stick changers and nozzles set on the
“Equipment Setup” screen is to be printed.
Floor: The number of assigned production lines and that of the
assigned machines are to be printed.
Line: Information on the production line configuration and that on the
environment of each production line are to be printed.
Machine: The machine detailed items except the “Permanent
Information” are to be printed.
Permanent Information:
See Section “Permanent Information.”