JANETS_INM.pdf - 第212页
JaNets In structio n Manual 7. Program Editor 7-5 Bad mark t eaching informati on Select the settin g metho d of bad mark teachin g infor mation f rom bet ween " Us e data of the machine " and " U se data …
JaNets Instruction Manual 7. Program Editor
7-4
7.4 Operating Procedure
7.4.1 Editing PWB data
Editing PWB Data (Basic Settings)
When you select the “PWB Data” from the tree view, and then the “Basic Settings,” the following
screen appears.
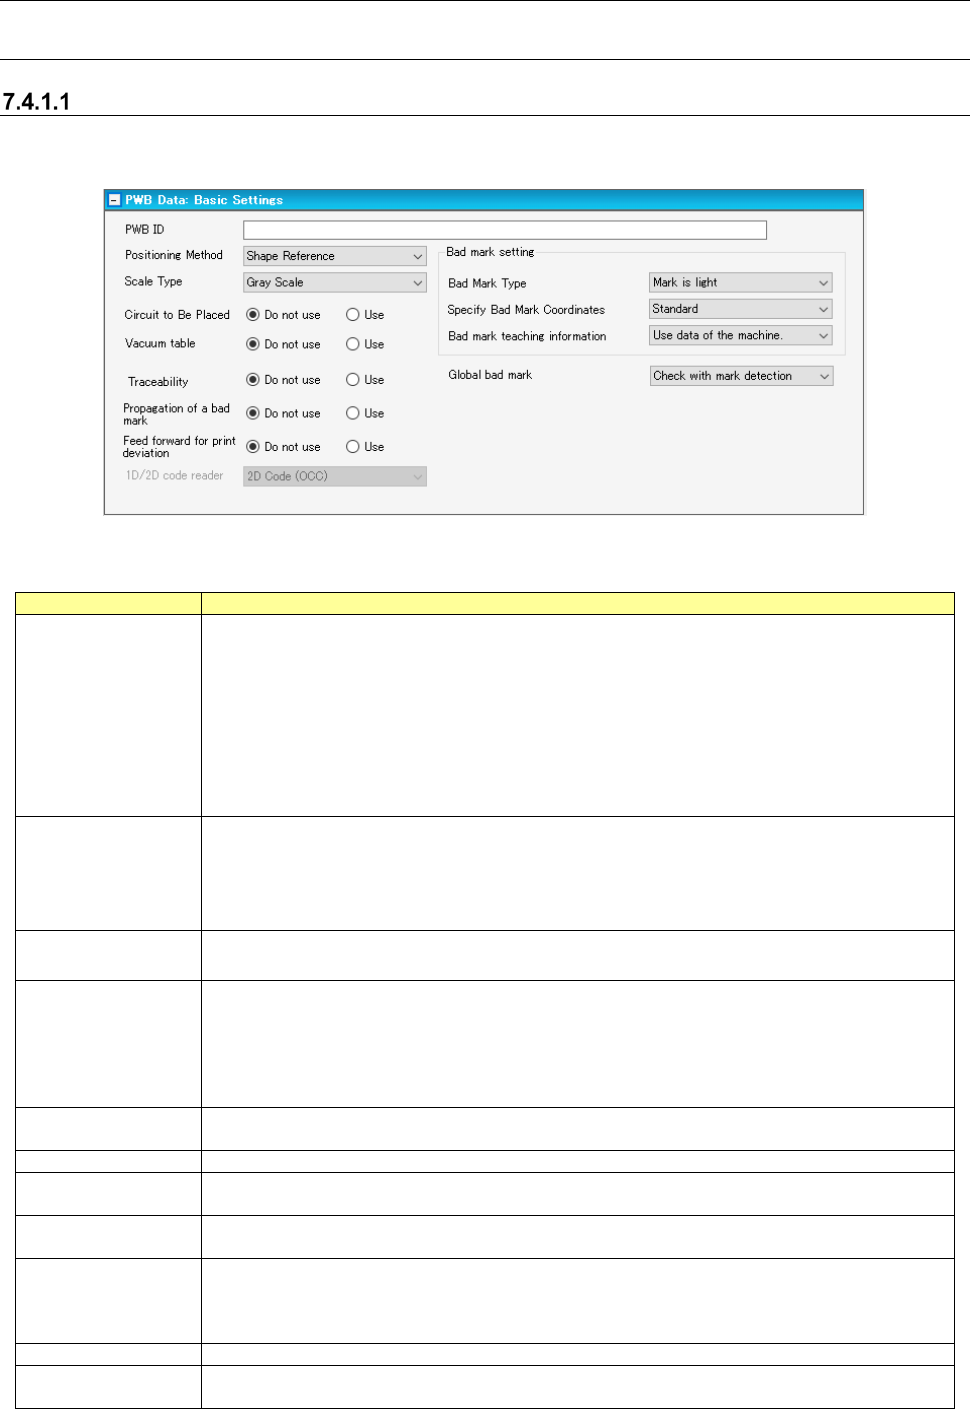
Figure 7.4-1 PWB data (Basic Settings) screen
Table 7.4-1 PWB data (Basic Settings) screen
Item
Description
PWB ID
Specify a comment on a PWB.
Set up a PWB ID using an English one byte character symbol and within 60 characters.
Blank specification is also possible.
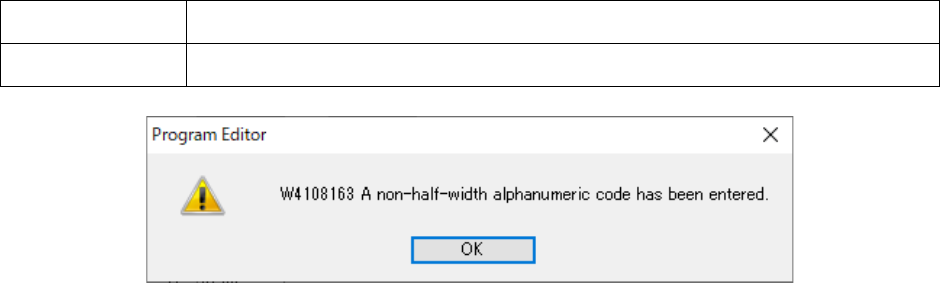
Warning is displayed if any characters other than one-byte English numbers and letters are
entered.
In case of using double-byte characters in the existing production program, they are read in
as they are.
* In case of using characters other than the above on the substrate ID, there will be the
pos-sibility of unexpected actions such as garbling, unable to save substrate ID and so on.
Positioning Method
Select the positioning method of a PWB from between "Shape Reference" (default) and
"Positioning Hole Reference."
The "Positioning Hole Reference" can be used only by the machine which can use a refer-
ence pin unit.
An RX-6 and an RX-7 cannot use the reference pin unit, so select "Shape Reference."
Scale Type
Select the recognition method of a BOC mark and area fiducial mark from between "Gray
Scale" and "Binary Scale."
Circuit to Be Placed
When a circuit on which component is not placed exists, you can keep the production of a
specified circuit from being executed.
This function is effective function when PWB configuration is "multi-plane matrix" and "mul-
ti-plane non-matrix."
When you select "Use," specify a circuit to be placed or a circuit not to be placed on a circuit
arrangement screen.
Vacuum Table
Specify whether or not to fix a PWB with a vacuum table.
When "Do not use" is selected, a PWB is fixed with a backup pin.
Traceability
Select “Do not use” or “Use” to specify whether to use the traceability function.
L/R Use Same Bad
Mark Recognition
Select “Do not use” or “Use” to specify whether to use the same bad mark recognition.
Feed forward for
printing offset
Regarding the feed forward for printing offset, select “Not use” or Use.
1D/2D code reader
Select a code reader to be used among: “Barcode,” “2D barcode (OCC),” “Multi-code read-
er,” “Back side multi-code reader” and “2D (individual).”
Determine the code you can use according to the settings of a used PWB code made by the
Shopfloor setup.
Bad Mark Type
Select the detection method of a bad mark from between "Mark is light" and "Mark is dark."
Specify Bad Mark
Coordinates
Select the method of specifying bad mark coordinates from between "Standard" and "Ex-
pansion."
JaNets Instruction Manual 7. Program Editor
7-5
Bad mark teaching
information
Select the setting method of bad mark teaching information from between "Use data of the
machine" and "Use data of the production program."
Global bad mark
Select the check method at the time of detecting a global bad mark from between "Check
with mark detection" and "Not check with mark detection."
Figure 7.4-2 Warning message for Substrate ID
[In Case of the Line only for JM-10 and JM-20]
Placement circuit specification, vacuum table, feed forward for printing offset, bad mark teaching
information and global bad mark are not indicated.
[In Case of the Line Including JM-100]
Feed Forward of Vacuum Table and Print Misalignment becomes non-display.
JaNets Instruction Manual 7. Program Editor
7-6
Editing PWB Data (Basic Dimension Settings)
When you select the “PWB Data” from the tree view, and then the “Basic Dimension Settings,” the
following screen appears.
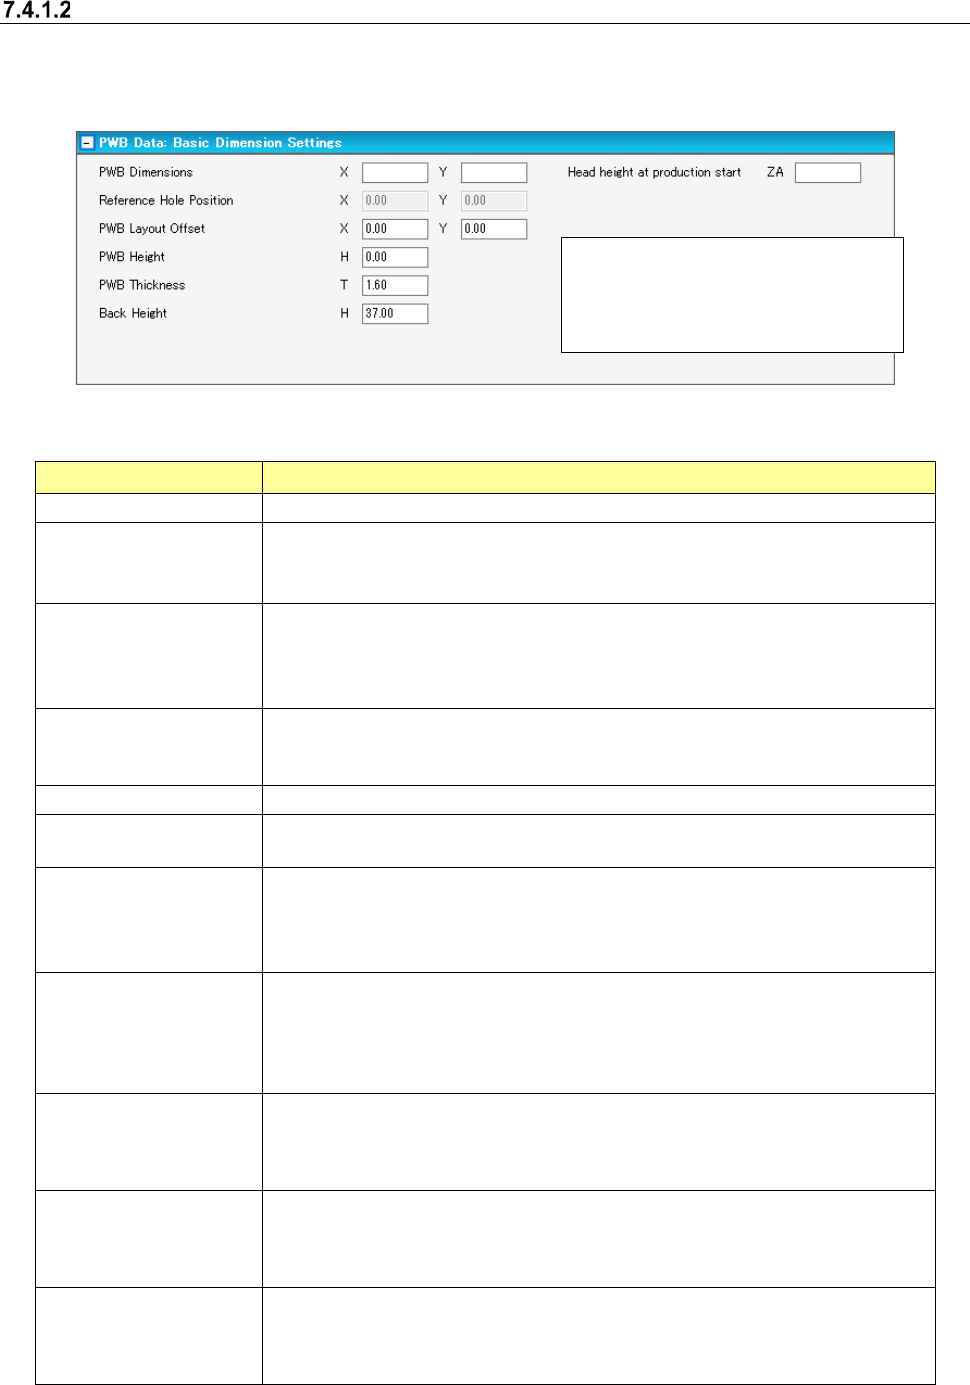
Figure 7.4-3 PWB data (PWB Dimension Settings) screen
Table 7.4-2 PWB data (PWB Dimension Settings) screen
Item Description
PWB Dimensions
Set up the outer dimensions of a PWB.
Reference Hole Position Set up the positioning hole position seen from a PWB position reference.
This item can be set up only when "Reference Hole Position” is selected as the
method of positioning a PWB.
PWB Layout Offset
Set up the coordinates of the PWB layout edge point seen from a PWB position
reference.
A PWB layout edge point changes depending on a transport direction and a ref-
erence surface.
PWB Height Set up the height of PWB surface seen from the transport reference surface.
[When a JX-350 is used]
“0” (zero) is always displayed regardless of what value you entered.
PWB Thickness
Set up the thickness of a PWB.
Back Height
Set up the distance including the component height to the back side of a PWB
seen from a transport reference surface.
Clamp offset
Set up the clamp offset which detects a PWB edge point with an HMS at the time
of the second clamp of a large-sized board.
Whenever the PWB outer dimensions Y changes, default of the clamp offset is set
up.
Head height at production
start
This item is displayed when an RS-1 and JM-100 included in the production line.
Enter the maximum height of a component already placed on a board with the
previous process of the JaNets.
Since a blank is displayed for this item by default, the PWB data cannot be created
completely unless you enter this item.
Every clamp place range
X1
This item is displayed when a JX-350 is used.
If the X-dimension of the board outer dimensions “PWB Dimensions” exceeds 650
mm, enter the range in which a component is placed when the board is clamped
for the first time.
Every clamp place range
X2
This item is displayed when a JX-350 is used.
If the X-dimension of the board outer dimensions “PWB Dimensions” exceeds
1200 mm, enter the range in which a component is placed when the board is
clamped for the second time.
PWB Place height
This item is displayed when a JX-350 is used.
You cannot edit this setting.
A value calculated based on the board height set in the “PWB Height” field and the
board thickness set in the “PWB Thickness” is displayed here.
* The unit of the length displayed here
is specified with the Shopfloor Setup
application, and you can set the
length in mm or inch.