JANETS_INM.pdf - 第353页
JaNets In structio n Manual 7. Program Editor 7- 146 (9) Display Setup (Pick Data Pan el) W hen you sel ect “ Panel V iew ,” and then “ Pick Data, ” y ou can display or hide the Pick data panel. Figure 7.6 - 45 “ Displ a…

JaNets Instruction Manual 7. Program Editor
7-145
(7) Display Setup (PWB Data Panel)
This is a screen to set the display/no display of the PWB data panel.
Figure 7.6-43 “Display Setup: PWB Data Panel” screen
(8) Display Setup (Component Data Panel)
When you select “Panel View,” and then “Component Data,” you can display or hide the
Component data panel.
Figure 7.6-44 “Display Setup: Component Data Panel” screen
When you check each check
box, the corresponding data
entry panel opens.
Select “Display Setup”
from the tree view,
“Panel View” and then
“Component Data” to
display the “Display
Setup: Component Da-
ta Panel” screen.
Select “Display Setup”
from the tree view, “Panel
View” and then “PWB
Data” to display the “Dis-
play Setup: PWB Data
Panel” screen.
When you check each check
box, the corresponding data
entry panel opens.
JaNets Instruction Manual 7. Program Editor
7-146
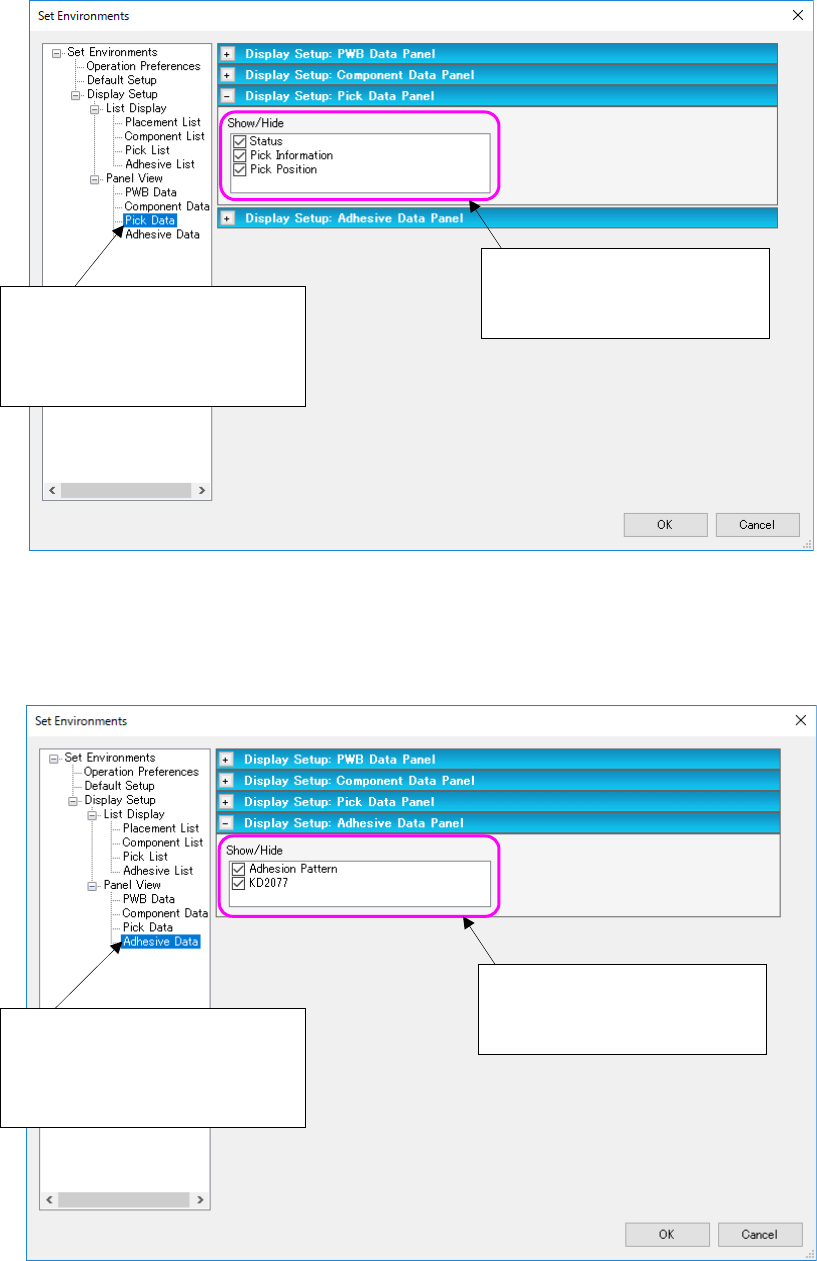
(9) Display Setup (Pick Data Panel)
When you select “Panel View,” and then “Pick Data,” you can display or hide the Pick data
panel.
Figure 7.6-45 “Display Setup: Pick Data Panel” screen
(10) Display Setup (Adhesion Data Panel)
When you select “Panel View,” and then “Adhesion Data,” you can display or hide the Pick
data panel.
Figure 7.6-46 “Display Setup: Adhesion Data Panel” screen
* In the EPU mode, only the items required for each machine model are displayed.
Select “Display Setup” from the
tree view, “Panel View” and then
“Pick Data” to display the “Display
Setup: Pick Data Panel” screen.
Select “Display Setup” from the
tree view, “Panel View” and then
“Adhesion Data” to display the
“Display Setup: Pick Data Panel”
When you check each check
box, the corresponding data
entry panel opens.
When you check each check
box, the corresponding data
entry panel opens.
JaNets Instruction Manual 7. Program Editor
7-147
7.7 Optimize
What is the Optimize?
This application divides a production program data created with the Program Editor and assigns
these divided data to machines configuring a line so that the production time of each machine can
be almost the same (that is, creates divided files of a production program). It also optimizes the
feeder attachment position and the component pick-up/placement order. The production time of
machines is called “line balance.” The less the production times of all machines deviates, the
better the line balance becomes.
In addition, the system generates a division file for an inspection machine/printer based on data
set in the station data.
* The production times may not become equal to one another depending on the number of nozzles,
the number of feeders and/or the number of component reels that can be used for PWB produc-
tion. The optimization result varies greatly depending on the option settings or the settings of
components to be supplied.
7.7.1 Optimization Types
Table 7.7-1 Optimization item types
Optimization item
Summary of the function
Assignments
Divides program data created with the Program Editor and assigns di-
vided data to each machine.
Optimization for
each machine
Feeder as-
signment
Outputs the optimal feeder attachment position for program data divided
and assigned to each machine.
Sort placement
order
Outputs the optimal component pick-up/placement order for output of
the feeder assignment
Nozzle assign-
ment
Outputs the optimal nozzle assignment for the component pick-up and
placement order.
Station data
Outputs data specified in the station data as data for an inspection
machine/printer.
Tact simulator Simulates the production time of each machine based on the results of
the “Assignments,” “Feeder assignment” and “Sort placement order.”
Line balancer
Moves data among machines if the line balance is found to be bad as a
result of tact (cycle time) simulation.
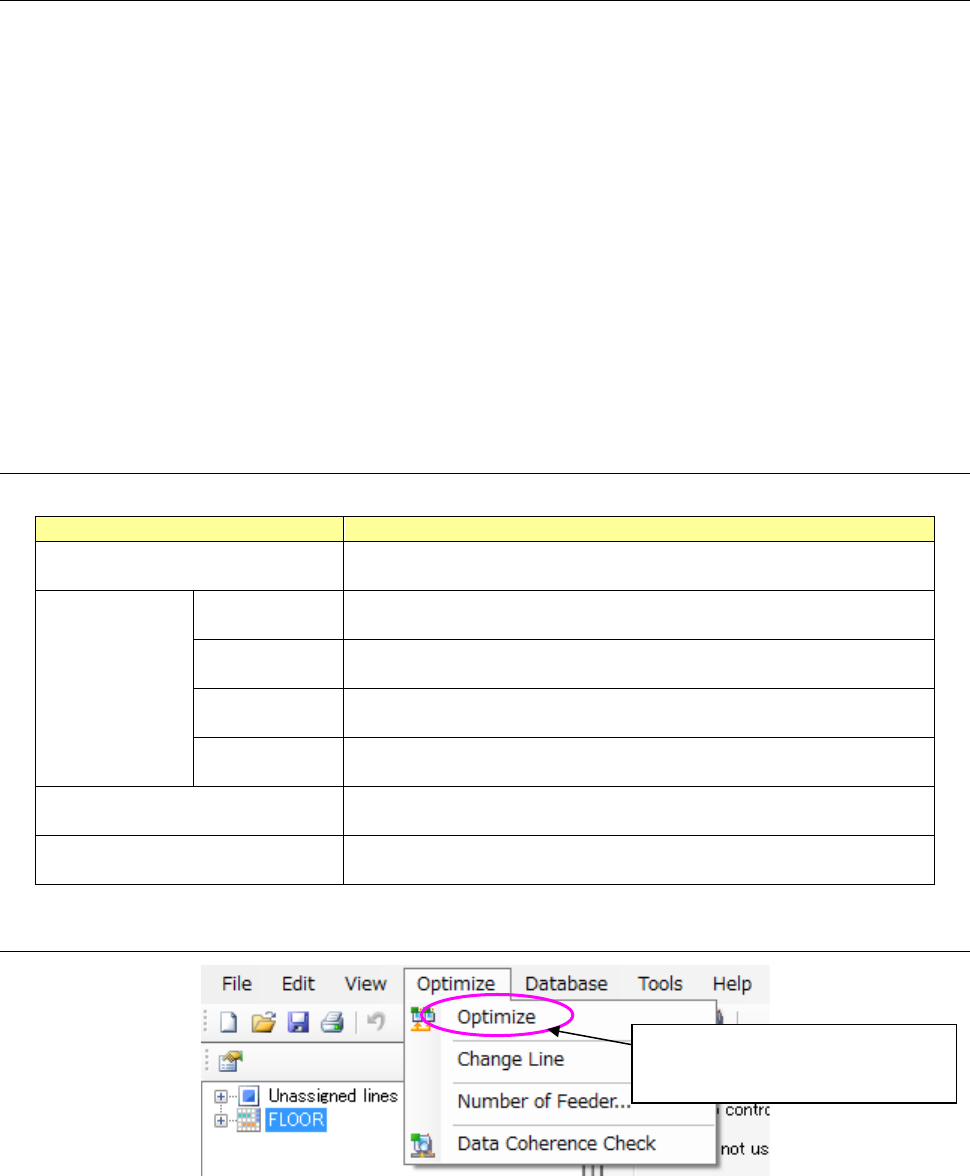
7.7.2 Starting Up the Optimize
Figure 7.7-1 “Optimize”
Select the [Optimize] command from
the toolbar, and then the [Optimize]
command in the “Optimize” menu.