JANETS_INM.pdf - 第38页
JaNets Instr ucti on Man ual 2. Install ation 2- 10 (3) Specify the dest ination f older, and then c lick the < Next> but ton. Since you do not ha ve to change the de stinat ion fol der, click the < Next> but…
JaNets Instruction Manual 2. Installation
2-9
2.1.3.7 Installing the JaNets
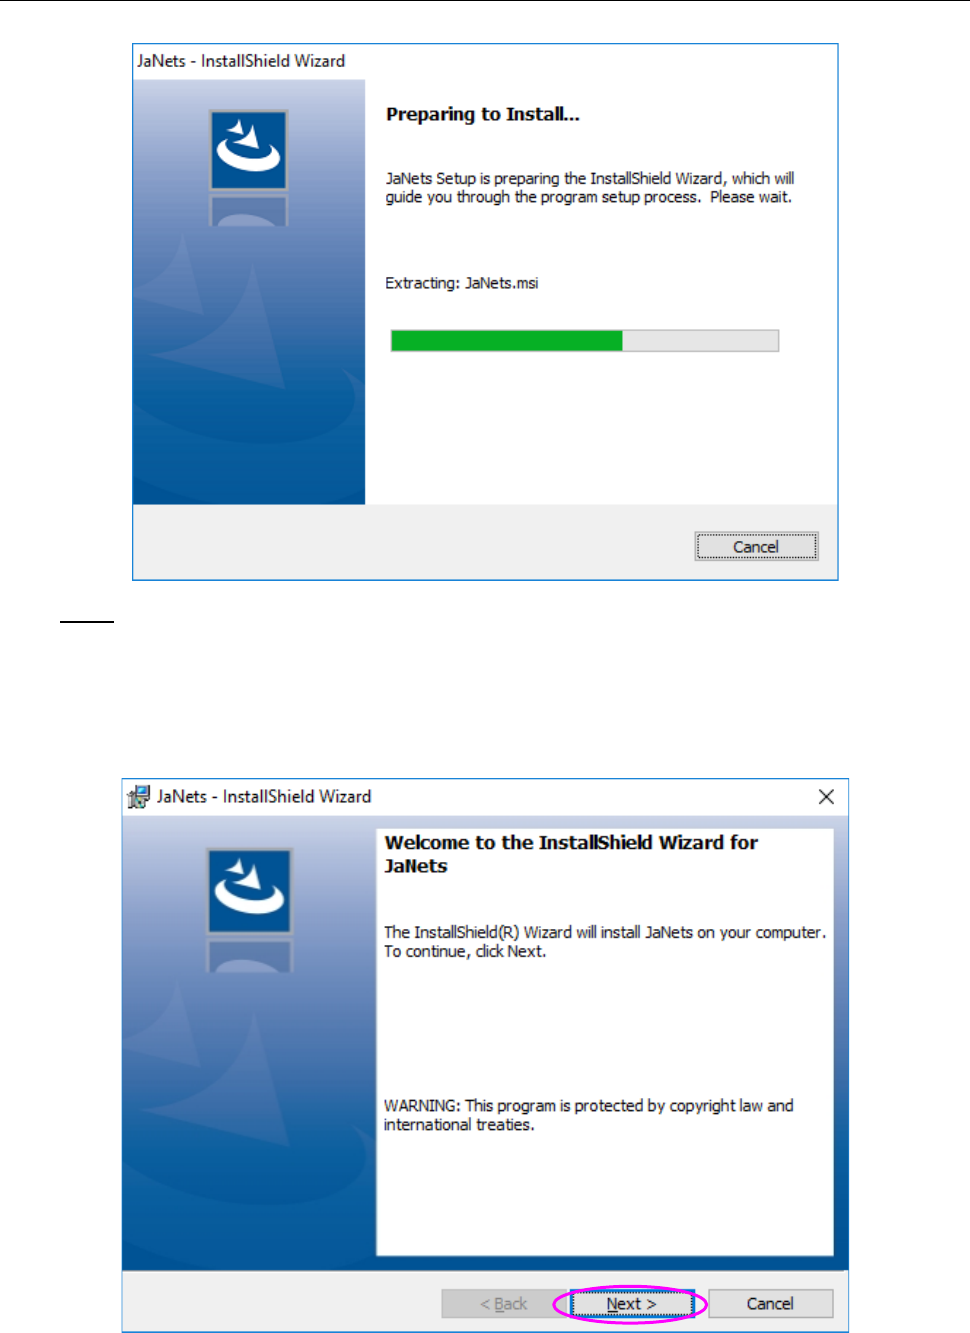
(1) The installer is being started up.
Note:
Time is taken to acquire inside information until the screen of (2) is displayed after the screen
of (1) was closed, but do not launch two or more installers since the said installer is operating
normally,
(2) Check the message displayed on the above screen, and click the <Next> button.
JaNets Instruction Manual 2. Installation
2-10
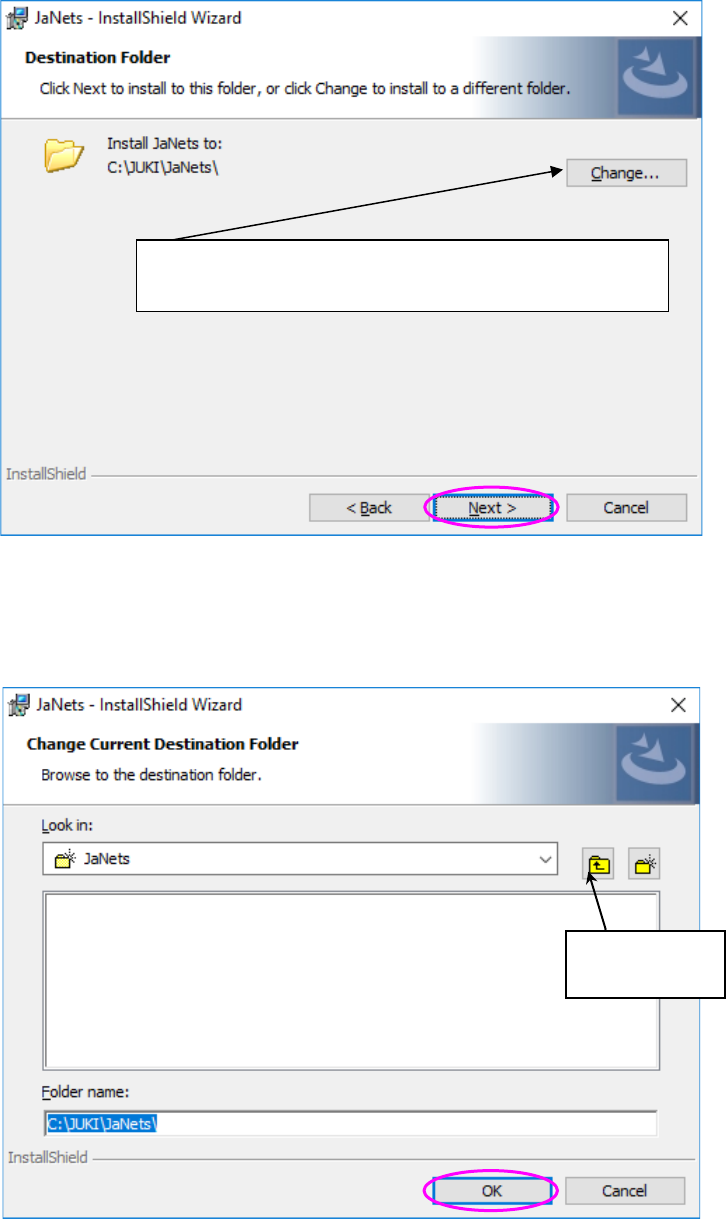
(3) Specify the destination folder, and then click the <Next> button. Since you do not have to
change the destination folder, click the <Next> button without performing any operation.
Select a folder in which the JaNets is to be installed or enter the destination folder name
directly, and then click the <OK> button. To create a new folder, click the button for creating a
new folder, or enter the name of a new folder directly, and then click the <OK> button.
* The default destination folder is “C:\Juki\ JaNets” To
change this default destination, click the <Change> button.
Button for
creating a new
JaNets Instruction Manual 2. Installation
2-11
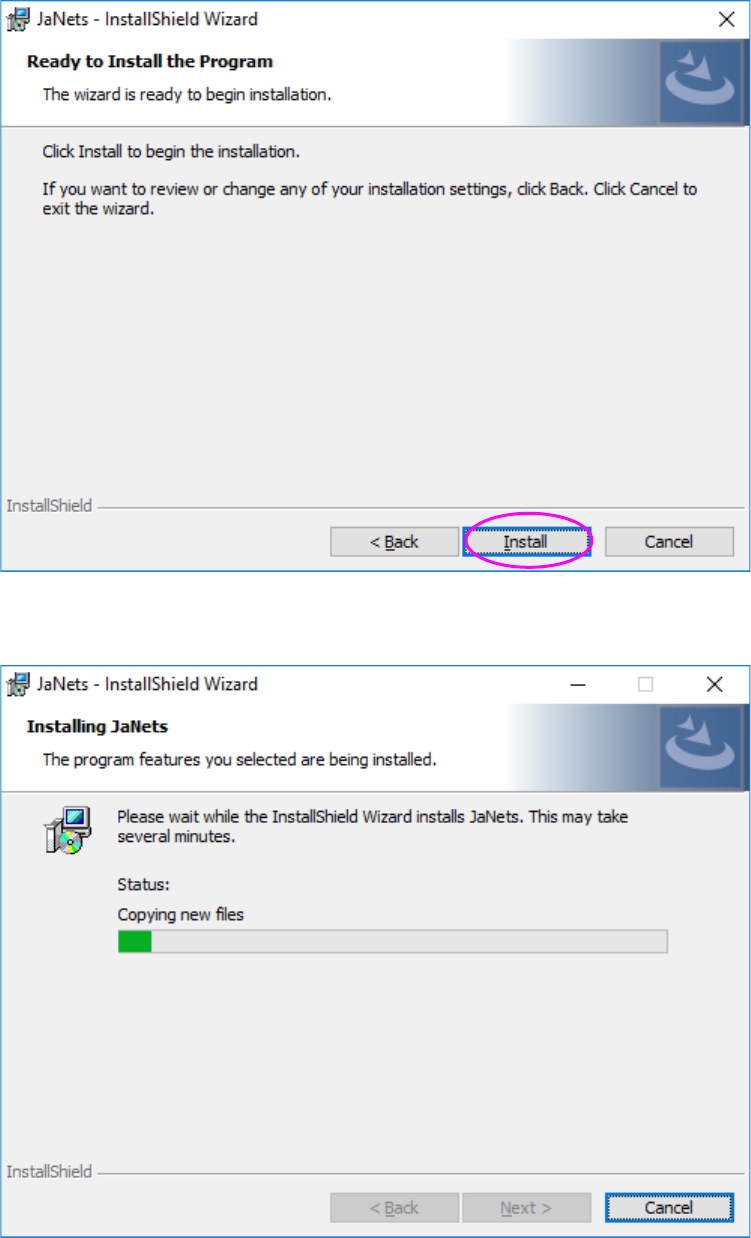
(4) When you click the <Install> button, the screen shown in Figure 2.7.6-6 appears and
installation starts.
(5) The JaNets is being installed on the PC.