JANETS_INM.pdf - 第386页
JaNets Instr ucti on Man ual 8. Job Optim izer 8-1 Job Optimize r What is the Job Optimize r? This functi on optimiz e s two or more produ ction program s to reduce the n umb er of times require d for changing f eeders. …
JaNets Instruction Manual 7. Program Editor
7-178
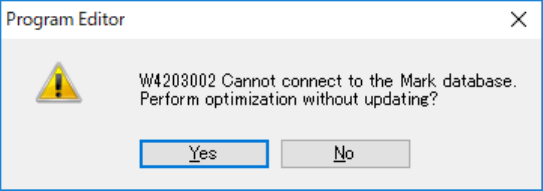
If the system is not connected to the database or if communication is cut during connection to the
database, the following dialog box appears on the screen. When you press the <Yes> button, the
system restores the production program to the original state before the automatic batch loading
function is executed, and then performs optimization. When you press the <No> button, the
system only restores the production program to the original state before the automatic batch
loading function is executed without performing optimization.
Figure 7.8-5 Dialog box indicating a failure to connect to the database
JaNets Instruction Manual 8. Job Optimizer
8-1
Job Optimizer
What is the Job Optimizer?
This function optimizes two or more production programs to reduce the number of times required
for changing feeders.
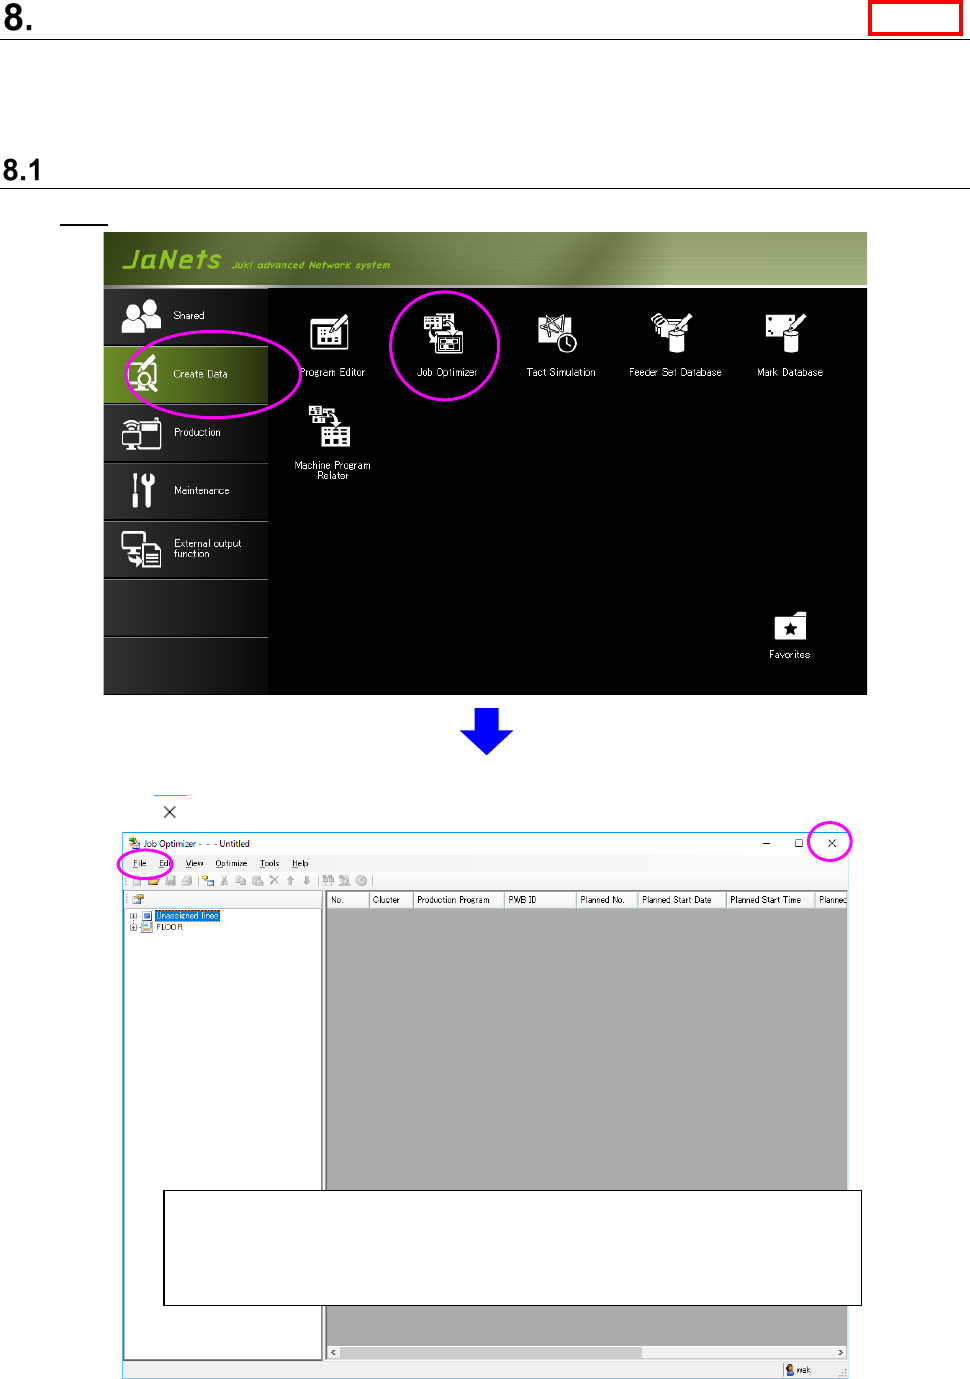
Starting Up or Quitting the Job Optimizer
Start: From the JaNets launcher, double-click the “Job Optimizer” icon of the data creation tab.
Quit: Select the [File] command, and then the [Job Optimizer] command from the “File” menu, or
click the < > button located at the upper right corner of the screen.
Figure 8.1-1 “Job Optimizer” initial start-up screen
* When you start up the Job Optimizer for the first time, no line is selected
yet because you are supposed to make a new reservation list. When you
start it up for the second time or later, the line selected when you quitted
the Job Optimizer is selected at start-up.
Line
JaNets Instruction Manual 8. Job Optimizer
8-2
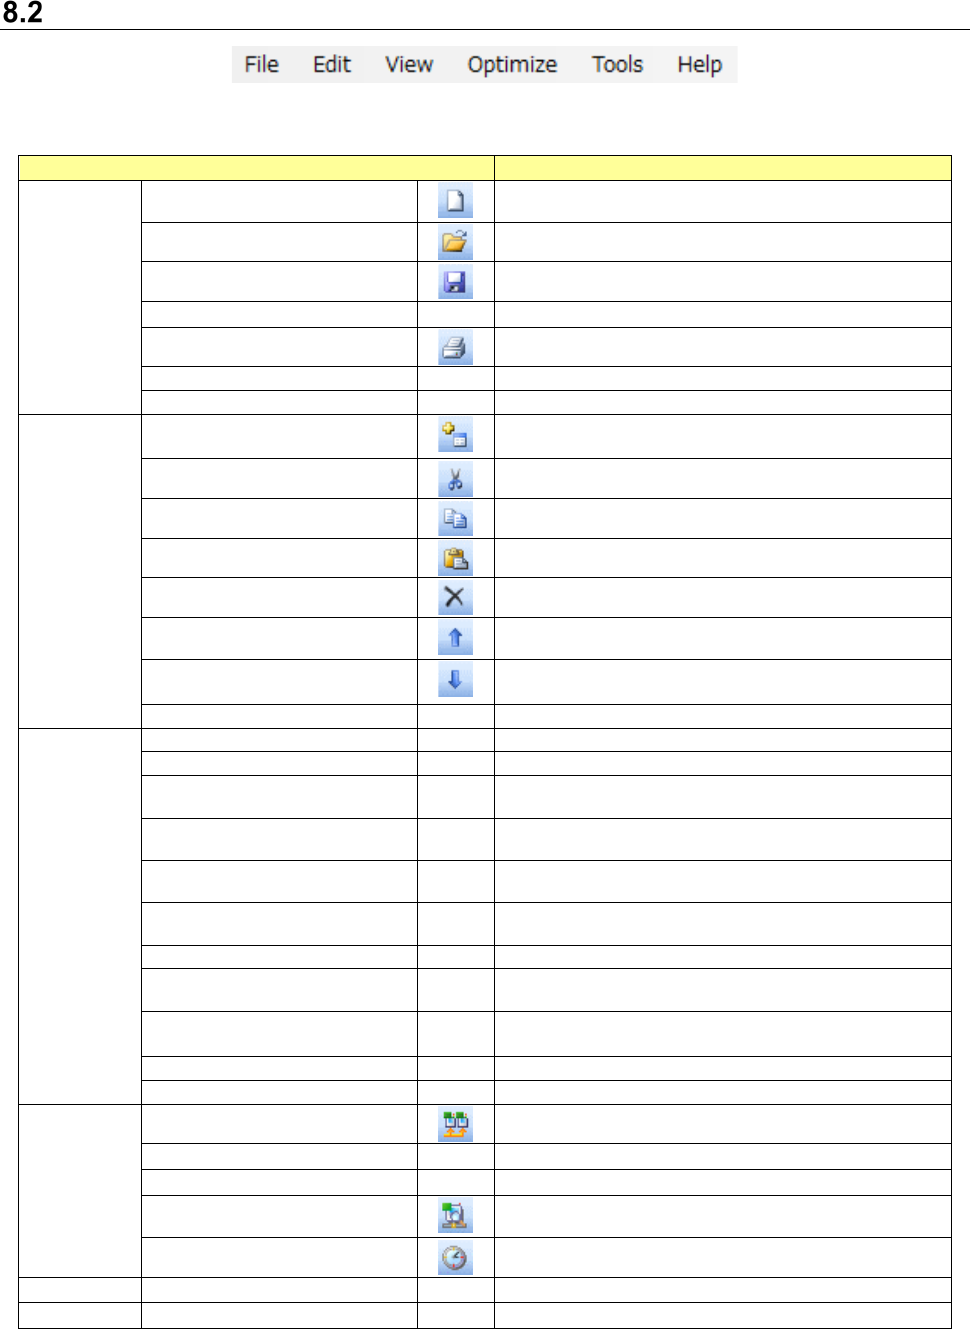
Menu Structure
Table 8.2-1 Menu items
Menu item
Description
File (F)
New (N) Ctrl + N
Creates a new Reservation list “production program
reservation area.”
Open (O) Ctrl + O
Displays the “Open” dialog box.
Save (S) Ctrl + S
Overwrites a reservation file, and then saves it.
Save as (A)
Displays the “Save as” dialog box.
Print (P) Ctrl + P
Displays the “Print” dialog box.
Save as Text (T)
Displays the “Save as Text” dialog box.
Exit Job Optimizer (X)
Quits the Job Optimizer.
Edit (E)
Add Reservation (R)
Ctrl + R
Adds a production program on the last line of the
Reservation list.
Cut (T) Ctrl + X
Cuts the selected data and copies it onto the clipboard.
Copy (C) Ctrl + C
Copies the selected data onto the clipboard.
Paste (P) Ctrl + V
Pastes the data stored on the clipboard.
Delete (D) Del
Deletes the selected line from the Reservation list.
Up (U) Ctrl + Up
Moves the selected line of the Reservation list upward
by one line.
Down (N) Ctrl +
Down
Moves the selected line of the Reservation list
downward by one line.
Select All (L) Ctrl + A
Selects all lines.
View (V)
Feeder Layout (F)
Displays the “Feeder Layout” dialog box.
Nozzle Layout (N)
Displays the “Nozzle Layout” dialog box.
No. of Components (O)
Displays the number of components on the “Detailed
data display area.”
Component Histogram (H)
Displays the component histogram on the “Detailed
data display area.”
Divided Placement Data (P)
Displays the divided placement data on the “Detailed
data display area.”
Feeder Setup Information (I)
Displays the feeder setup information on the “Detailed
data display area.”
Status (S)
Displays the status on the “Detailed data display area.”
Data Coherence Check
Results (R)
Displays the list of the coherence check errors on the
“Detailed data display area.”
Line Explorer (E)
/
Program Explorer (E)
Displays/hides the Line Explorer.
Displays/hides the Program Explorer.
Toolbar (T)
Displays or hides the toolbar.
Status Bar (B)
Displays or hides the status bar.
Optimize
(O)
Optimize (O)
Displays the “Optimize” dialog box.
Change Line (L)
Displays the “Change Line” dialog box.
Number of Feeders (U)
Displays the “Number of Feeders” dialog box.
Data Coherence Check (D)
Performs a coherence check between the reserved
production program and the line.
Time Estimate (E)
Displays the “Time Estimate” dialog box.
Tool (T)
Set Environments (E)
Displays the “Set Environments” dialog box.
Help (H)
About (A)
Displays the version information.