JANETS_INM.pdf - 第45页
JaNets Instr ucti on Man ual 2. Install ation 2- 17 2.1.5 Procedure for Uninsta lling This section de scribes ho w to uninsta ll an JaNe ts . Select the [ Control Pane l] comman d on the “St art” m enu invok ed from t he…
JaNets Instruction Manual 2. Installation
2-16
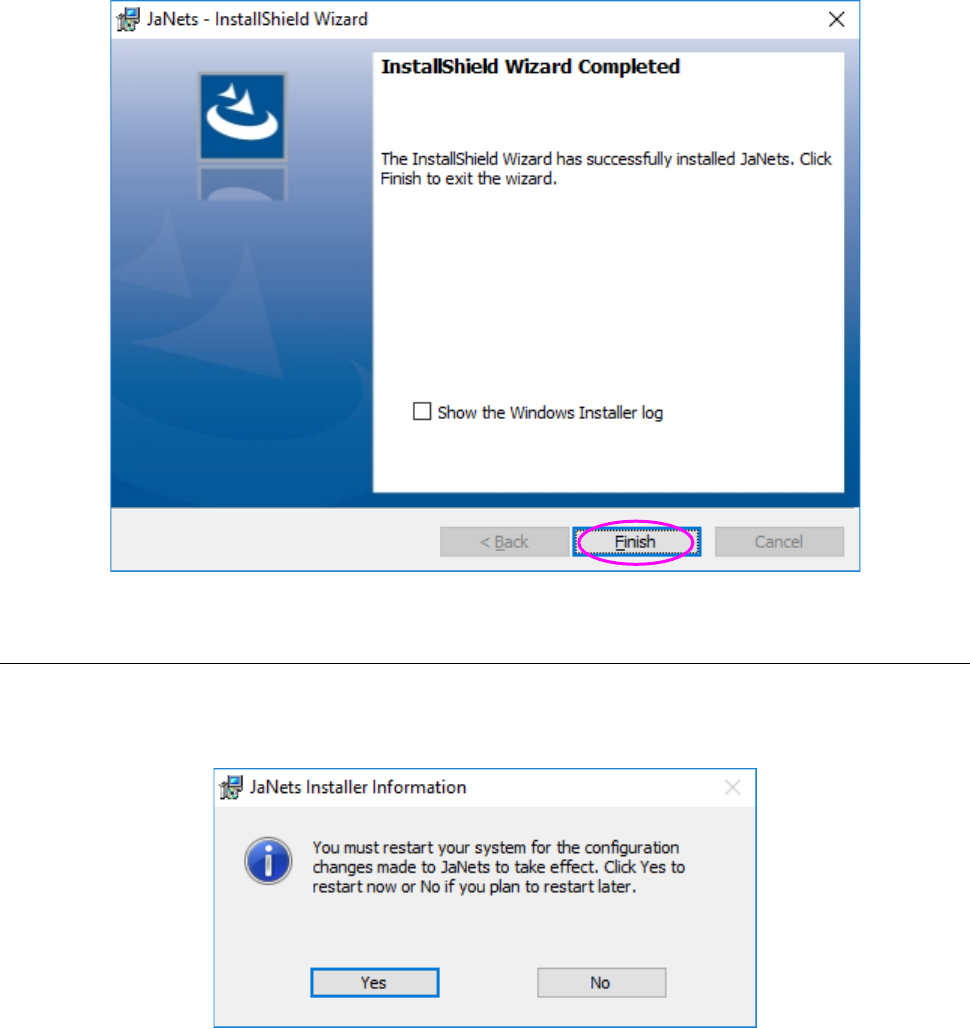
(7) When the JaNets finishes being installed on the PC, the following screen appears. Click the
<Finish> button.
Finish installing the JaNets on the PC.
2.1.4.1 After the install of JaNets is completed
After the install is completed, the restart request screen will be displayed. Click "Yes" to restart the
PC.
The install for upgrading is completed.
JaNets Instruction Manual 2. Installation
2-17
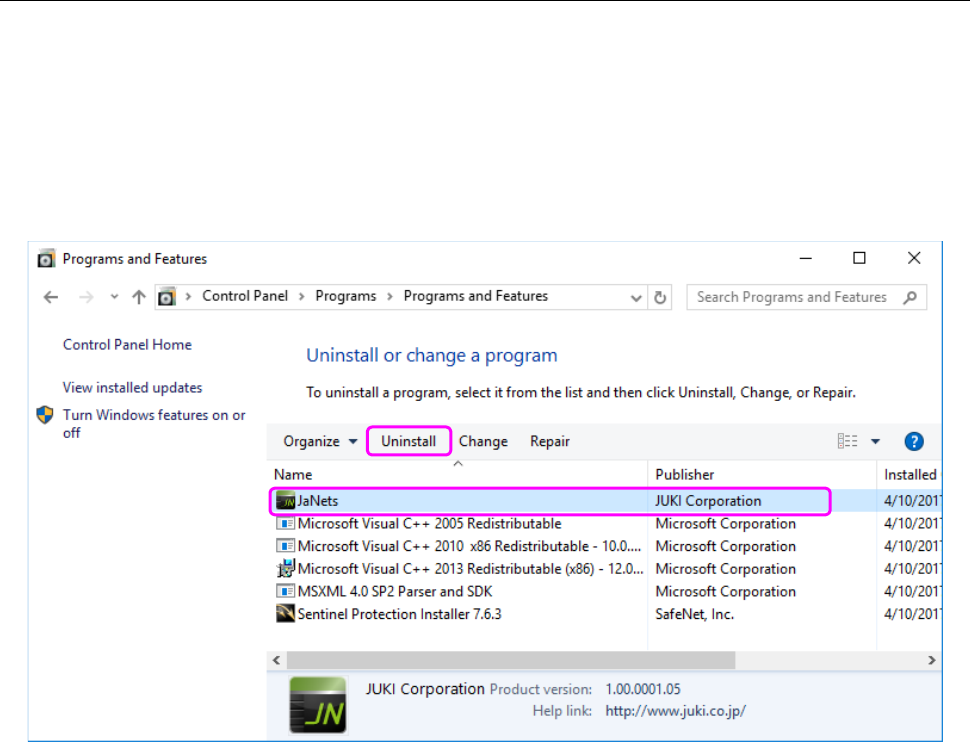
2.1.5 Procedure for Uninstalling
This section describes how to uninstall an JaNets.
Select the [Control Panel] command on the “Start” menu invoked from the task bar. (You may
have to select the “Setting” menu from the “Start” menu invoked from the task bar.) Select the [Add
or Remove Programs] command from the “Control Panel,” and then the “Change or Remove
Programs” icon.
Select “JaNets” and click the <Uninstall> button.
Figure 2.1-1 “Add or Remove Programs” screen
When the system finishes uninstalling the JaNets, the screen is switched back to the “Add or
Remove Programs” screen.
You have finished uninstalling the JaNets at this point.
JaNets Instruction Manual 2. Installation
2-18
2.1.6 Procedure for Reinstalling
To reinstall the JaNets, uninstall the existing JaNets at first, and then reinstall it. See Section 2.1.5
“Procedure for Uninstalling” for how to uninstall the JaNets.
Even though you delete the JaNets, its “precondition” is not deleted. Therefore, when you install
the JaNets for the second time or subsequently, the precondition is not installed. (However, if you
uninstalled the precondition, it is installed again.)
See Section 2.1.3 “Procedure for newly installing JaNets” for how to install the JaNets.
* When the USB of the protect module is attached on the PC at installation of the JaNets, remove
the USB before installing it again.
2.2 Installing the Data Manager
2.2.1 Required accessory
- Installation disk (DVD)
2.2.2 Notes on installation
2.2.2.1 Common notes on installations
- A computer name has to fall inside the range of 15 characters, which is limited by NetBIOS, and
specified with only the standard characters (A to Z and a to z), figures (0 to 9) and a hyphen (-).
- You have to establish a network in order to share the Component Database between a PC and a
mounter.
Since the specialized knowledge is required to establish a network, consult our Service
Department or your network administrator.
- Before installing the Data Manger on a PC, quit all application programs that are running on it.
- You have to have the administrator’s privilege (that is, you have to log in the system with a user
name having the user privilege) to install the Data Manager on a PC.
To create a new user name (to which the administrator’s privilege is given), be sure to create it
with one-byte alphanumeric characters only.
* Do not include any of a single quote (‘), a back quote (`) and a hyphen (-) in a user name you
are to create.
- The IP address 192.168.0.* is already allocated to the main unit of the mounter. To avoid
contention of the IP address, do not use the address 192.168.0*.
2.2.2.2 When you are to install the Data Manager for the first time
- Before installing the Data Manager on your PC, check to see if there is not any of the following
users/group on the PC. If there is any, delete it before starting installation.
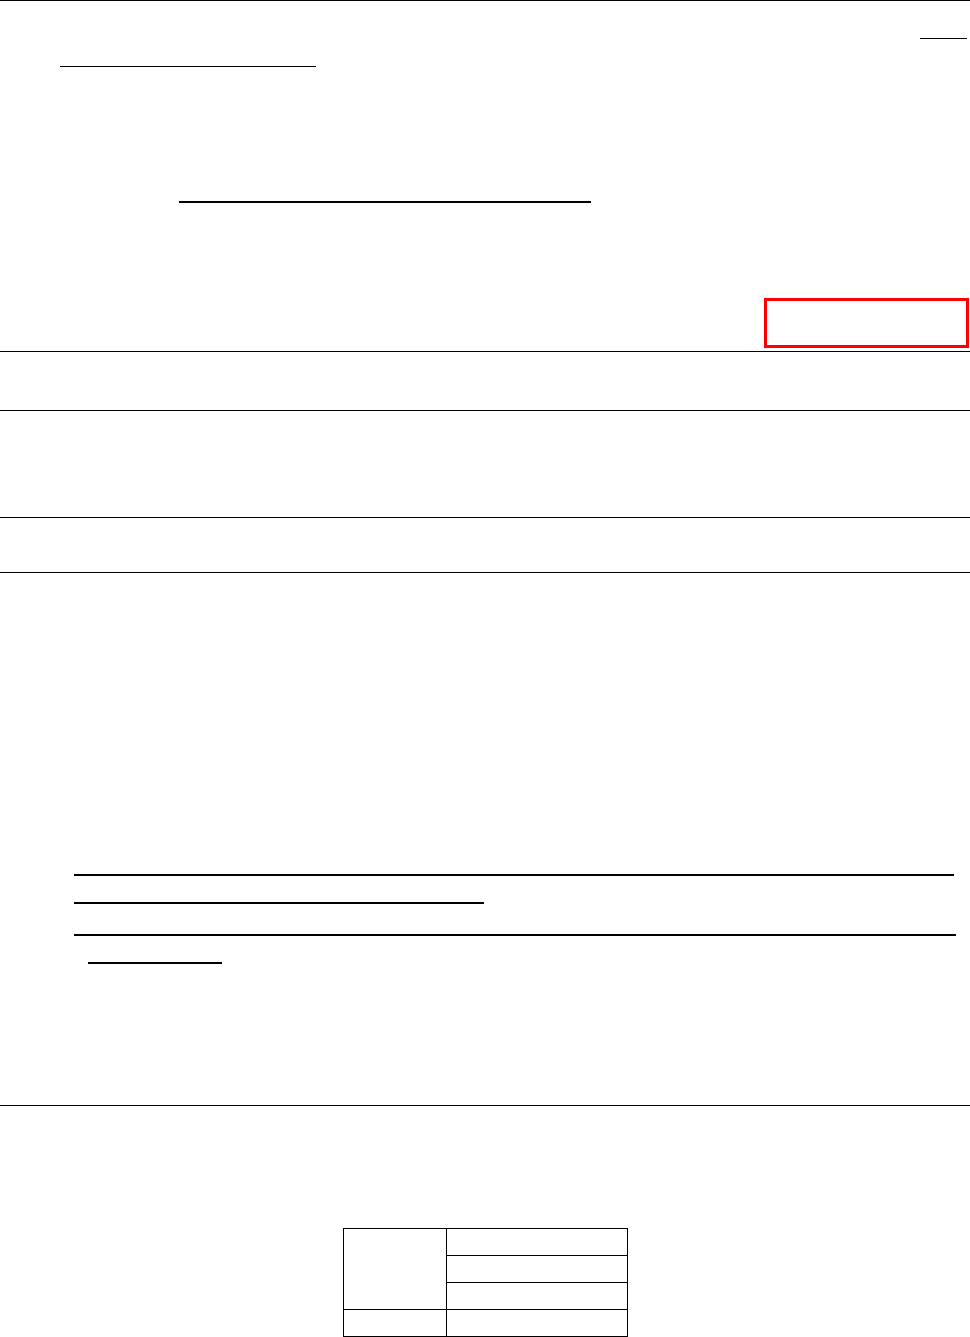
Table 2.2-1 Users/group to be deleted
User
issdb2admin
IS_DBUSER
isuser *1
Group
JUKI
*1 Only when there is isuser in an environment where JaNets is not installed, delete it.
Data Manager