JANETS_INM.pdf - 第49页
JaNets Instr ucti on Man ual 2. Install ation 2- 21 Click the <Y es> b utton to r estart t he PC. When you rest art the PC, t he install er automat ically starts up . When the insta ller st arts up, t he following …
JaNets Instruction Manual 2. Installation
2-20
The Visual C++ Library runtime component is automatically installed on the PC.
2.2.3.3 Installing the Microsoft Visual C++ 2010 and the Microsoft Visual C++ 2013
The respective Visual C++ Library runtime components are automatically installed on the PC.
You do not have to perform any special operation.
2.2.3.4 Installing the MSXML 4.0 SP2 Parser
The MSXML 4.0 SP2 Parser is automatically installed on the PC. You do not have to perform any
special operation.
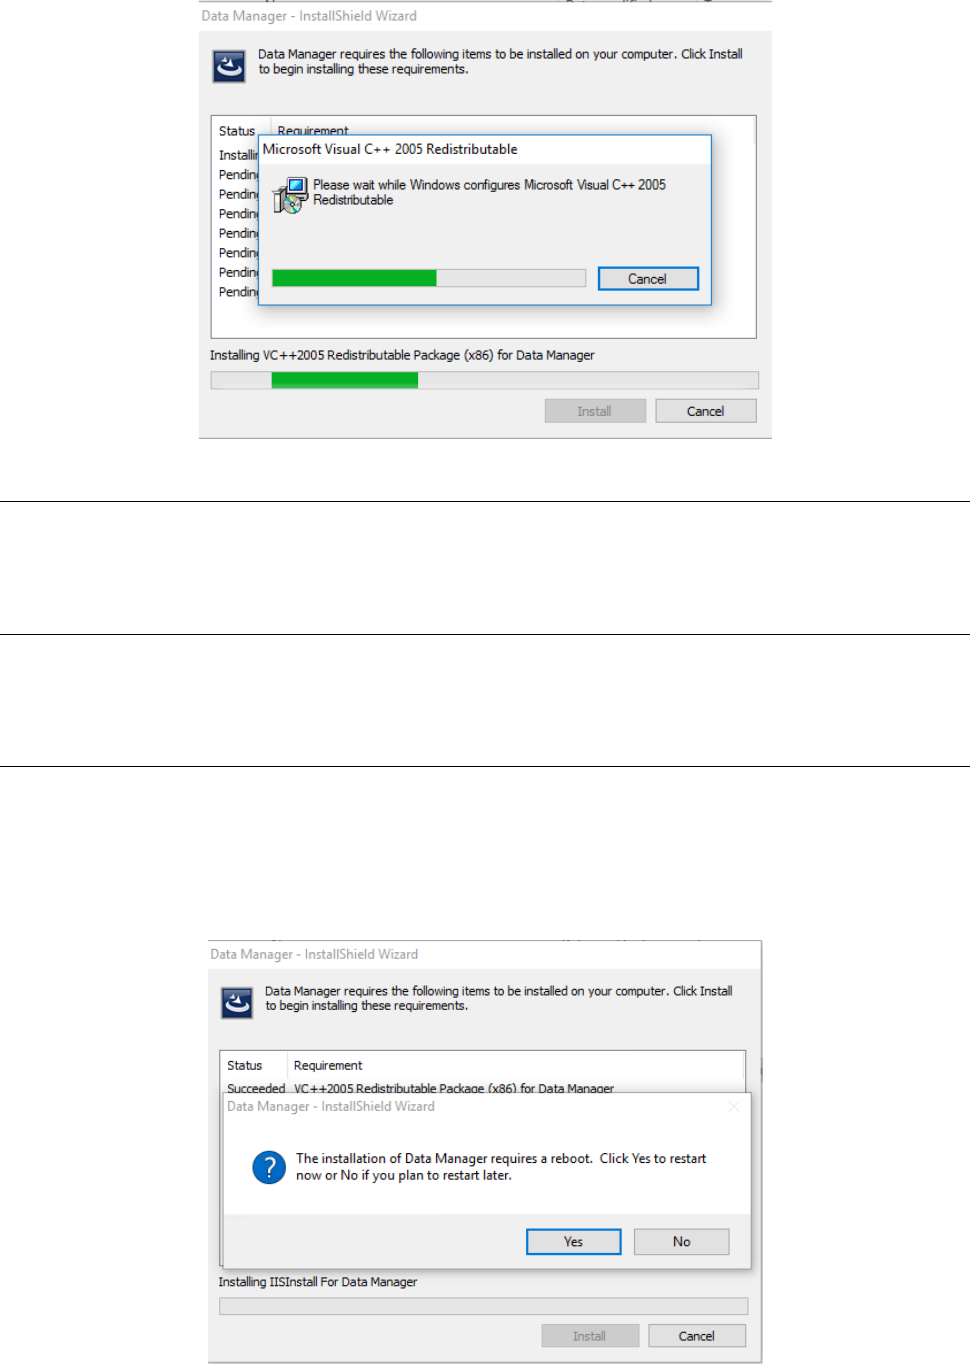
2.2.3.5 Installing the Internet Information Service (IIS)
The Web server to be used with the Data Manager is automatically installed on the PC.
2.2.3.5.1 Restart request after the IIS is installed on the PC
After the IIS finishes being installed on the PC, the message for requesting restart of the PC
appears on the screen.
JaNets Instruction Manual 2. Installation
2-21
Click the <Yes> button to restart the PC. When you restart the PC, the installer automatically
starts up.
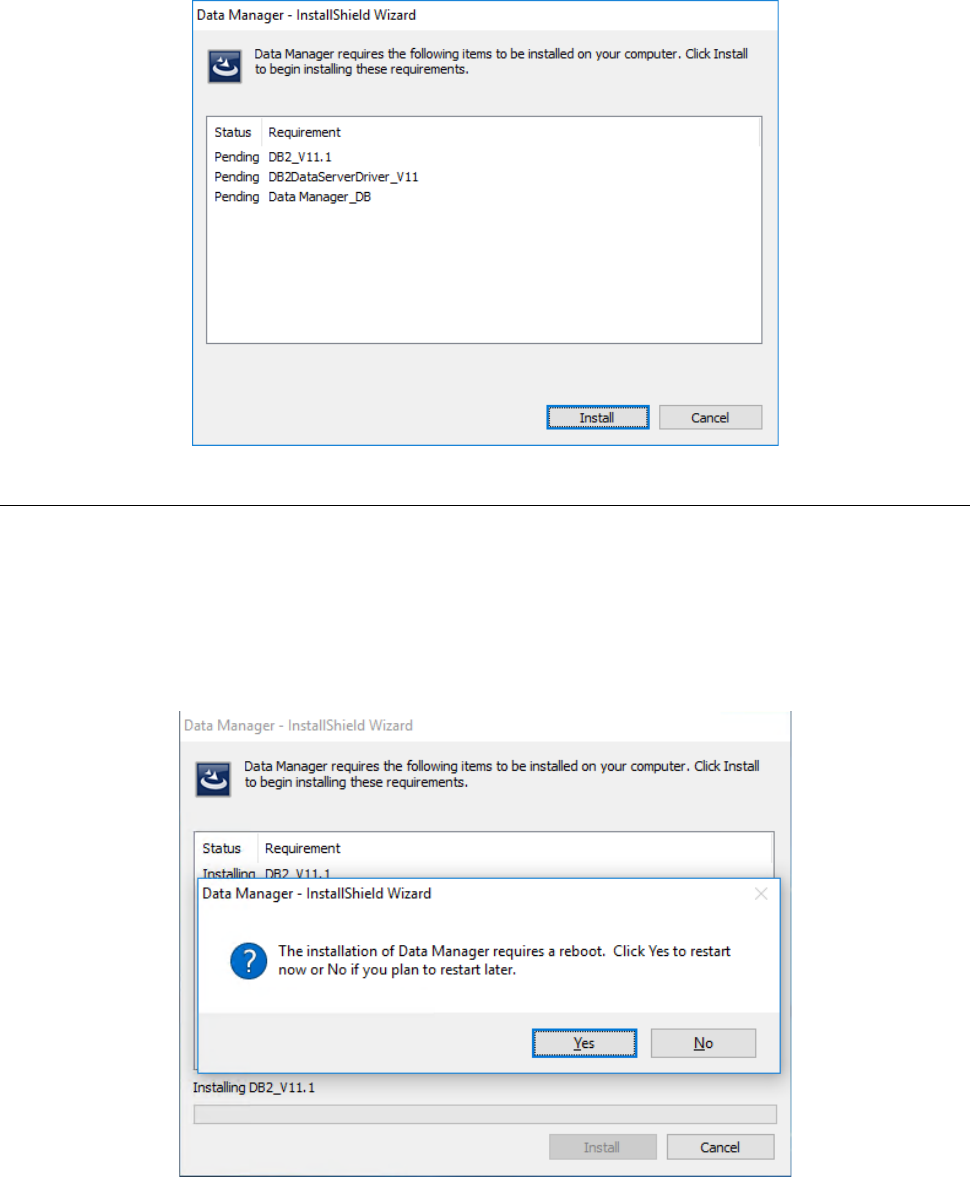
When the installer starts up, the following screen appears. Click the <Install> button.
2.2.3.6 Installing the DB2
The database service to be used with the Data Manger is automatically installed on the PC.
2.2.3.6.1 Restart request after the DB2 is installed on the PC
After the DB2 finishes being installed on the PC, the message for requesting restart of the PC
appears on the screen.
Click the <Yes> button to restart the PC. When you restart the PC, the installer automatically
starts up.
JaNets Instruction Manual 2. Installation
2-22
When the installer starts up, the following screen appears. Click the <Install> button.
2.2.3.7 Installing the DB2 Data Server Driver
The driver of the database service to be used with the Data Manger is automatically installed on
the PC.
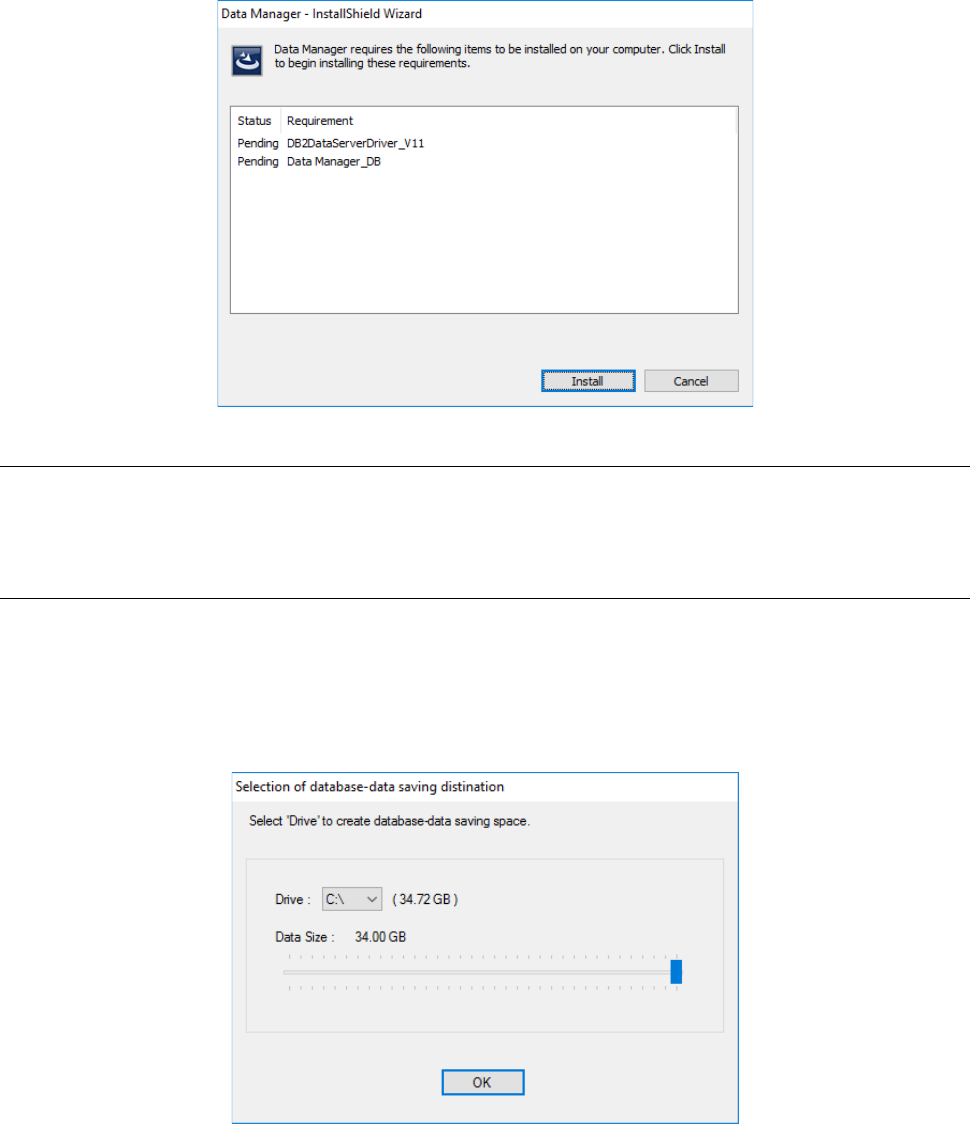
2.2.3.8 Installing the DataManager DB
Create the database for the Data Manger.
2.2.3.8.1 Specifying the database creation drive and the database size
The “Selection of database-data saving destination” screen allowing you to specify the destination
drive in which the database will be stored and the data size appears during installation.
Specify the “Drive” and “Data Size” fields, and then click the <OK> button. The database starts
being created.