JANETS_INM.pdf - 第583页
J aN et s Inst ructi on Manual 14 . Snapshot Tool 14 -4 14.2.2.1 Di spl ay area of t he l is t o f obj ect s to be co l l ect ed Figure 14.2 -3 List of obje ct s to be colle c te d W hen the Snapshot T ool starts up , it…
JaNets Instruction Manual 14. Snapshot Tool
14-3
Menu
Table 14.2-1 Description of each menu item
Menu item
Description
File (F)
Exit Snapshot Tool (X)
Quits the Snapshot Tool.
Collect (S)… F5
Starts collecting data and starts up the “Save as” dialog box for
specifying the file name after compressing.
Edit (E)
Add (A)
Starts up the “Adding an output file” dialog box.
Delete (D) DELETE
Deletes a file from the selected list.
View (V)
Show all (O)
Displays the entire list of objects to be collected or part of it.
Program Explorer (E) *1
Displays/hides the Program Explorer.
(You can select the “Manage,” “Production Program” or
“Reservation File” tab.)
Tools (T) Set Environments
Starts up the “Set Environments” dialog box.
Help (H)
Table of Contents (C)
Displays the table of contents.
About (A)
Displays the version information.
*1 This menu item can be used when a Data Manager option is added to the system.
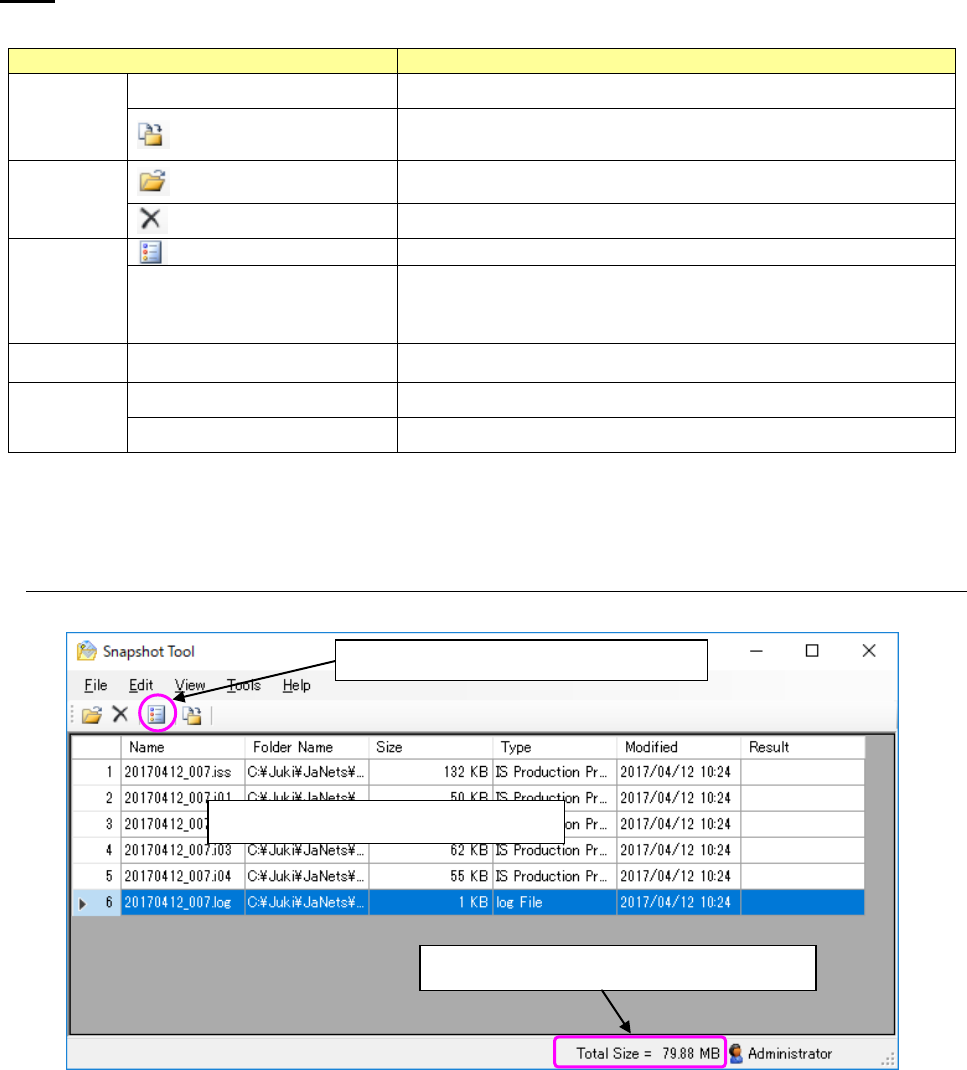
14.2.2 Screen configuration
Figure 14.2-2 “Snapshot Tool” screen
Display area for objects to be collected
Displays the total size of files to be collected
“Show all”/ “Show part” switching icon
JaNets Instruction Manual 14. Snapshot Tool
14-4
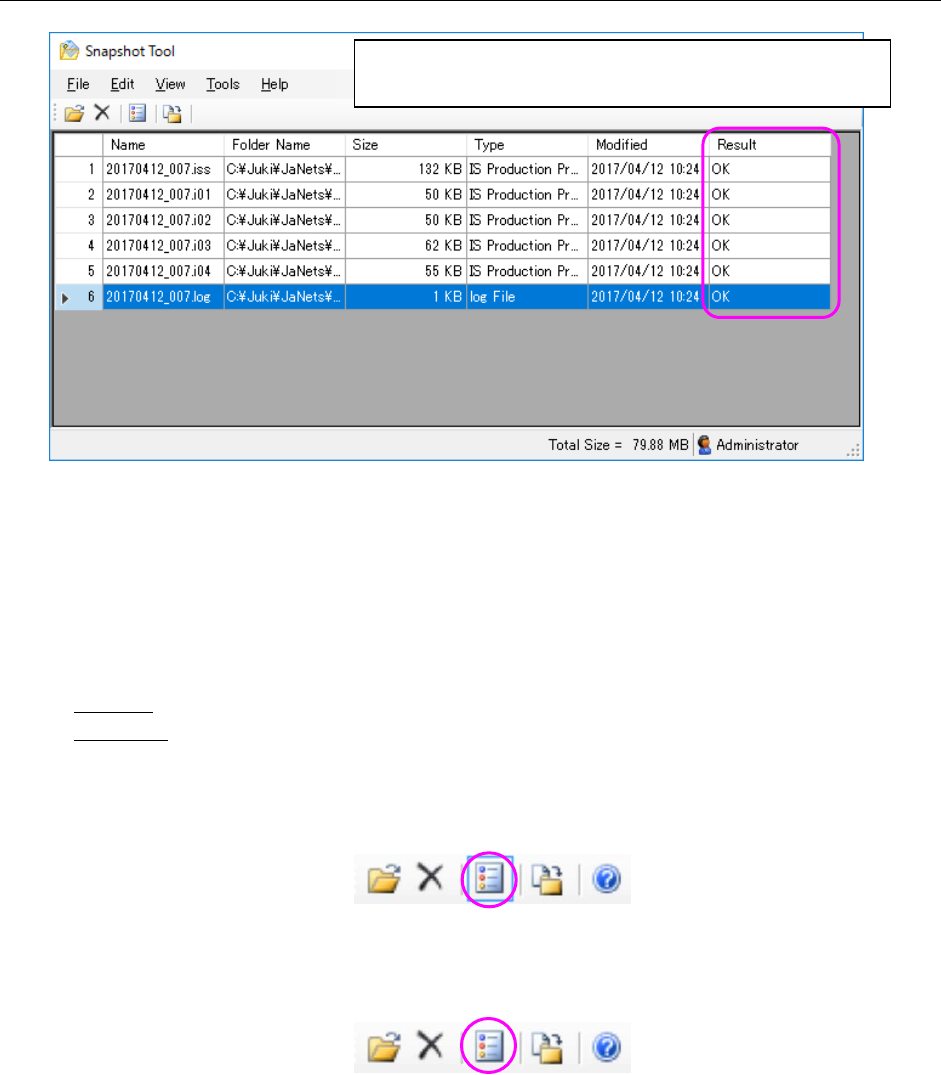
14.2.2.1 Display area of the list of objects to be collected
Figure 14.2-3 List of objects to be collected
W
hen the Snapshot Tool starts up, it automatically searches files to be collected and displays
them.
<
Supplementary description of the function for displaying the entire list of objects to be collected
or part of it>
Show all : Displays all collected files on the list.
Show part : Displays files other than JaNets environment files (whose
extension is specified to be collected on the “Set Environments” dialog box).
W
hen you select the [Show all] command, the icon is displayed as shown below.
Figure 14.2-4 Icon displayed when you select the [Show all] command
W
hen you select the [Show part] command, the icon is displayed as shown below.
Figure 14.2-5 Icon displayed when you select the [Show part] command
* A
s items displayed for each file on the screen, the system displays a file name (“Name”),
a
folder name under which the file is stored (“Folder Name”), the file size (“Size”), the file type
(“T
ype”), the update date and time (“Modified”) and the result (“Result”). The “Result” indicates
whether a file is collected successfully or not (OK/NG) when it is collected and compressed.
This field becomes blank for a file that is not collected yet or one added to the list after t
he
sy
stem collects files.
After collecting data, the system indicates whether it succeeds
in collecting data or not by displaying “OK” or “NG” here.
JaNets Instruction Manual 14. Snapshot Tool
14-5
14.3 Collecting files
The system collects files on the list of objects to be collected, groups them and compresses it in
the folder specified in the “Compressed File Destination Folder” combo box.
14.3.1 Starting collecting files
When you select the [Collect] command or the “Collect” tool ( ) of the toolbar, the system starts
collecting files. When it starts collecting files, it displays the message box. When you select the
<Yes> button on this message box, it starts collecting files actually, and displays the “Save as”
dialog box for specifying a file in which compressed files are stored.
<About an error check to be performed while the system is collecting files>
(1) If a file listed on the list does not exist (or it cannot be copied)
After the corresponding error message appears on the screen, your selection of
the <OK> button causes the system to continue collecting files from the next one.
(2) When a disk used for collecting files is full (* Disk used for collecting
files: disk on
which the “snapshot” folder is located)
After the corresponding error message appears on the screen, your selection of
the <OK> button causes the system to stop collecting files and return to the
“Snapshot Tool” screen.
* The “disk” described here means all types of media to which files are copied
(Example: floppy disk and hard disk).
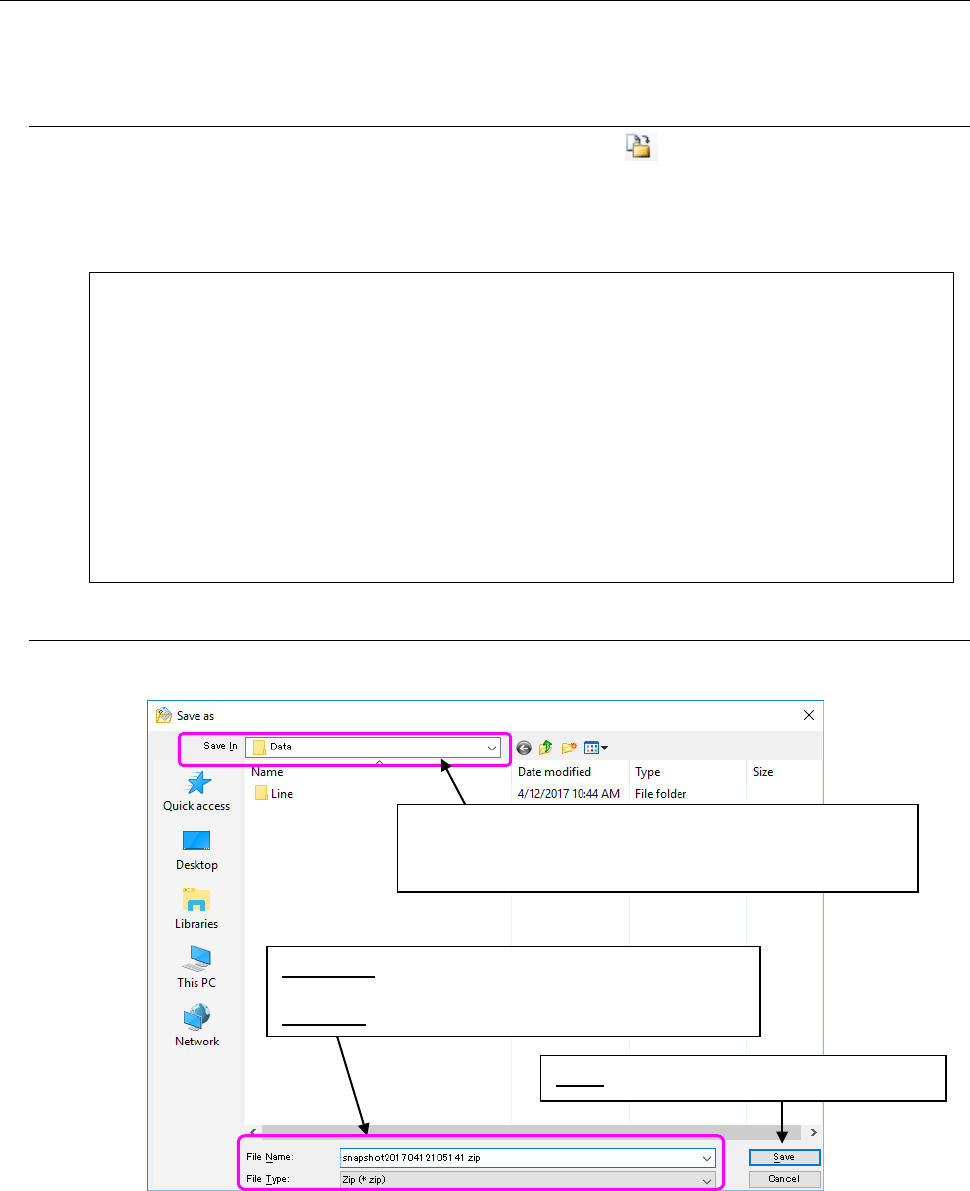
14.3.1.1 Specifying where to compress files
When the system finishes collecting files, the following dialog box appears on the screen.
Figure 14.3-1 Dialog box for specifying where to output the compressed files
When the system finishes compressing files, the message box “Collection complete” appears on
the screen. When you select the <OK> button, the main dialog box reappears on the screen.
* Whether a file is collected successfully or not is displayed in the “Result” field of each file on
the list of objects to be collected.
Specify a folder to which files are output.
* Folder set as a place to which compressed files are to be
output on the “Set Environments” dialog box (default)
File Name: Enter a desired file name here.
*snapshot(year month day hour minute second) (default)
File Type:
*.Zip format (compressed)
Save: Starts compressing the collected files.