JANETS_INM.pdf - 第663页
JaNets In structio n Manual 17 Program Expl orer 17 - 11 O perating Pro cedure Operating the dat aba se Y ou can operate t he datab ase on the “ Manage ” scre en only . 17.3.1.1 Registering a production program into the …
JaNets Instruction Manual 17 Program Explorer
17-10
Display of a production line that is producing PWBs (on the “Floor
Configuration” screen only when a production line is being used with the
Shopfloor Setup)
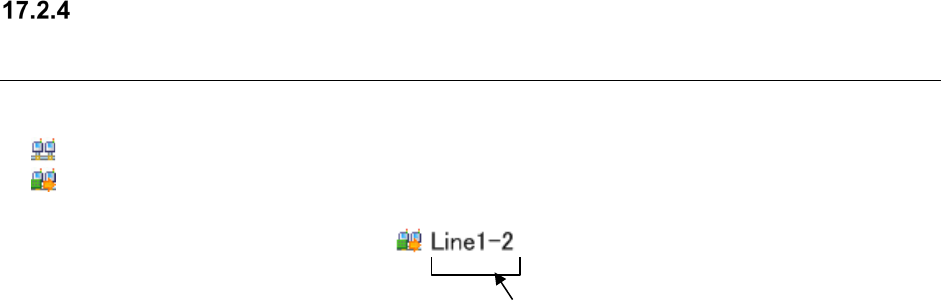
Check the setting of a production line that is producing PWBs with the production line icon.
(normal): A production line is not producing any PWB (you can edit it).
(producing a PWB): A production line is producing a PWB (you cannot edit it).
Figure 17.2-4 Icon indicating that a production line is producing PWBs
Production line name
JaNets Instruction Manual 17 Program Explorer
17-11
Operating Procedure
Operating the database
You can operate the database on the “Manage” screen only.
17.3.1.1 Registering a production program into the database
Follow one of the procedures 1 to 3 shown below.
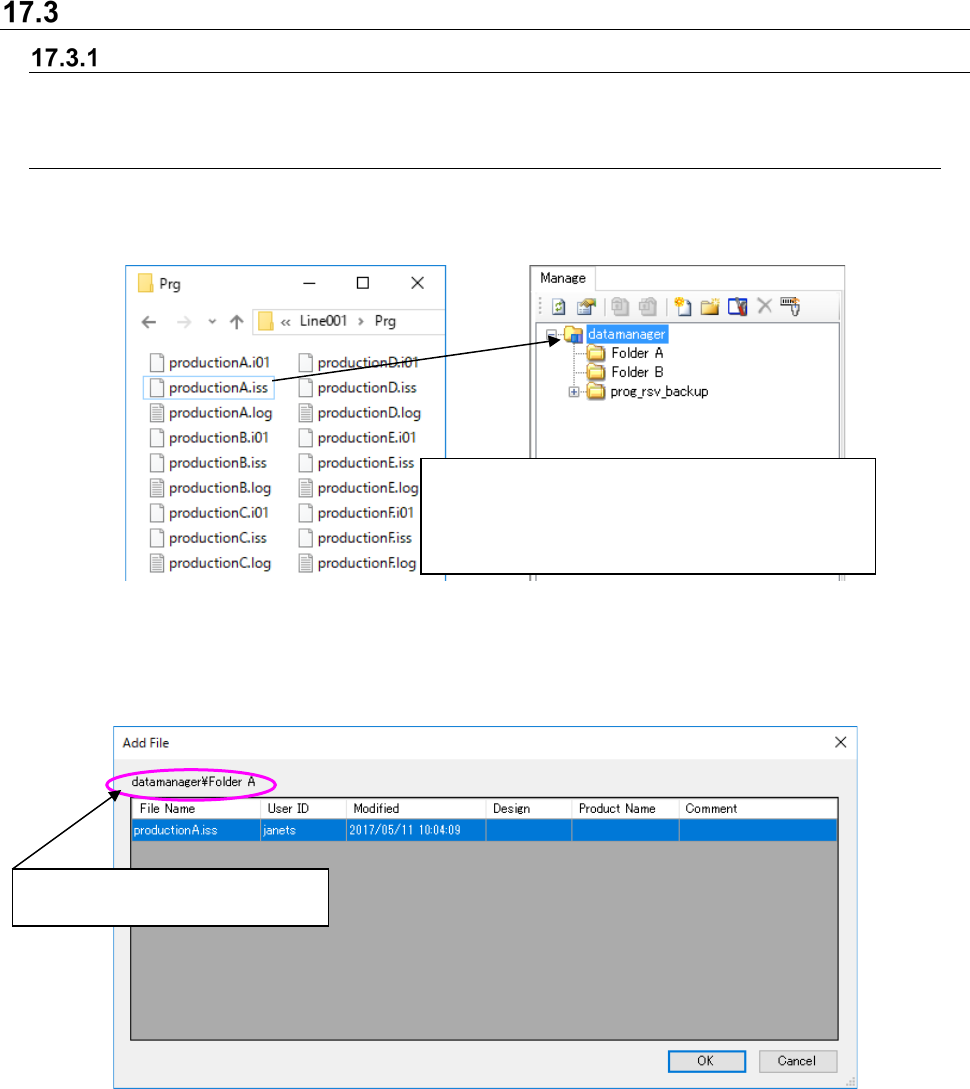
1. Perform the operations ① and ② below.
Figure 17.3-1 Registering a file
(Left: Windows explorer Right: Program Explorer)
After performing the operation ② above, the system automatically displays the confirmation
dialog box for registering the file.
Figure 17.3-2 Confirmation dialog box for registering a file
File Name: Displays the name of a file to be registered.
Design: Enter the design control number of a production program (for a production
program only).
Product Name: Enter the product name specified in a production program (for a production
program only).
Comment: Enter the user’s comment on a production program (for a production program only).
* See Section 17-3-1-2 “Entering the ‘Design,’ ‘Product Name’ and ‘Comment’” for how to enter
the “Design,” “Product Name” and “Comment.”
①
Select a file (you can select two or more files at a
time) with the Windows Explorer.
② Drag and drop the selected files in a folder
displayed on the “Manage” screen.
A folder in which the selected file is
to be registered is displayed here.
JaNets Instruction Manual 17 Program Explorer
17-12
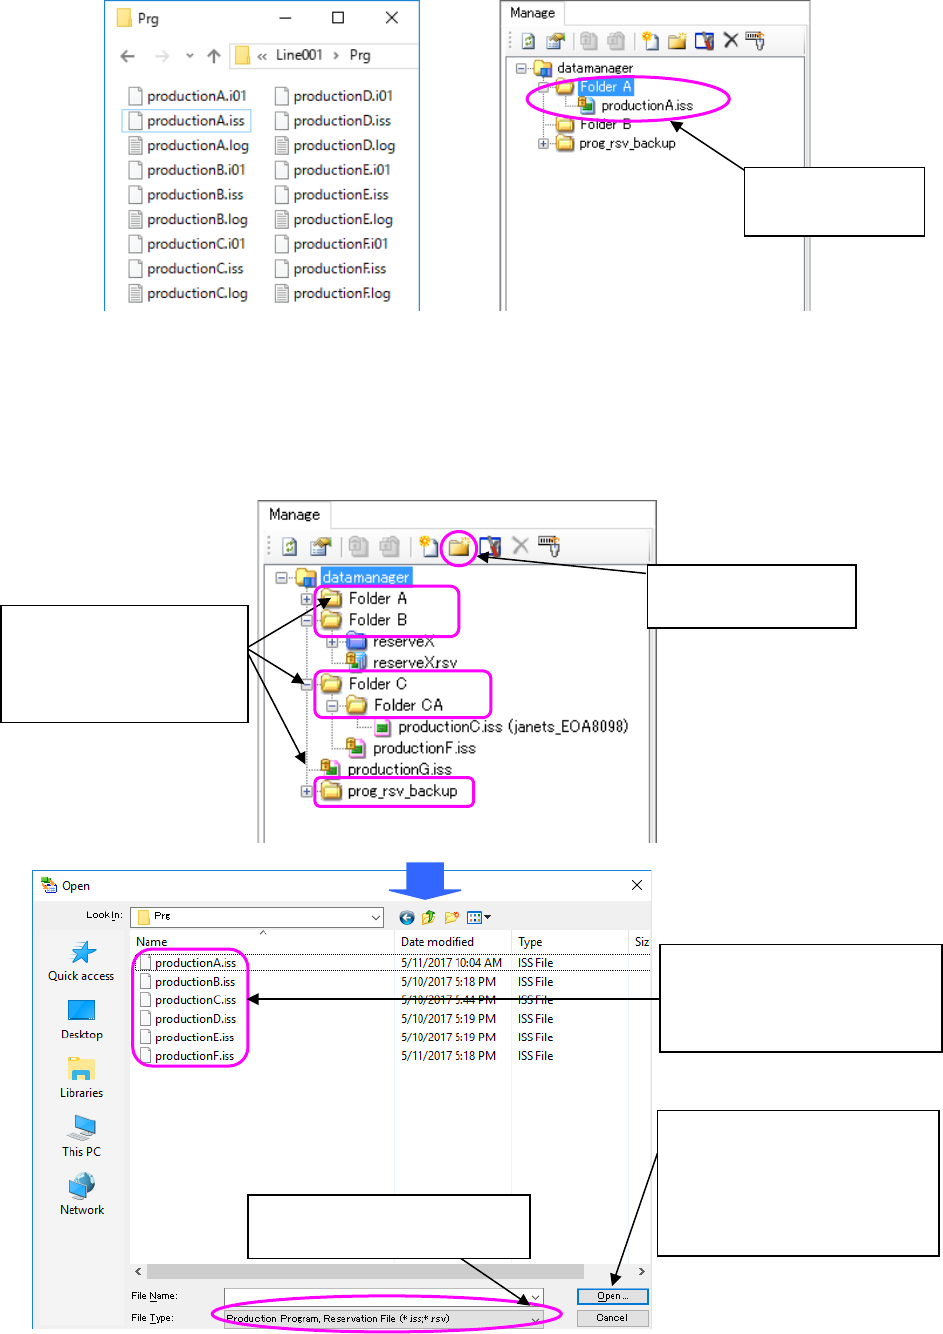
After a file is registered, it is displayed on the screen.
Figure 17.3-3 After a file is registered in the database
* After registration, a local (client) file is changed to a read-only file.
* The file path used at registration is set as the checkout destination with the client that
registered a file.
2. Perform the operations from ① to ④ below.
Figure 17.3-4 “Open” dialog box
A file is added to
the database.
④
Select the <Open> button.
The confirmation dialog box
for registering a file
appears on the screen.
Register the file into the
database.
②
Click the “file
registration” tool.
Select the type of a file you can
register in the database.
①
Select a folder (you
can select two or more
folders at a time) on
the “Manage” screen.
③
Select a file (you can select
two or more files at a time)
to be registered in the
database.