JANETS_INM.pdf - 第749页
JaNe ts Inst ruction Manua l C . Data bas e Manage m ent T ool C-4 C.2.1 .1 Au to - b ackup (1) V ali date Aut o - b ack up T o b ack up data a utom ati call y , check the check box “V al idate Aut o - b ackup ” on the “…

JaNets Instruction Manual C. Database Management Tool
C-3
C.2 Back-Up
This function is to be used to save data of the database onto any other medium in order to
prevent irreparable inconsistency from being generated or prevent a risk of data loss due to an
inevitable accident.
C.2.1 Operations
When you select the “Backup” icon in the menu area, the “Backup” screen appears.
You can make settings of the automatic back-up operation or back up data manually on this
screen.
Figure C.2-1 “Backup” screen
Menu area
JaNets Instruction Manual C. Database Management Tool
C-4
C.2.1.1 Auto-backup
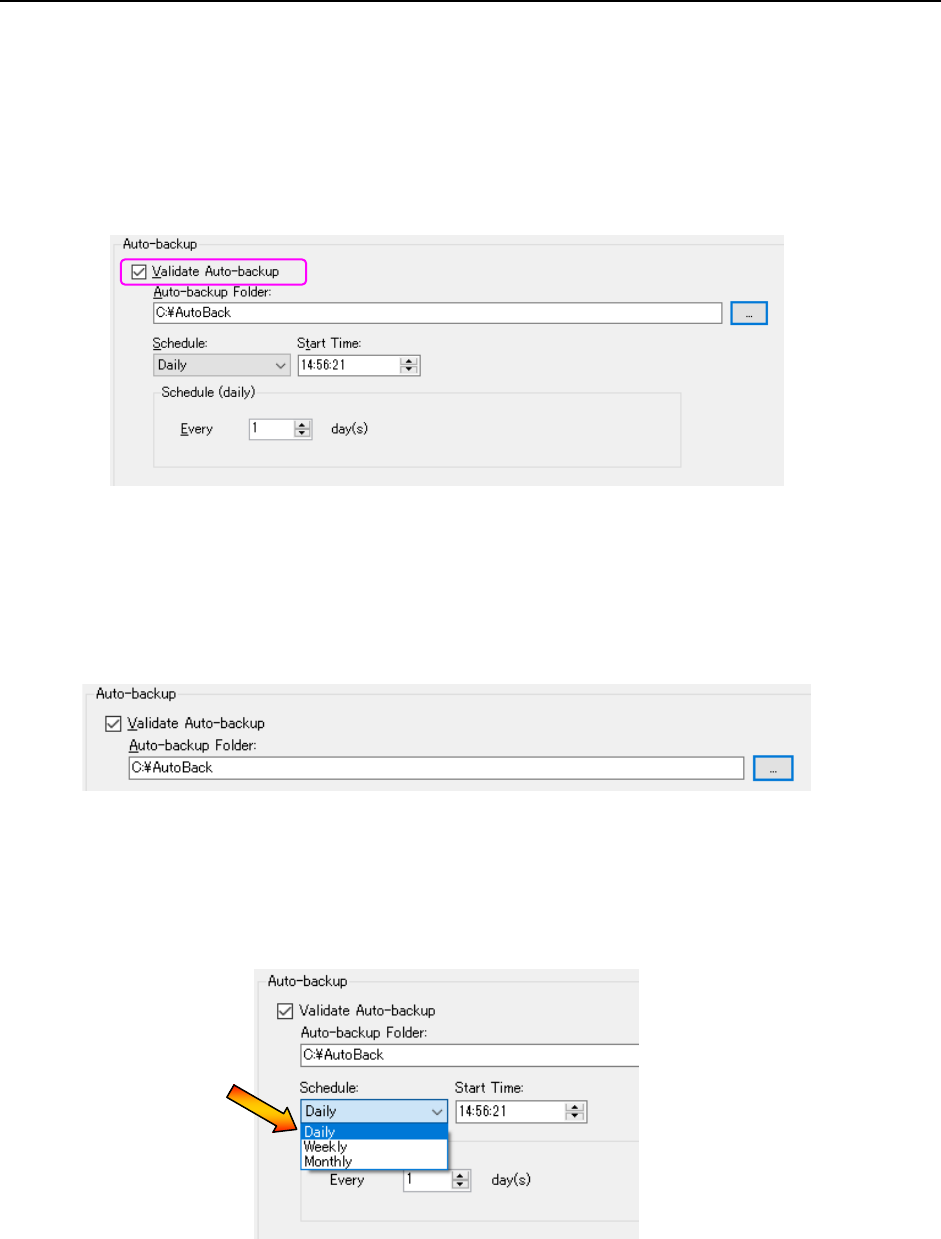
(1) Validate Auto-backup
To back up data automatically, check the check box “Validate Auto-backup” on the “Backup”
screen.
This enables the automatic back-up function. When you deselect this check box, the
automatic backup function is disabled.
The setting of the automatic back-up function is actually enabled only when you save it
when quitting the “Database Management Tool.”
Figure C.2-2 “Validate Auto-backup” check box
(2) Specifying the “Auto-backup Folder”
Specify the folder in which data is stored when the automatic back-up function is executed.
Enter the path in the “Auto-backup Folder” text box ① directly, or open the dialog box for
selecting a folder with the button ② and select the path.
Figure C.2-3 Specifying the automatic back-up folder
(3) Drawing up the schedule
Draw up the schedule for backing up data. You can draw up the schedule daily, weekly or
monthly. In addition, you can work out details of the schedule.
Figure C.2-4 Drawing up a schedule
②
①
JaNets Instruction Manual C. Database Management Tool
C-5
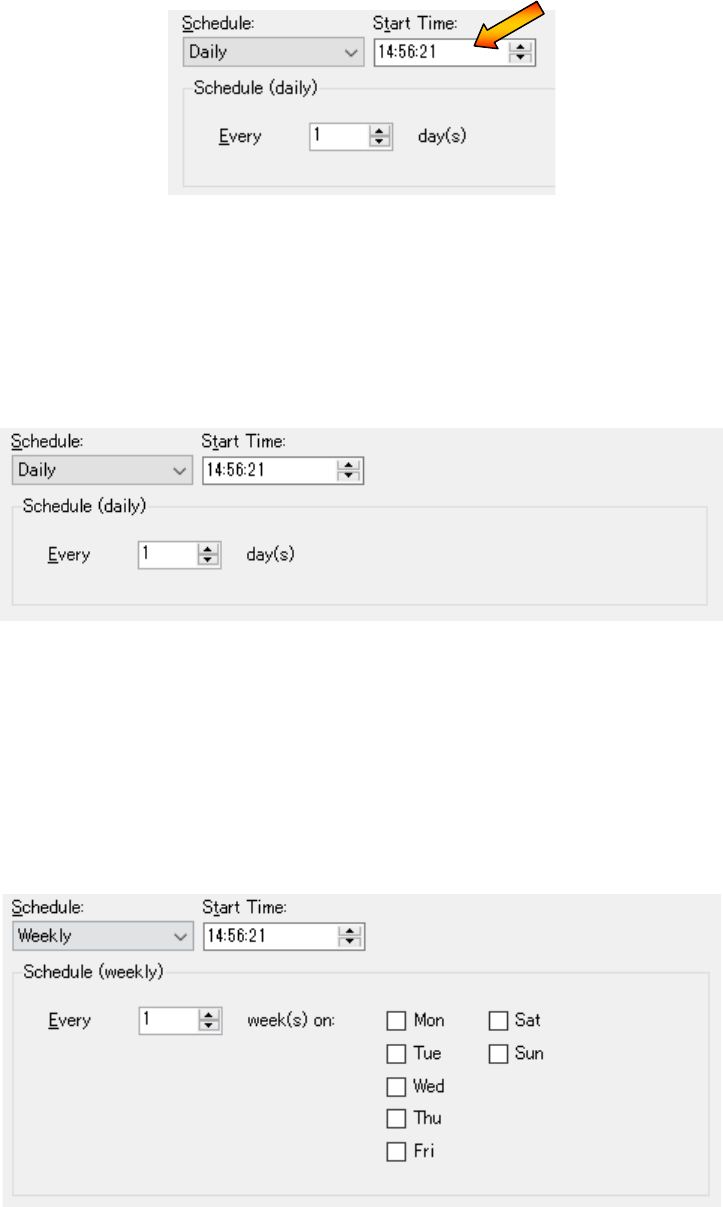
(4) Setting the start time
Specify the start time for backing up data automatically. You can enter from 00:00:00 to
23:59:59.
Figure C.2-5 Setting the start time
(5) Working out details of the schedule (daily)
When you select “Daily” on the “Schedule” menu, the “Schedule (daily)” screen appears.
You can specify at how many days interval the system is to back up data on this screen.
You can enter a value from 1 to 365, and the initial value is “1.”
Figure C.2-6 “Schedule (daily)” screen
(6) Working out details of the schedule (weekly)
When you select “Weekly” on the “Schedule” menu, the “Schedule (weekly)” screen
appears.
You can specify at how many weeks interval the system is to back up data, and on what day
it is to back up data on this screen.
You can enter a value from 1 to 52, and the initial value is “1.”
Figure C.2-7 “Schedule (weekly)” screen