JANETS_INM.pdf - 第77页
JaNets Instr ucti on Man ual 2. Install ation 2- 49 2.5.3 .4 Hiding the log - on user selection screen Make the sett ing so that t he log - on us er select ion sc reen cannot appear when the mach ine start s up. (1) E nt…
JaNets Instruction Manual 2. Installation
2-48
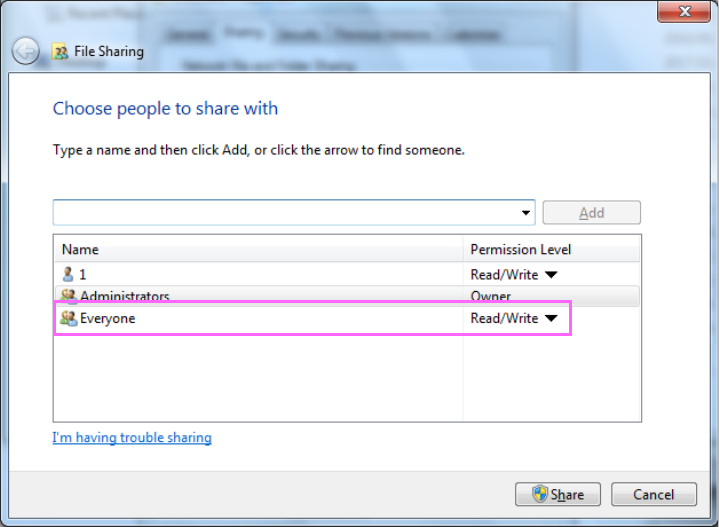
(3) The “File Sharing” screen for the folder appears. Select “Everyone” from the drop-down list,
and then click the <Add> button. When “Everyone” is added to the user names who share
the folder, click the “Permission Level” of the “Everyone,” and then change the setting from
“Read” to “Read/Write.”
Figure 2.5-30 Sharing setting of the Interface folder
(4) Click the <Share> button to start sharing the folder.
You have finished setting up the shared folder here.
JaNets Instruction Manual 2. Installation
2-49
2.5.3.4 Hiding the log-on user selection screen
Make the setting so that the log-on user selection screen cannot appear when the machine starts up.
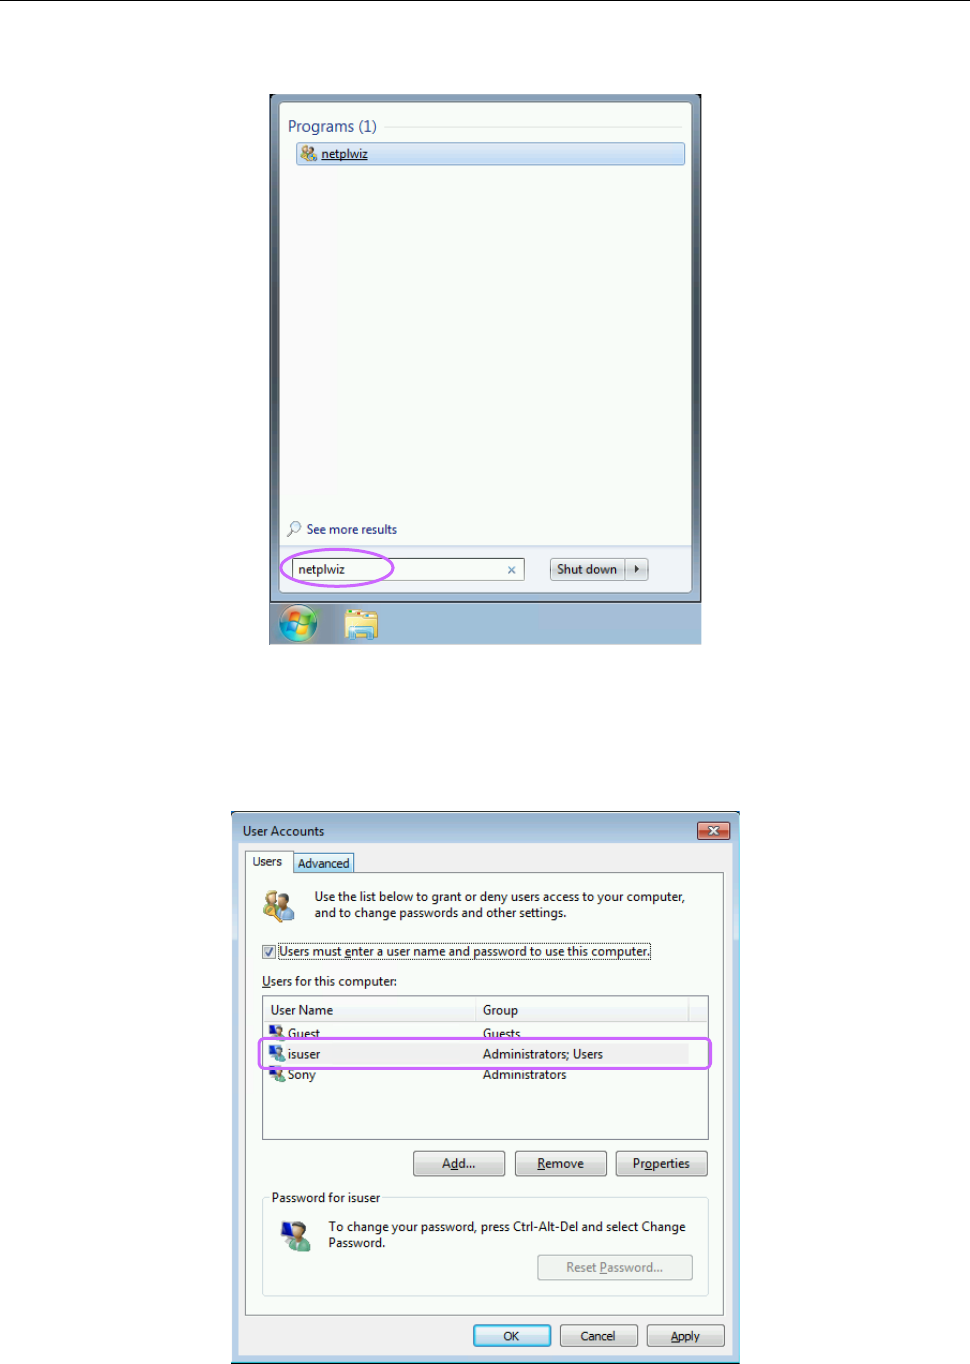
(1) Enter “netplwiz” on the search screen of the “Start” menu of the machine main unit, and then
press the Enter key.
Figure 2.5-31 Search screen invoked from the “Start” menu
(2) The screen for setting a user account is displayed. (The figure indicates the screen displayed
with an RV series machine. However, the same screen is displayed with an RP-1 also
although the displayed user name is different from the name displayed with the RV series
machine.)
Figure 2.5-32 Screen for setting a user account
JaNets Instruction Manual 2. Installation
2-50
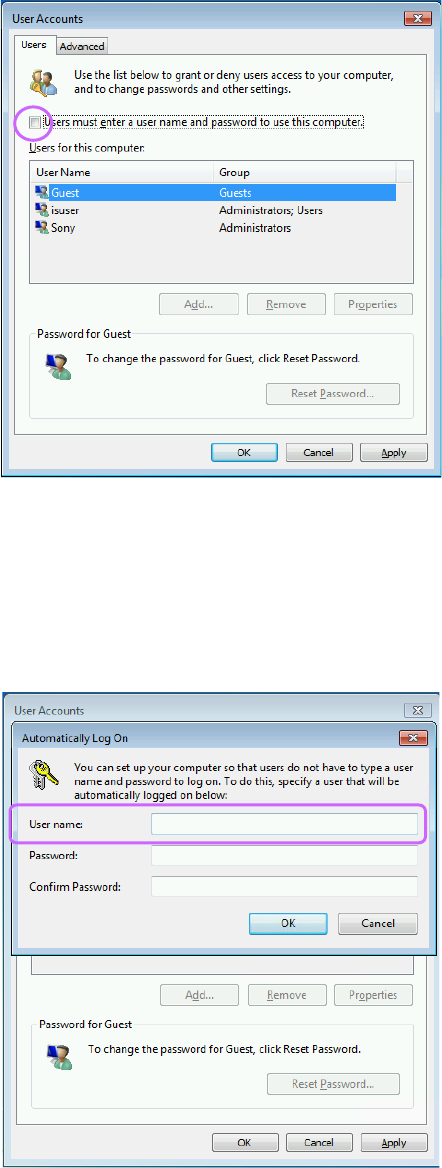
(3) Uncheck the “Users must enter a user name and password to use this computer.” check box on
the displayed screen.
Figure 2.5-33 When the check box is unchecked on the screen
(4) Click the <Apply> button. You are prompted to enter information on the account of a user who
will automatically long on the machine.
Enter “RV” in the “User name” field for the RV series machine or “1” for the RP-1.
You do not have to enter any data in the “Password” and “Confirm Password” fields for both the
RV series machine and the RP-1.
When you finish entering the user name, click the <OK> button.
Figure 2.5-34 Setting for automatic log-on
(5) The screen is switched back to the screen for setting a user account. Click the <OK> button
to close the screen.
You have finished making setting for hiding the log-on user selection screen here.