00198268-02_GS_SIPLACE-Pro-14.1-R17-1_EN - 第17页
Getting S tarted SIPLACE Pro 14.1 (R17-1) 2 Program Overview 05/2017 Edition 2.2 The User Interface 17 2.2.4 Auto-Hide for T ree Views 2 Fig. 2 - 9 Auto-Hide - example: T ree view - Component Sha pes Key 2 (1) Hide tree …
2 Program Overview Getting Started SIPLACE Pro 14.1 (R17-1)
2.2 The User Interface 05/2017 Edition
16
2
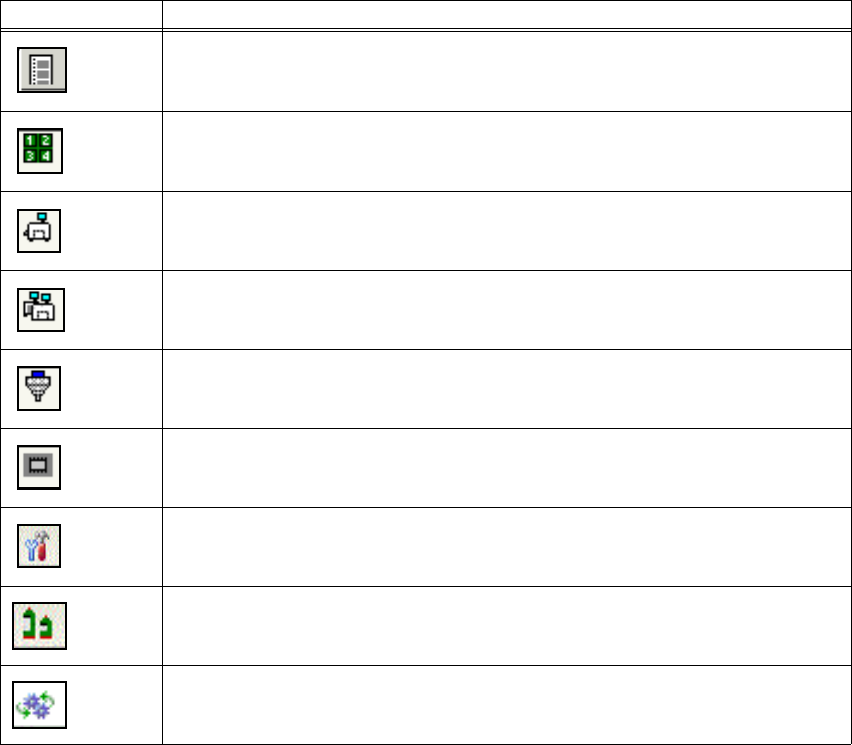
Symbol Equipment
Feeders
Waffle Pack Trays
Devices of Line (Stations, Printers and Generic Line Devices)
Lines
Nozzles
Component Packages
Tools (Vacuum Tool Types, Support Pin Lists)
Materials (Process Materials)
Processes (Printer Processes)
Getting Started SIPLACE Pro 14.1 (R17-1) 2 Program Overview
05/2017 Edition 2.2 The User Interface
17
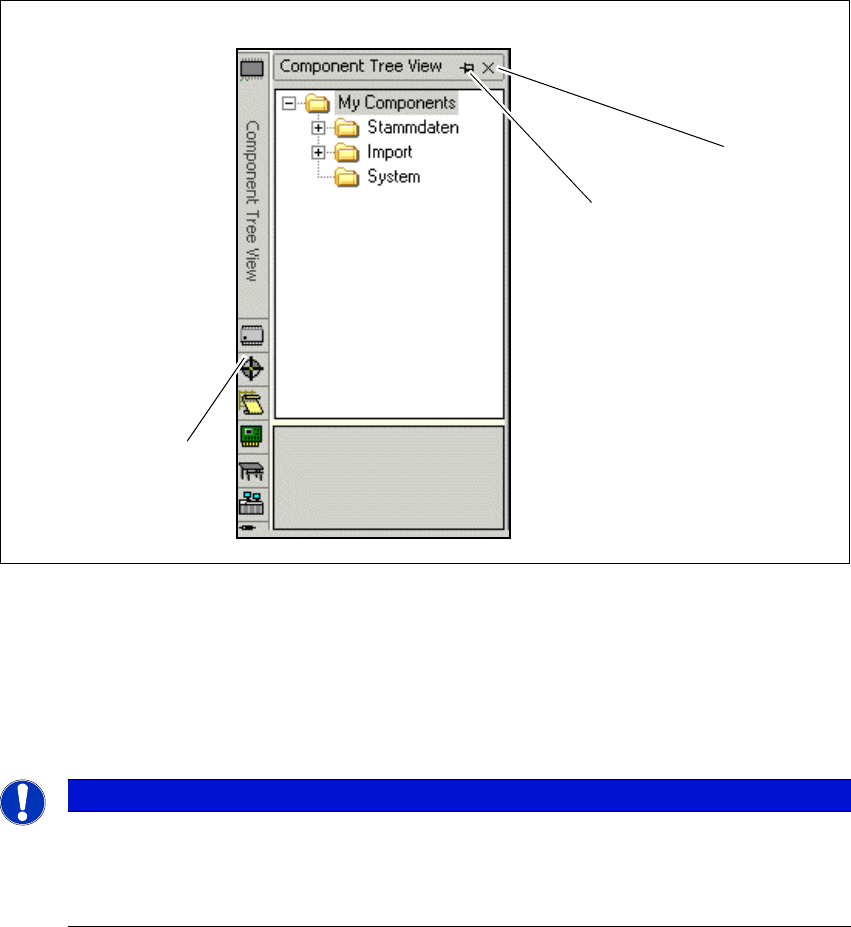
2.2.4 Auto-Hide for Tree Views
2
Fig. 2 - 9 Auto-Hide - example: Tree view - Component Shapes
Key
2
(1) Hide tree view (2) Enable/disable auto-hide
(3) Tree views accessible via buttons 2
Note
Doubleclick the blue bar above the tree view to undock the dialog box from the desk ar-
rangement. Then you can disarrange the dialog box. Doubleclick again the blue bar to
dock the dialog box at the original desk position.
3
2
1
2 Program Overview Getting Started SIPLACE Pro 14.1 (R17-1)
2.2 The User Interface 05/2017 Edition
18
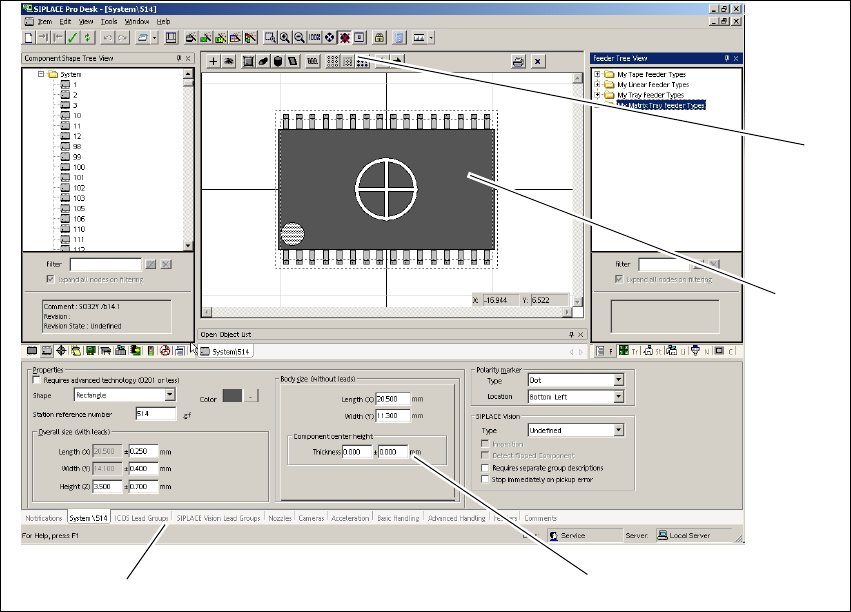
2.2.5 View Areas and Editing Areas
The view area displays an individual window for each opened or new object, in which the object
is shown as an image. The editing area contains tabs in which you can edit the relevant data. The
tabs are object-specific and may vary between objects. Additional functions will be made available
via the toolbar where applicable. 2
Multiple windows can be shown at the same time in the view area. One of these windows is always
active in the foreground. The corresponding tabs for the active window are shown in the editing
area. 2
2
Fig. 2 - 10 View area/editing area - example: Component Shape Editor
Key
2
(1) View Area (2) Editing Area
(3) Tabs (for the Component Shape Editor
example)
(4) Toolbar (for the Component Shape Editor
example)
3
2
1
4