00198354-01_AI_Loc2_Fixed_Table_en.pdf - 第16页
2 Installation 2.6 Installing the E-Series Tape Cutter [03105585-xx] Assembly Instructions E by SIPLACE Location 2 Fixed Table 04/2017 22 2.6.1 Optional ► You can unfasten four M8x10, dismantle the side bracket B right […
Assembly Instructions E by SIPLACE
Location 2 Fixed Table 04/2017
2 Installation
2.2 Preparatory Work
15
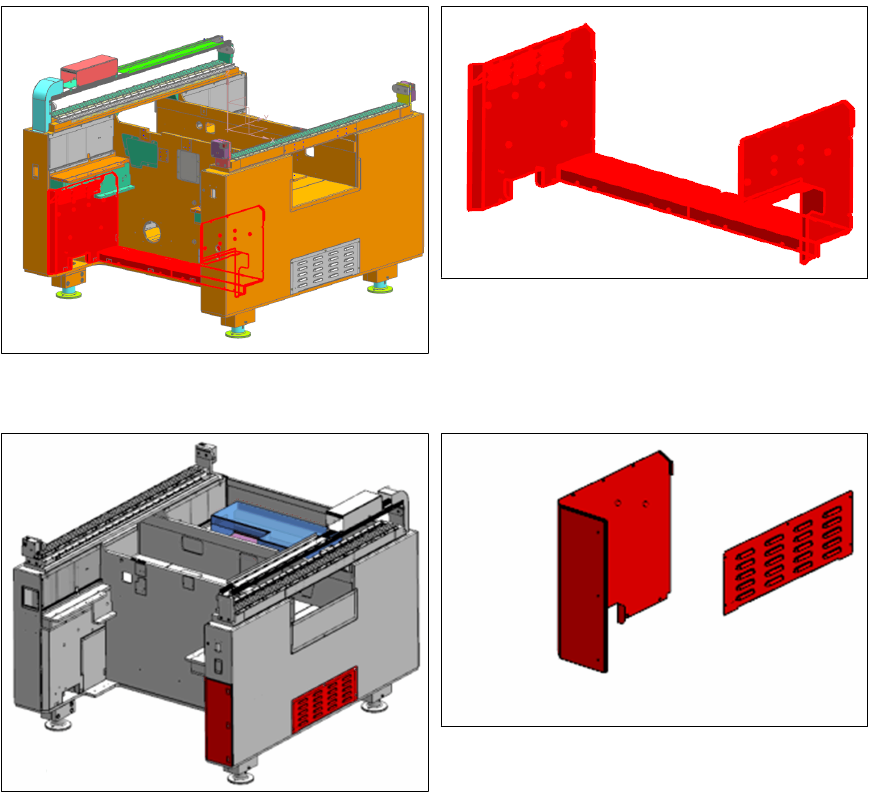
► Remove the four covers from location 2.
► Remove the side cover and cover from location 1 as shown.
2 Installation
2.6 Installing the E-Series Tape Cutter [03105585-xx]
Assembly Instructions E by SIPLACE
Location 2 Fixed Table 04/2017
22
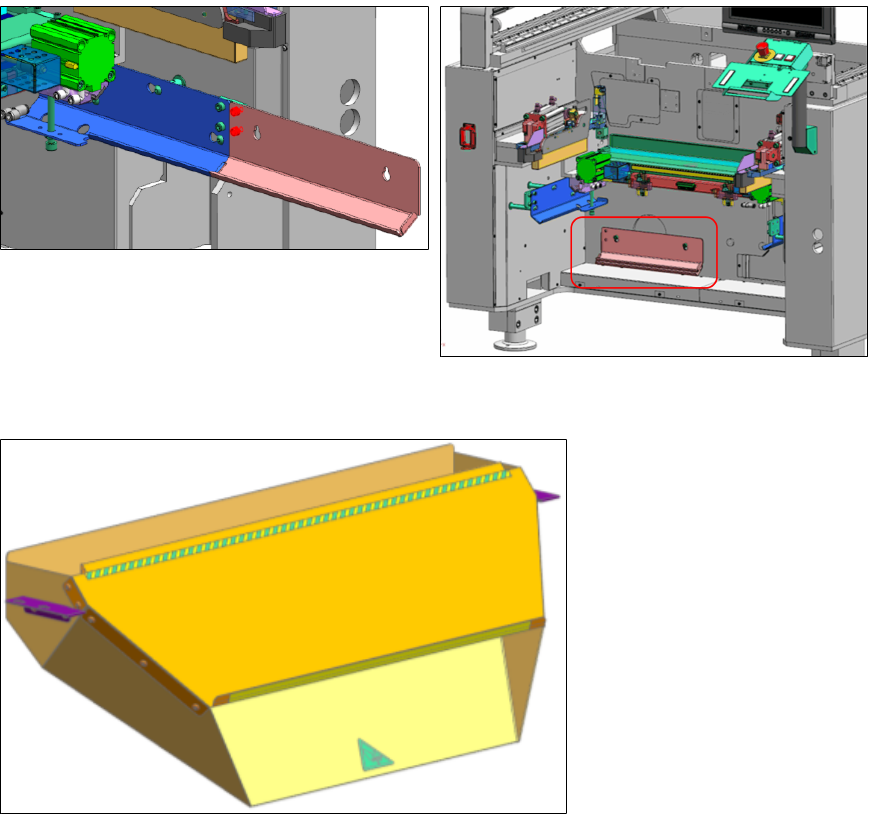
2.6.1 Optional
► You can unfasten four M8x10, dismantle the side bracket B right [03109832-xx] and side
bracket B left [03109810-xx].
► Keep and mount them onto the machine base frame.
► Install the waste tape chute [03108361-xx].
Assembly Instructions E by SIPLACE
Location 2 Fixed Table 04/2017
2 Installation
2.4 Installing the Location 2 Fixed Table Cable
17
2.4 Installing the Location 2 Fixed Table Cable
NOTICE
Wrong orientation oft the release handle
Pay attention to the orientation of the release handle.
► Install the cable, MT60 fixed table (location 2) [03135921-xx] from location 2 fixed table FCU
to the connections (X131, X132, X135) found in the compartment behind location 2 harting
connector.
► Install safety loop jumper connector (X137) to the connection found in the compartment be-
hind location 2 HMI side.
► See end of document for all circuit diagrams.