00198354-01_AI_Loc2_Fixed_Table_en.pdf - 第23页
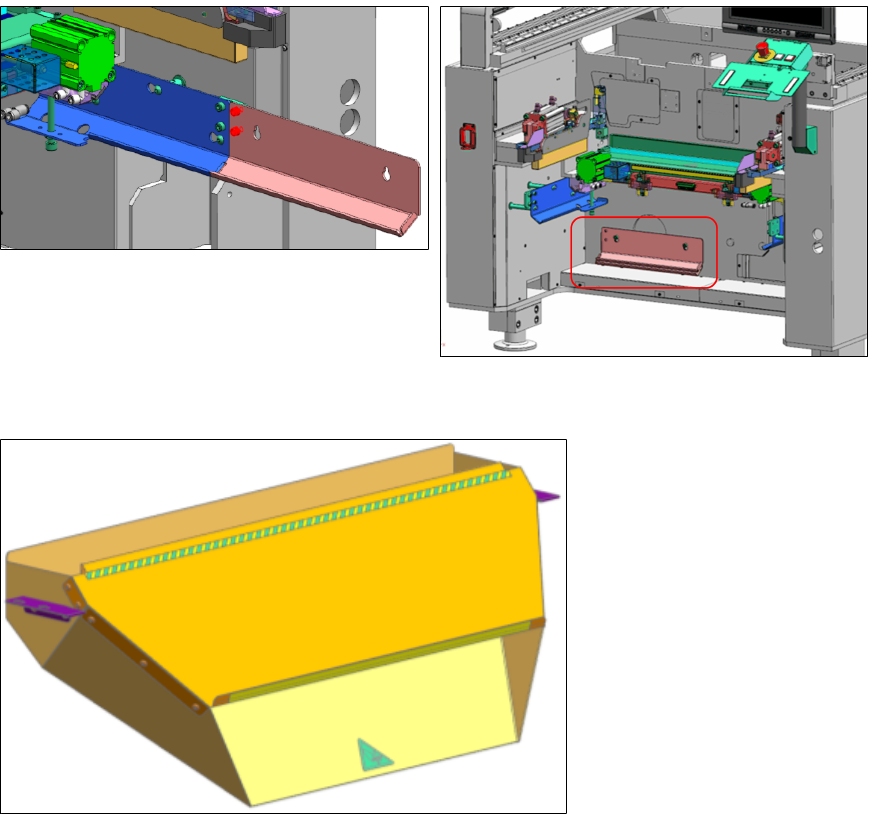
Assembly Instructions E by SIPLACE Location 2 Fixed Table 04/2017 2 Installation 2.6 Installing the E-Series Tape Cutter [03105585-xx] 23 The waste tape chute has two riveted key-hole side plates. ► Mount the waste tape …
2 Installation
2.6 Installing the E-Series Tape Cutter [03105585-xx]
Assembly Instructions E by SIPLACE
Location 2 Fixed Table 04/2017
22
2.6.1 Optional
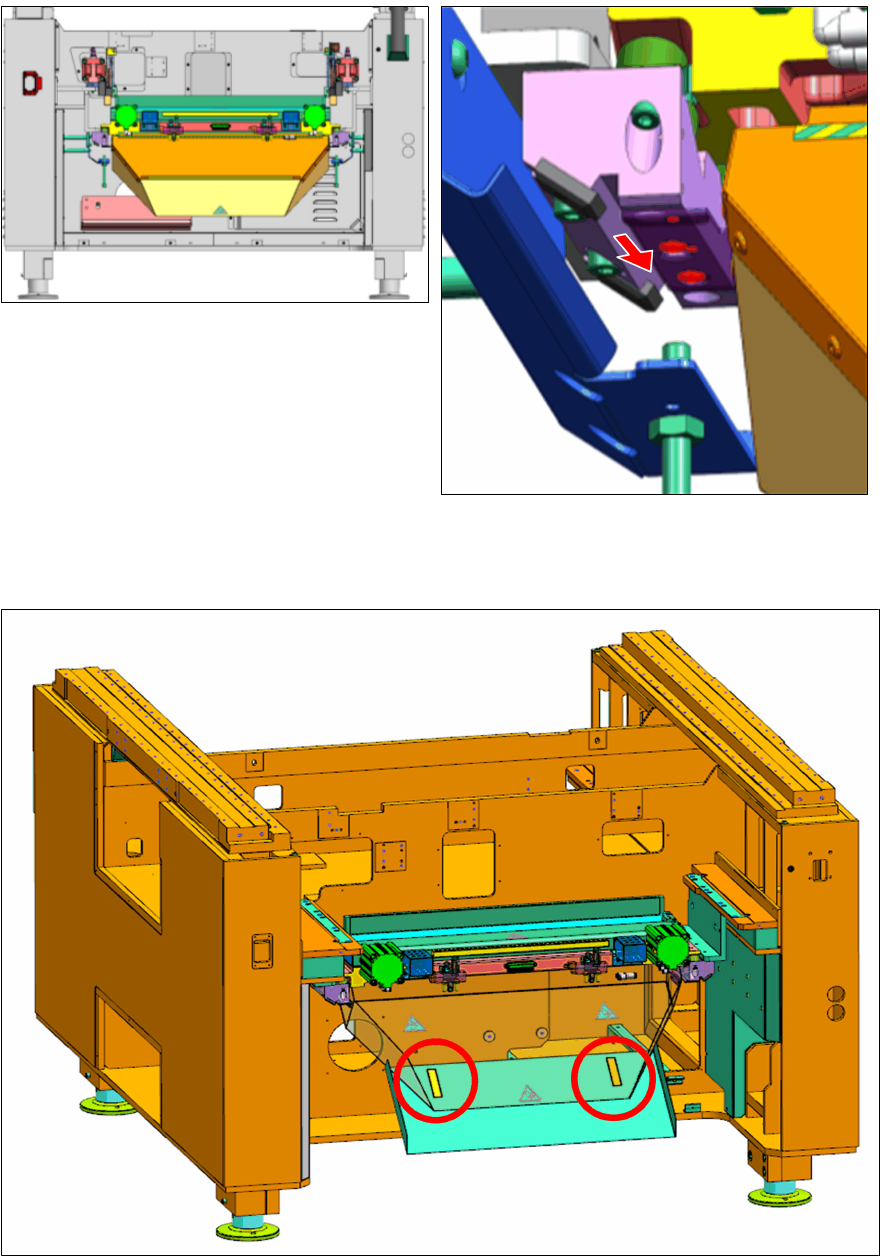
► You can unfasten four M8x10, dismantle the side bracket B right [03109832-xx] and side
bracket B left [03109810-xx].
► Keep and mount them onto the machine base frame.
► Install the waste tape chute [03108361-xx].
Assembly Instructions E by SIPLACE
Location 2 Fixed Table 04/2017
2 Installation
2.6 Installing the E-Series Tape Cutter [03105585-xx]
23
The waste tape chute has two riveted key-hole side plates.
► Mount the waste tape chute using four of M4x10 screw on to the tape cutter side holder.
► Position and paste the velcros on the locations as indicated in the drawing of [03138614-xx].
► Paste the waste tape chute extension [03136583-xx] to underside of the waste tape chute as
shown in the picture below.
2 Installation
2.6 Installing the E-Series Tape Cutter [03105585-xx]
Assembly Instructions E by SIPLACE
Location 2 Fixed Table 04/2017
24
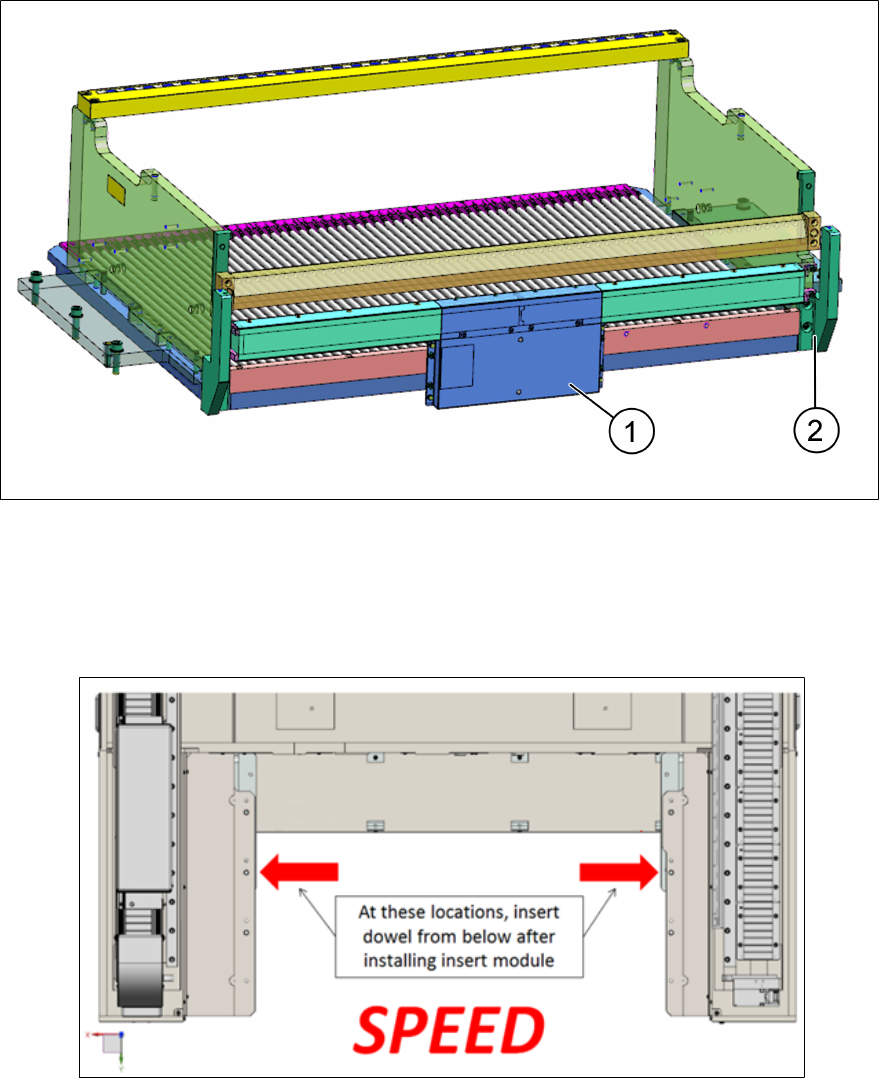
► Assemble the fixed table [03111424-xx], FCU [03107958-xx] and the ETD holder location 2
fixed table assembly [03138569-xx] offsite.
1 FCU 2 ETD holder assembly
► Mount the sub-assembly to the frame and follow the requirement to add the necessary shims
according to the assembly protocol to the frame before mounting the fixed table. Depending
on the type of your machine use the indicated dowel holes as shown below:
Speed: