DuraBlue II Customer Product Manual.pdf - 第50页
+ Saving current settings + Restoring saved settings Installation 3-22 Part 1126931_01 2018 Nordson Corporation Save and Restore Melter Settings The current value of all editable operating parameters and the set‐point …
Tank key
Left display and
scroll key
Enter key
Ready LED
Installation
3-21
Part 1126931_01
2018 Nordson Corporation
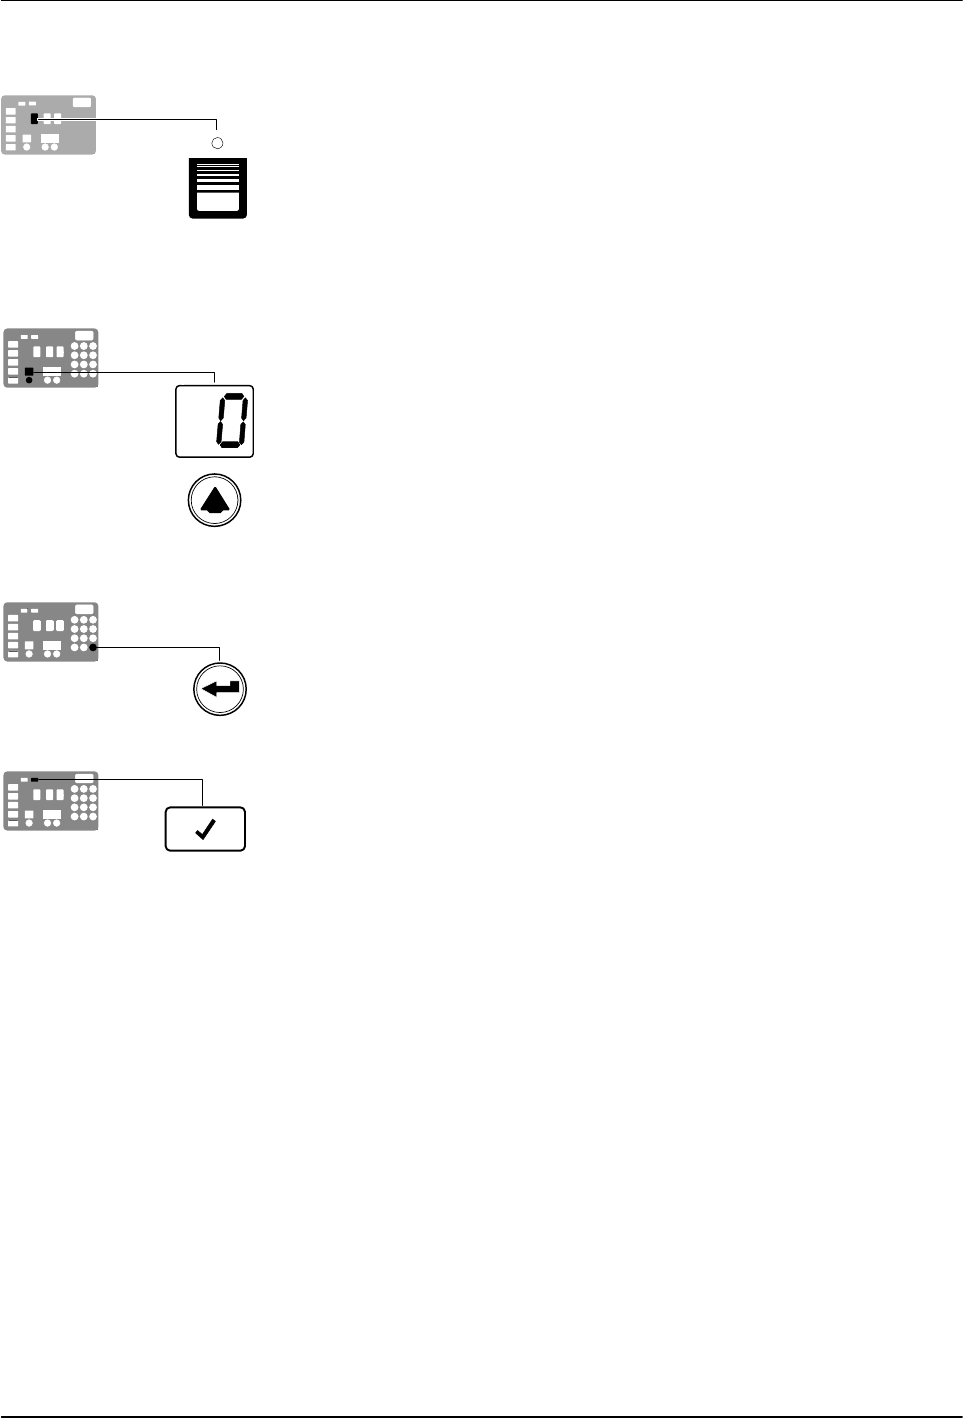
To assign a global set‐point temperature
1. Press and hold the Tank key for three seconds.
The left display flashes 1.
2. Scroll the left display to 0.
The right display indicates all dashes (‐‐‐‐) and the LEDs on the tank,
hose, and applicator keys turn green.
3. Press the Enter key.
The right display flashes.
4. Use the numeric keypad to enter the set‐point temperature
recommended by the manufacturer of the hot melt.
Refer to the technical data sheet provided by the manufacturer of the hot
melt to determine the optimal set‐point temperature.
5. Press the Tank key.
Each component begins to heat or cool to the new global set‐point
temperature and the melter returns to the automatic scan mode.
When all of the components reach the global set‐point temperature, the
ready LED turns on (green).
+
Saving current settings
+
Restoring saved settings
Installation
3-22
Part 1126931_01
2018 Nordson Corporation
Save and Restore Melter Settings
The current value of all editable operating parameters and the set‐point
temperature of each component can be saved and, if necessary, restored at
a later time. When saved settings are restored, they overwrite the settings
that are presently in use.
This save‐restore feature is useful in instances where the settings that are in
use are deliberately or accidentally changed and you need to return the
melter to its pre‐change setup.
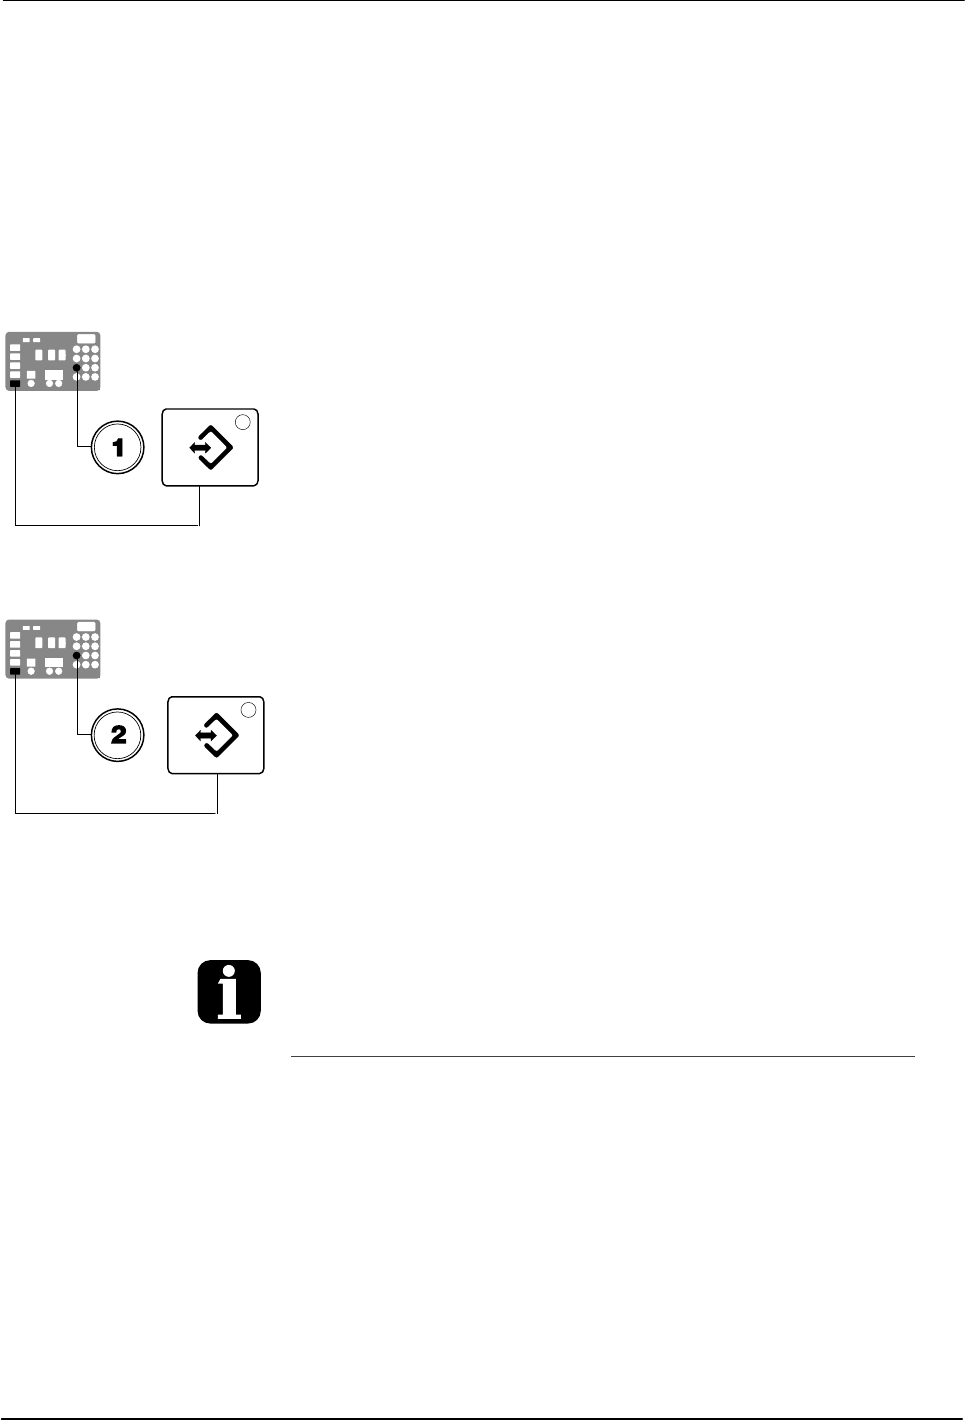
To save current settings
With the melter in the automatic scan mode, simultaneously press the
number 1 key and the Setup key.
S‐1 appears momentarily in the right display.
To restore saved settings
CAUTION! All melter settings will be deleted! Before restoring saved
settings, ensure that use of the restored settings will not disrupt the current
process or create an unsafe operating condition.
With the melter in the automatic scan mode, simultaneously press the
number 2 key and the Setup key.
S‐2 appears momentarily in the right display.
If you use the restore feature before the save
feature is used for the very first time, the
factory default set‐point temperatures will be
restored. This will cause the hoses and
applicators to stop heating.
You can transfer melter settings from one
melter to another using the Nordson
Configuration Manager software utility.
Refer to Appendix C, Melter
Communications
Setup key
Left display and
scroll key
Component key LEDs
Scrolling through the log
Installation
3-23
Part 1126931_01
2018 Nordson Corporation
Review Parameter and Set‐point Temperature Changes
The melter stores in a change history log, a record of the last ten changes
that were made to either operating parameters or set‐point temperatures.
Since the log only stores ten changes, old log entries are overwritten
beginning with the first log entry, by the eleventh and following log entries.
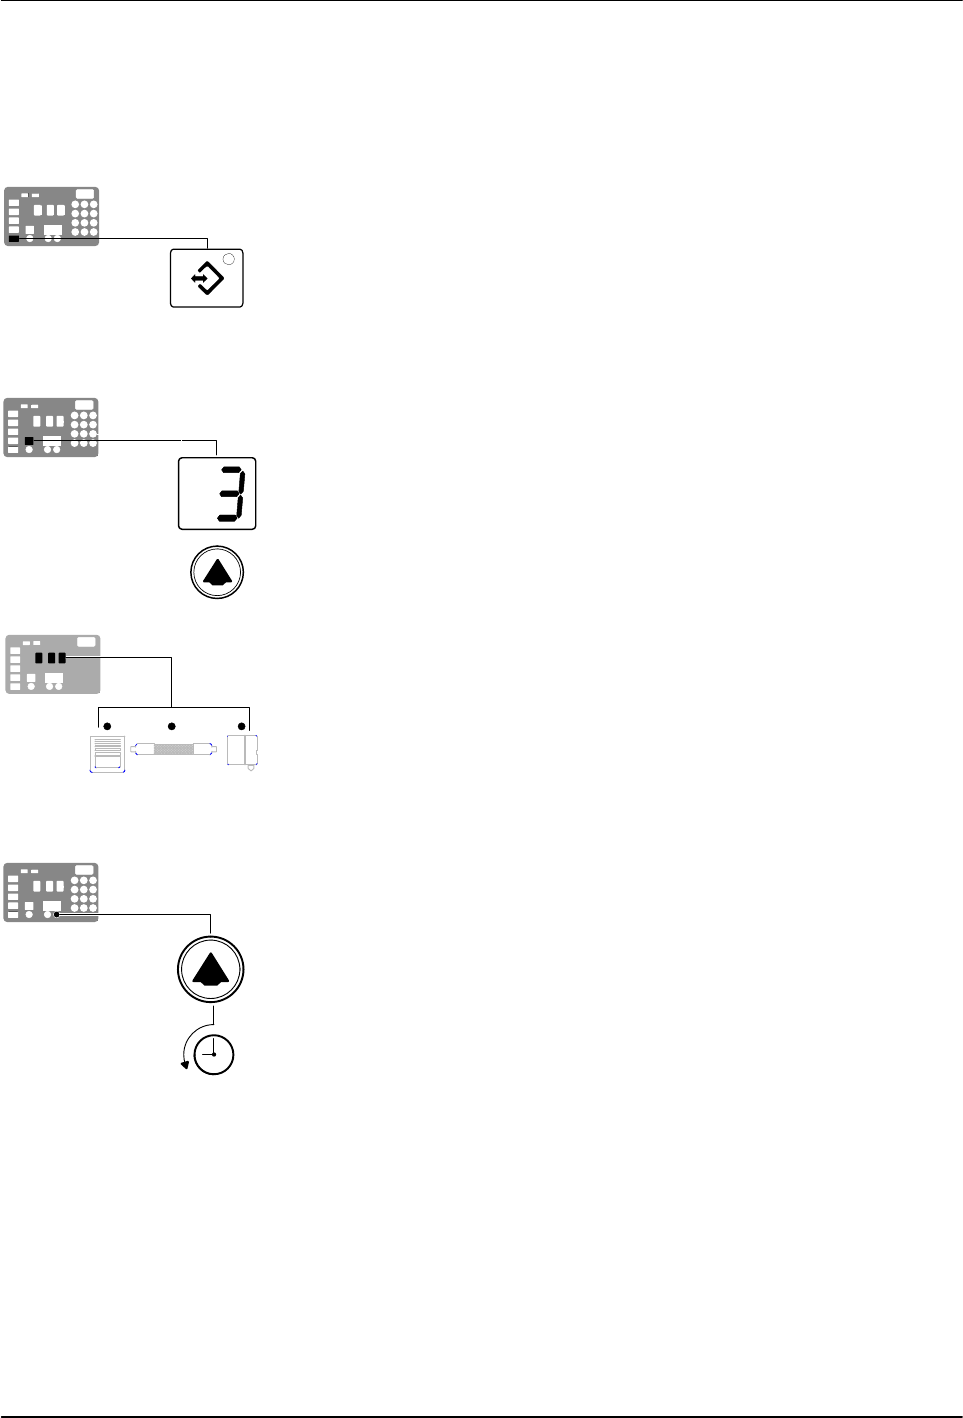
To review the change history log
1. Press the Setup key.
Operating parameter 1 flashes in the left display.
2. Press the left‐display scroll key to change the display to parameter 3 (the
change history log).
The following occurs:
If the last change was to an editable parameter, all of the component
key LEDs remain off.
or
If the last change was to a set‐point temperature, the LED on the
associated component key(s) turns on.
and
The right display indicates the four‐digit log entry associated with the
last change that was made.
Table 3‐5 provides the meaning, from left to right, of each digit in the
log entry. Following the table are two example log entries.
3. Press a right‐display scroll key to review each of the remaining nine log
entries. Each press of a scroll key displays a progressively older log
entry.
4. Press the Setup key to return to the automatic scan mode.