DuraBlue II Customer Product Manual.pdf - 第84页
Operation 4-22 Part 1126931_01 2018 Nordson Corporation Entering a Password If the melter is password protected, a valid password must be entered before any set‐point temperature or melter parameter can be changed. To …
Operation
4-21
Part 1126931_01
2018 Nordson Corporation
If you enter a valid set‐point temperature for a
hose/applicator that is not connected to the melter or if
you enter a set‐point temperature that is out of range,
the right display will indicate dashes (‐‐‐‐) for three
seconds and then change back to the original
set‐point temperature.
When the right display is flashing, you can quickly
change the current set‐point temperature to 0 degrees
(off) by simultaneously pressing both of right‐display
scroll keys.
After removing a hose or a applicator, use
the individual component method of set‐point
temperature adjustment to set the component's
temperature to zero degrees (off). This will
avoid causing an F1 fault. When a hose or applicator
is added, use the individual component method to set
the desired temperature.
The factory set‐point temperature of the tank is 175 C
(350 F). The factory set‐point temperature of all others
components is zero degrees (off).
When the units of temperature is set to degrees
Celsius, the minimum and maximum set‐point
temperatures are 40 C and 230 C. When the units of
temperature are set to degrees Fahrenheit, the
minimum and maximum set‐point temperatures are 100
F and 450 F.
When using the right‐display scroll keys to adjust a
set‐point temperature, the right display automatically
increments between 0, 175, and 230 C or between 0,
350, and 450 F.
If you make a mistake while you are changing a
set‐point temperature, but you have not yet pressed the
enter key, press the Clear/Reset key to reset the right
display to the original temperature.
The melter will exit the setup mode and return to the
automatic scan mode two minutes after the last key is
pressed.
A global set‐point temperature of zero degrees (Celsius
or Fahrenheit) turns all components off.
When scrolling through component numbers in the left
display, component numbers that are associated
with unused hose/applicator receptacles are skipped.
The melter stores a record of the last ten changes
made to the set‐point temperatures (and operating
parameters) in the change history log.
Section 3, Installation, Review
Parameter and Set‐point
Temperature Changes
You can save set‐point temperature changes by
simultaneously pressing the 1 key and the Setup key.
Section 3, Installation, Save and
Restore Melter Setting

Operation
4-22
Part 1126931_01
2018 Nordson Corporation
Entering a Password
If the melter is password protected, a valid password must be entered before
any set‐point temperature or melter parameter can be changed.
To enter a melter password
1. Press the Setup key.
The left display indicates Parameter 0 (flashing) and the right
display indicates 4000.
2. Press the Enter key.
The right display begins flashing.
3. Use the keypad to enter the melter password.
4. Press the Enter key.
One of the following occurs:
If the password is correct, the left display indicates Parameter 1.
If the password is incorrect, the left display remains at 0 and the
right display momentarily indicates dashes (‐‐‐‐) and then returns to
4000.
If the password is incorrect, re‐enter it and then press the Enter key.
The melter will automatically revert back to the
password‐protected mode two minutes after
the last key press (any key). To force the
melter back into the password protected mode
before two minutes has elapsed, press the
Setup key twice.
The melter password is created and
enabled/disabled during system setup.
Setting Up the Melter in Section 3,
Installation
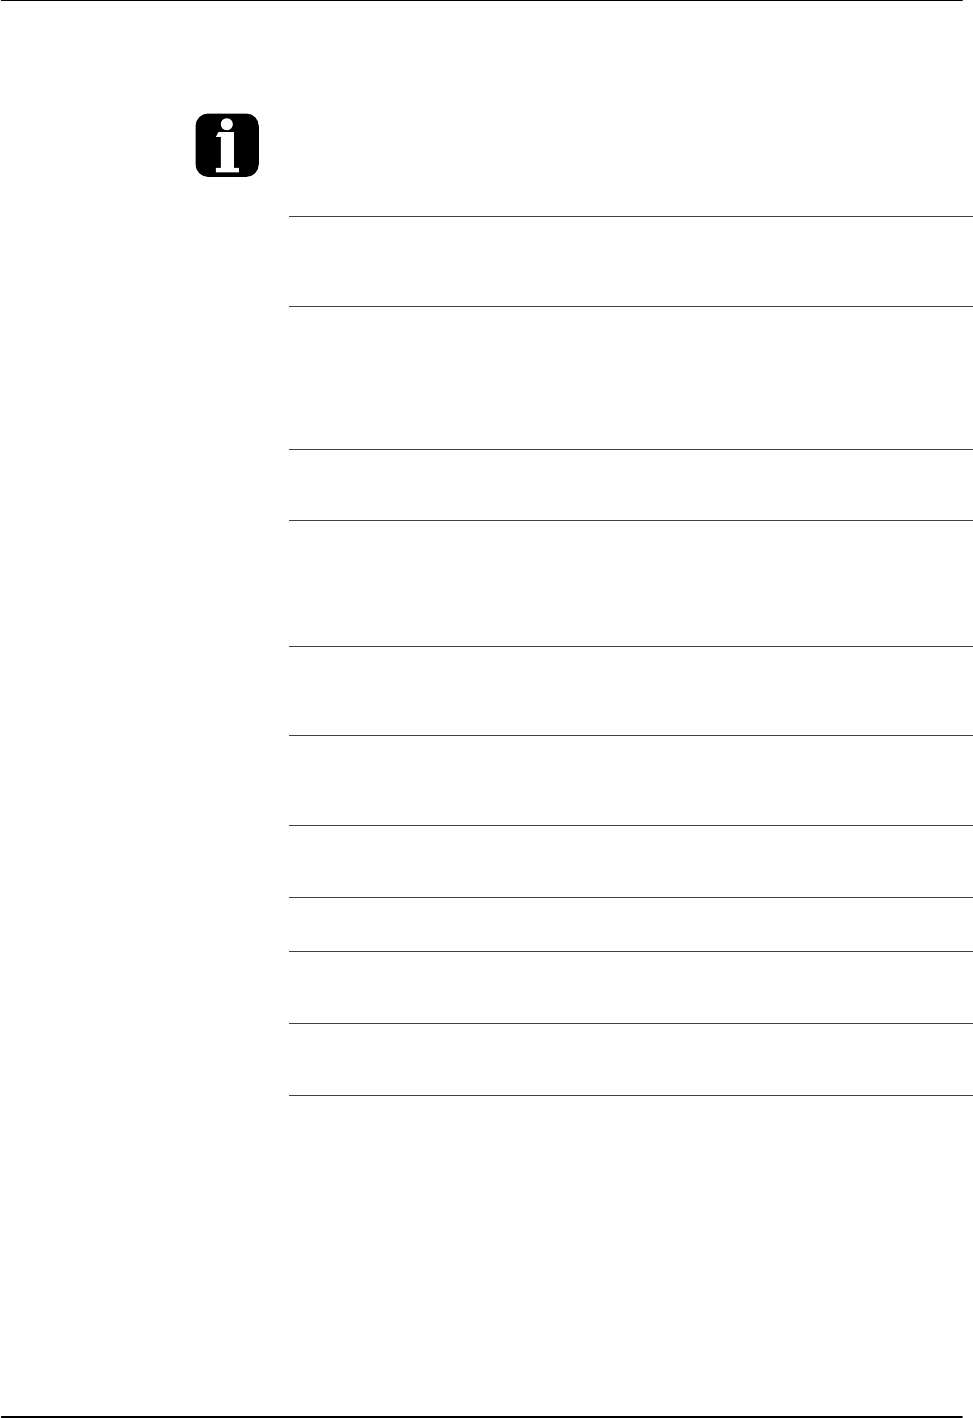
Heater key
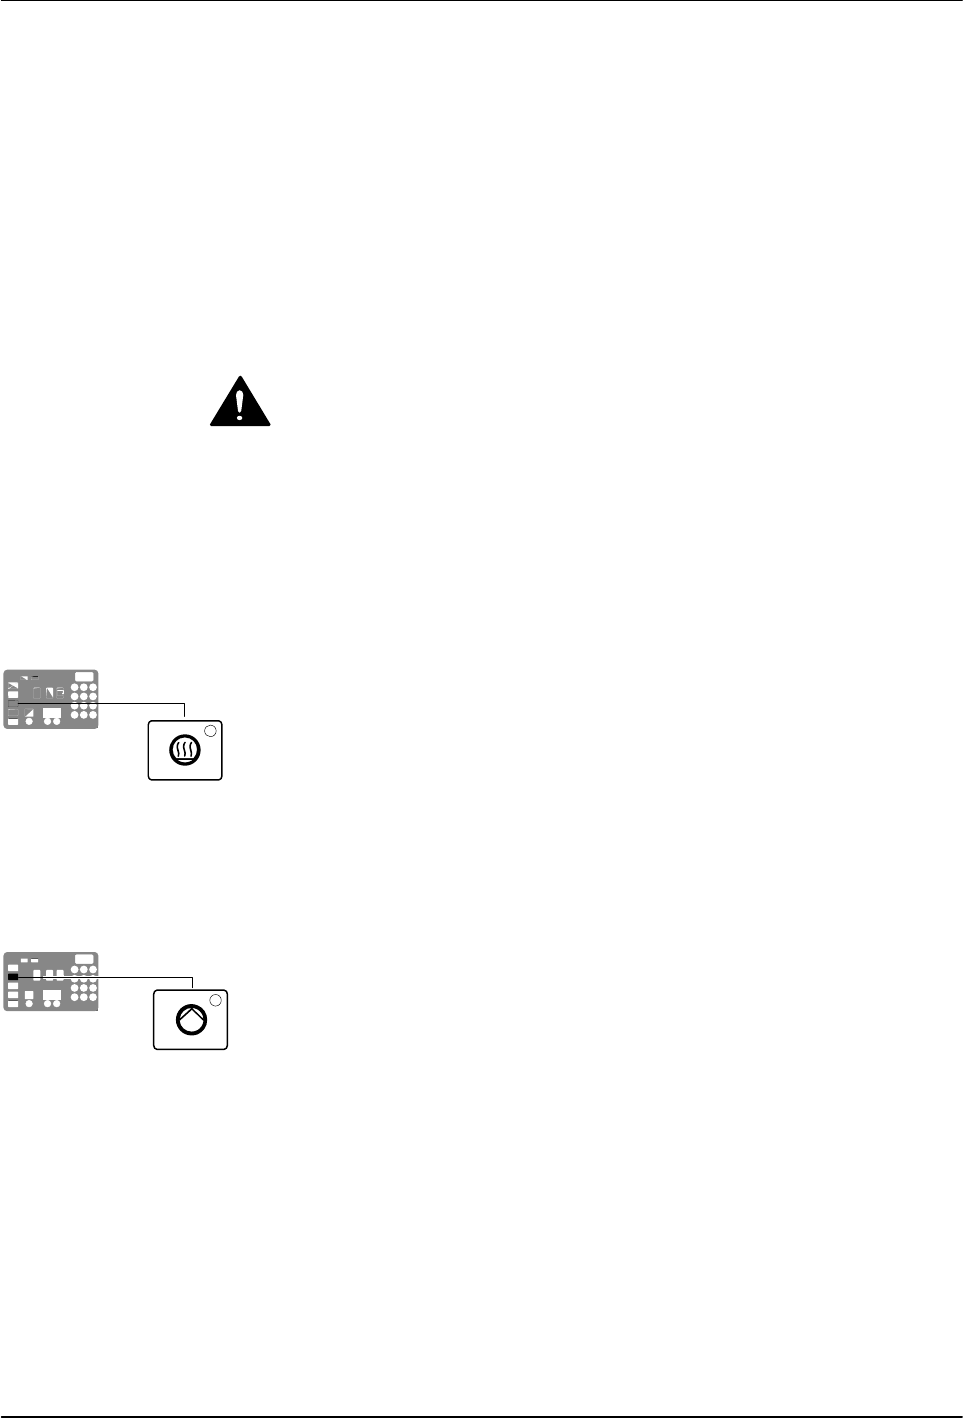
Master pump enable key/LED
Operation
4-23
Part 1126931_01
2018 Nordson Corporation
Using Function Keys
The control panel provides the following standard and special function keys:
Standard function keys
Heater
Pump (1 and 2)
Setup
Special function keys
Seven‐day clock
Standby
CAUTION! Unintentionally activating function keys can, under the
correct circumstances, have undesirable effects on the melter or the
manufacturing process. Only personnel who are familiar with the melter's
setup and its connection with the manufacturing process should use the
function keys. Improper use of the function keys can result in erratic process
behavior or personal injury.
Heater Key
Use the heater key to manually turn the component heaters on and
off. Pressing the heater key overrides the control (on or off) of the heaters
by either the seven‐day clock feature or a remote input. The LED on the
heater key illuminates when the heaters are on.
When a fault occurs (refer to Monitor Melter Faults in this section) the heaters
automatically turn off. The heater key is used to turn the heaters back on after
correcting a fault condition.
Master Pump Enable Key
Use the master pump enable key to enable and stop the pumps. The LED is
green when the pumps are enabled and the melter is ready.
If the automatic pump on feature (Parameter 8) is disabled, then the master
pump enable key must be used to start the pumps when the melter is ready.
If any of the inputs are set up to use the pump enable/disable control option,
the pump motor will not start until the pump is enabled and the correct
voltage is applied to the input contacts. If the pump is enabled, but the input
voltage is not present, the master pump enable key LED will flash green.