F2-82M_FeederPartsList.pdf - 第101页
■ Install the new Tape Guide. 1. Put the new Tape guide on the f eeder and fasten the Arm Gu ide P in lo osely. Align the lon g-hole of the Tape Guide with the center of the tap hole and fasten the Tap e Gui de Pin loo s…
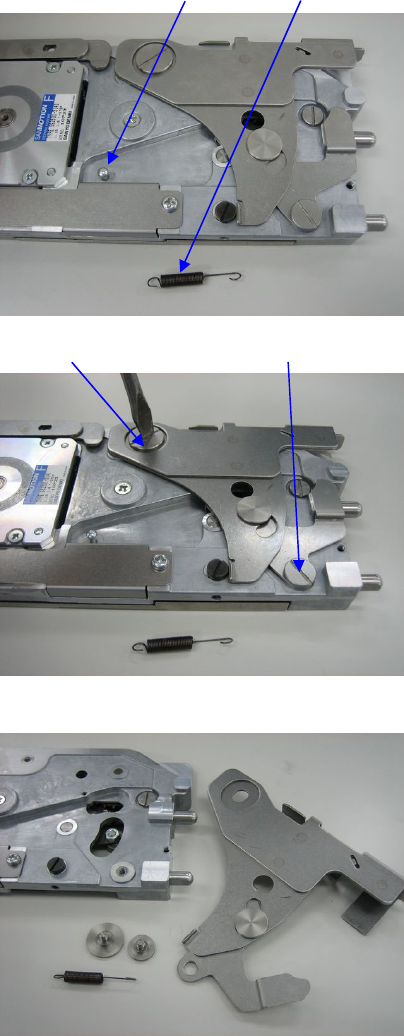
■ Remove the existing Tape guide
1. Remove the Spring【LG4-M1A48-001】 from the
Hook..
2. Loosen the Tape Guide Pin【LG4-M1A47-000】
and Arm Guide Pin【LG4-M1A4K-500】by a slotted
screwdriver and remove them.
3. Remove the Tape Guide Assy【LG4-M2A40-500】.
Spring Hook
Tape Guide Pin Arm Guide Pin
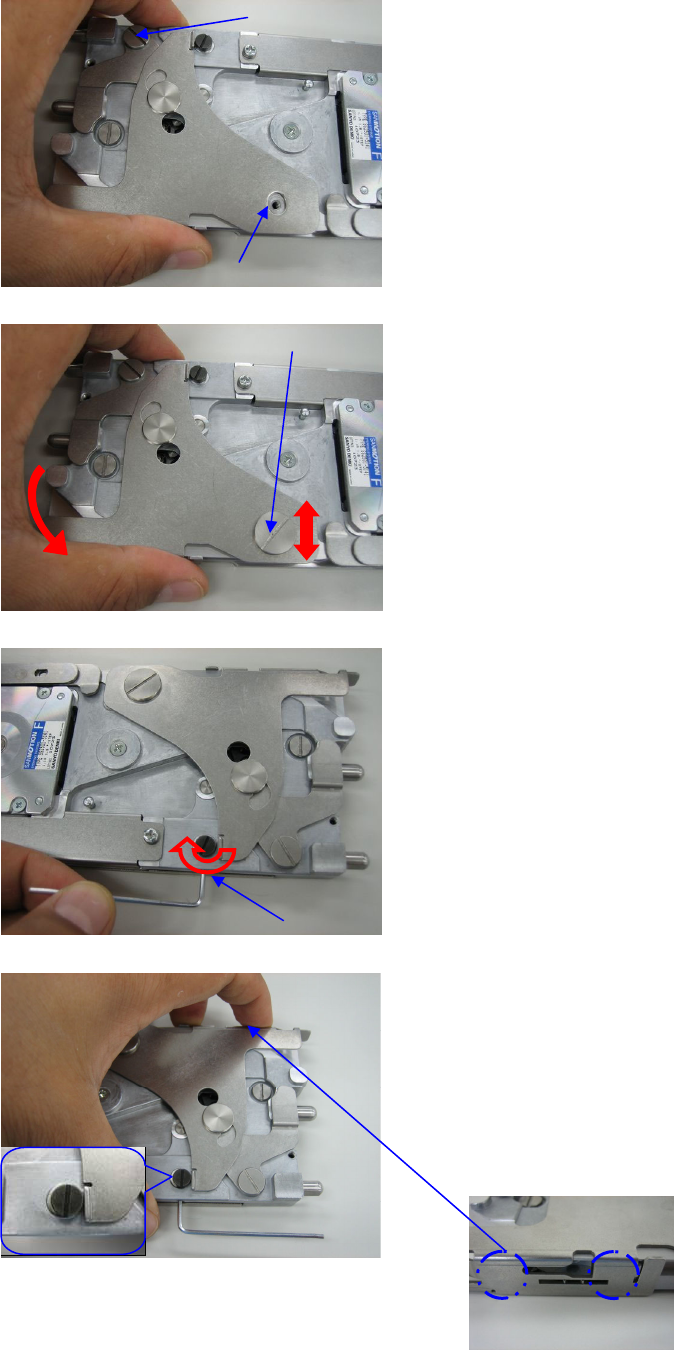
■ Install the new Tape Guide.
1. Put the new Tape guide on the feeder and
fasten the Arm Guide Pin loosely.
Align the long-hole of the Tape Guide
with the center of the tap hole and fasten
the Tape Guide Pin loosely.
2. Make sure if the Tape Guide moves
correctly(vertical and rotated motion).
Fasten the Tape Guide Pin and Arm
Guide Pin.
3. Loosen the set screw M3x5 by allen
wrench (1.5mm). Turn the eccentric pin
clockwise to make a gap between Tape
guide and eccentric pin.
4. Push the Tape guide on the tape running
surface and put it lightly. Turn the
eccentric pin counterclockwise to close
the gap from the Tape guide. And fasten
the set screw.
(↓The positions where to push by fingers)
Setscrew
Arm Guide Pin
Tape Guide Long-hole
Tape Guide Pin
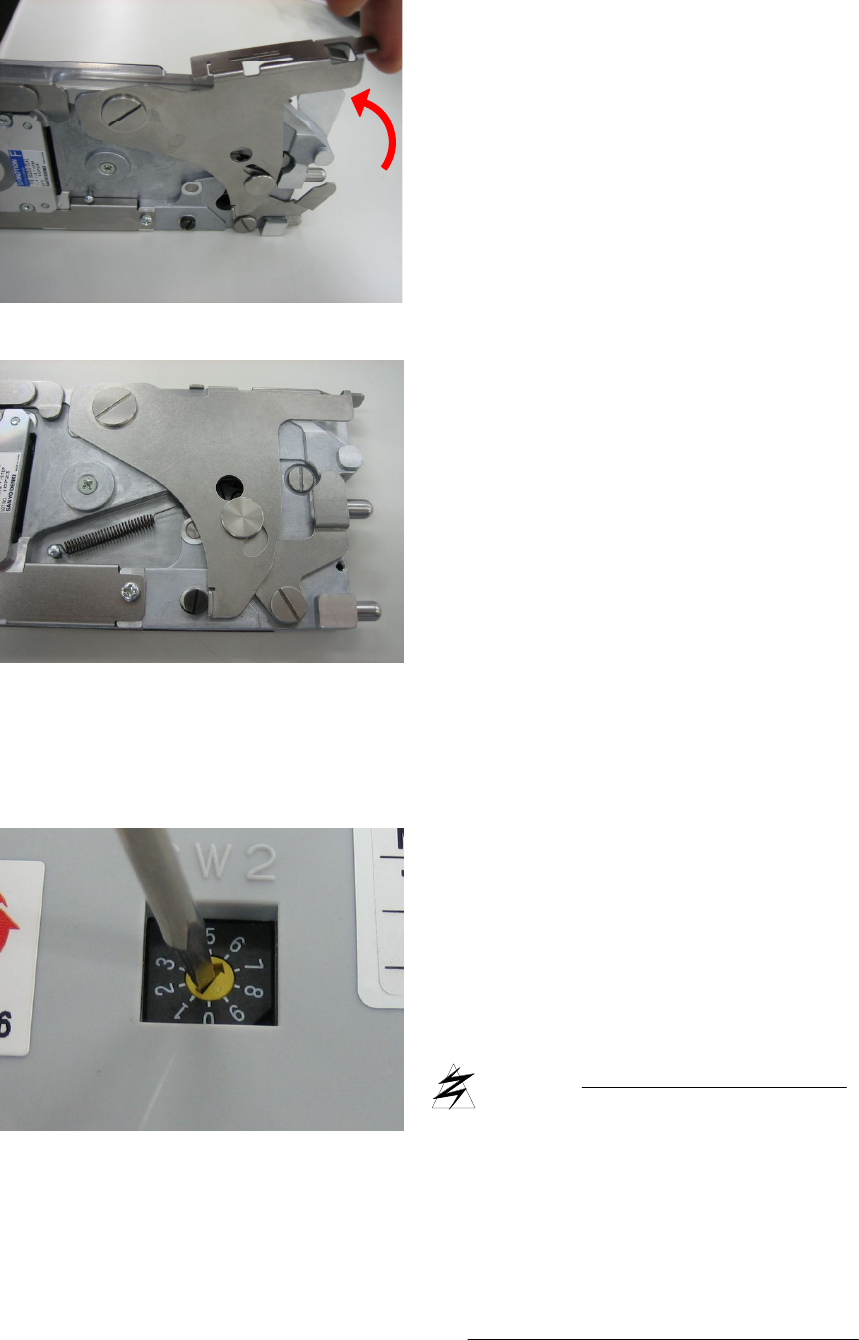
■ Set up the switch.
5. Pull up the end of the Tape Guide and
release it. To make sure it to be falling by
itself.
6. Hook the spring..
The adjustable feeding speed of 4mm pitch is 6
to 9.
The standard is “6”.
In case of rash of pickup error, it may
improve by the speed slow down.
The larger value of the switch makes
the speed slow.
CAUTION
Be sure to remove the feeder from the
mounter before working the switchover.
The switchover during power on, the
setting is not reflected. Tape Guide is
accurate parts so that require careful
handling.