00194598-01.pdf - 第48页
2 Retrofit instructions: ceramic substrate centering for SIPLACE S -27 HM Ceramic substrate centering SIPLACE S -27 HM 12/2004 Edition 48 : Please c heck th e plug co nfigur ation befo re plugg ing in . 2 : Fit the cov e…
Ceramic substrate centering SIPLACE S-27 HM 2 Retrofit instructions: ceramic substrate centering for SIPLACE S-27 HM
12/2004 Edition
47
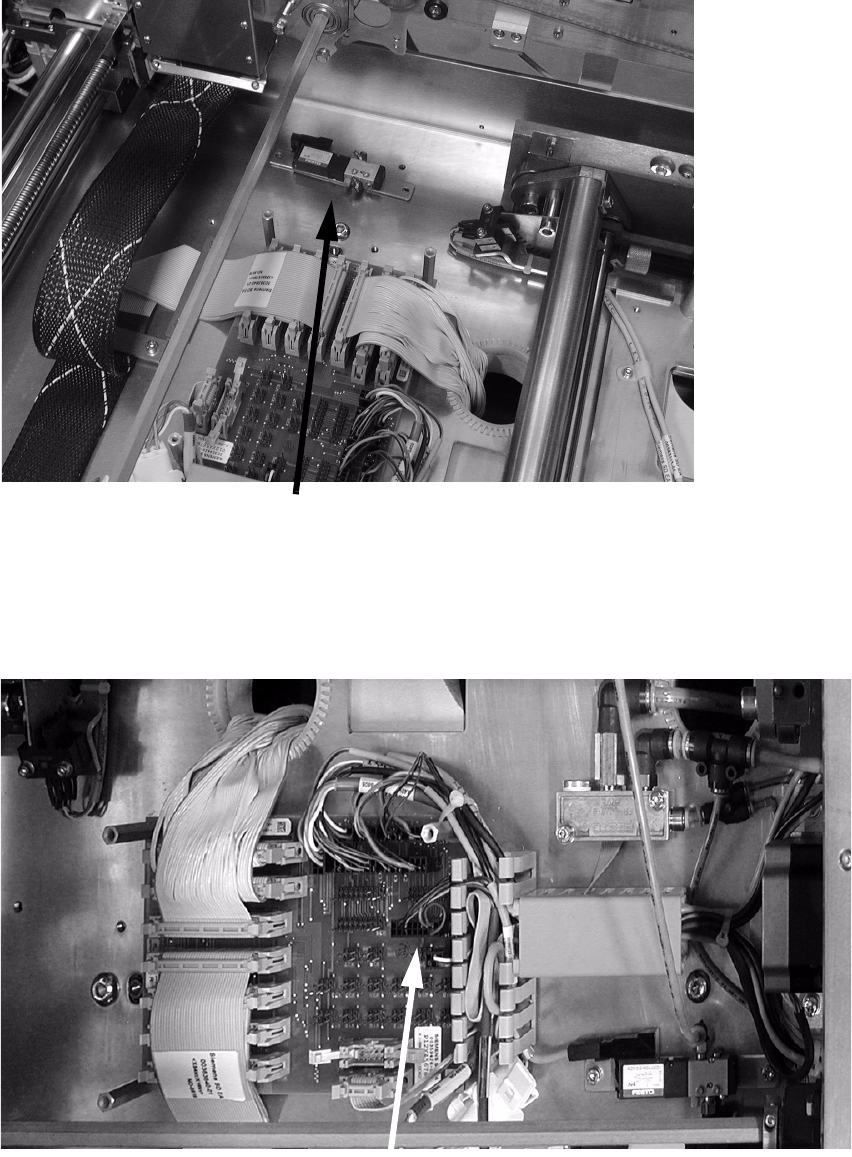
On the dual conveyor, the second solenoid valve is fitted at this point: 2
2
: Attach the electrical connections on the solenoid valve to the conversion board
at X34 (track 1 on the single conveyor and dual conveyor )
and X35 (track 2 on the dual conveyor). Run the cable through the cable duct.
2
Installation position of the solenoid valve for dual conveyor
Plug on conversion board
2 Retrofit instructions: ceramic substrate centering for SIPLACE S-27 HM Ceramic substrate centering SIPLACE S-27 HM
12/2004 Edition
48
: Please check the plug configuration before plugging in.
2
: Fit the cover to the cable duct and to the conversion board.
2
If the lifting table bed that you removed already has the holes for the ceramic substrate centering,
it may be refitted. If there are no holes, then the new lifting table bed with the holes must be fitted.2
: Install the appropriate lifting table bed.
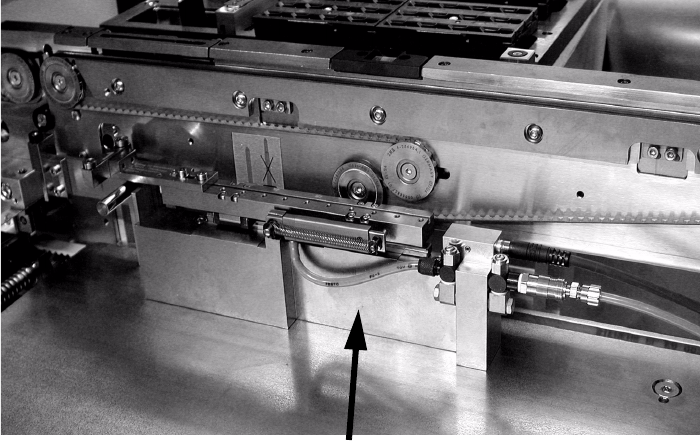
: Fix the ceramic substrate centering to the lifting table bed using the pins (photograph below).
: Screw it firmly to the lifting table bed using two screws.
2
2
2
2
Coding 1 2
Jumper brown 3 4 brown Jumper
Sensor brown 5 6
Sensor black 7 8
910
11 12
Sensor blue 13 14 black Solenoid valve
Solenoid valve black/red 15 16
Coding 17 18
Ceramic substrate centering
Ceramic substrate centering SIPLACE S-27 HM 2 Retrofit instructions: ceramic substrate centering for SIPLACE S-27 HM
12/2004 Edition
49
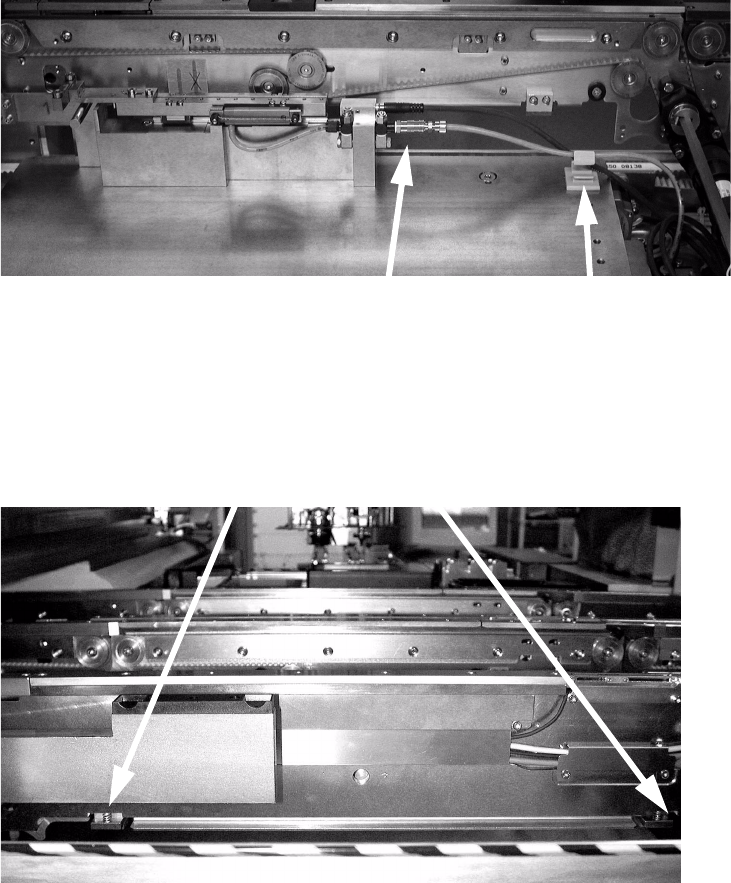
: Connect the compressed air hose to the ceramic substrate centering and connect electrically.
2
2.5.1 Installing the lifting table travel limiter
2
2
2
2
2
2
2
2
Connections
Cable clamp
PCB clamp