00196800-02_InstallGuide_EN.pdf - 第61页
Ins tall ati on and Con figu rati on Gu ide S IPLA CE Exp lor er 4 Co nfig ura tio n Edi tio n 01/201 1 EN 4.1 St an da rd Mo ni to r in g A pp lic a tio n (SM A) 61 4 Fig. 4 - 14 C onv ert da tab ase S peci fy the acc…
4 Configuration Installation and Configuration Guide SIPLACE Explorer
4.1 Standard Monitoring Application (SMA) Edition 01/2011 EN
60
After entering the database access parameters, we strongly recommend that you check the
connection to the database. Click Test to check whether the connection to the database can
be established.
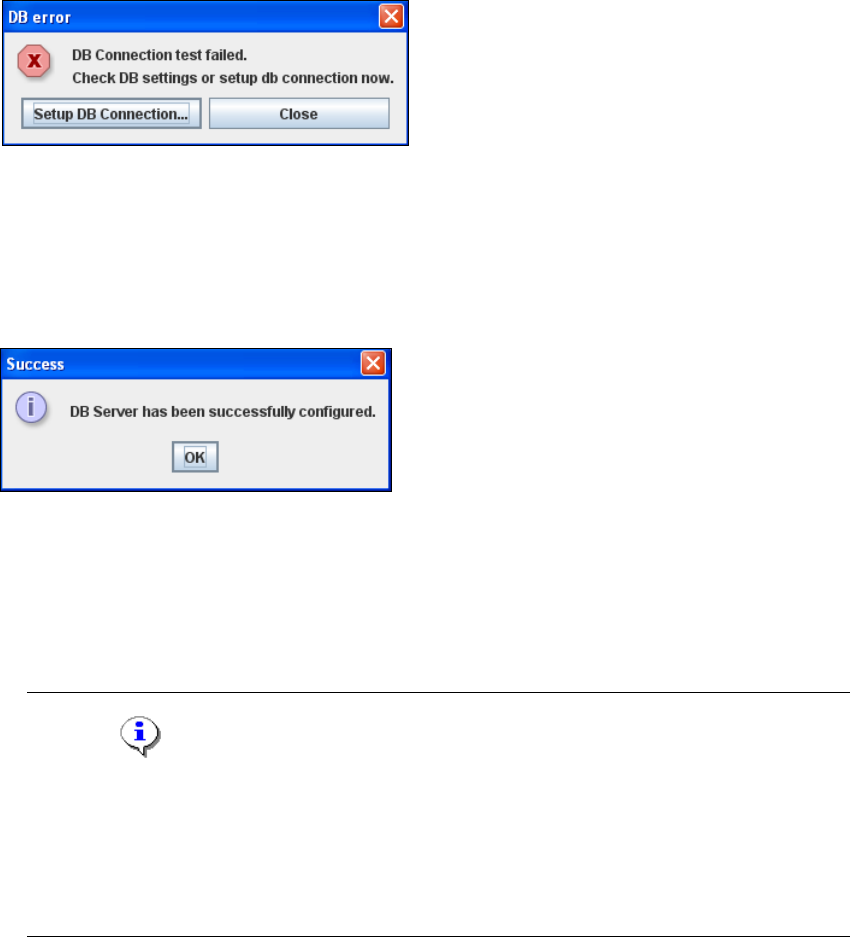
If the connection does not function properly, you will see the following information box:
4
Fig. 4 - 12 DB error
Click on the Setup DB Connection button to start the DB Connection Wizard setup
sequence and configure the SIPLACE Explorer system database. Follow the instructions at
“Database Connection Wizard” on page 92.
If the connection functions properly, you will see the following information box:
4
Fig. 4 - 13 Success
Click OK. The system will check the database data. If the database has data from SIPLACE
Explorer V2.0 - V2.8, you will need to convert the database for SIPLACE V2.9, due to the
changed data structure in the SIPLACE Explorer V2.9 database. In this case, the Convert
Database dialog box will open.
NOTE
Consider the following when converting the database
- You require database administrator privileges.
- Once you have started the conversion, this process can not be stopped.
- The conversion time depends on the size of the database and the performance of the
computer. It may take up to one hour. 4
Installation and Configuration Guide SIPLACE Explorer 4 Configuration
Edition 01/2011 EN 4.1 Standard Monitoring Application (SMA)
61
4
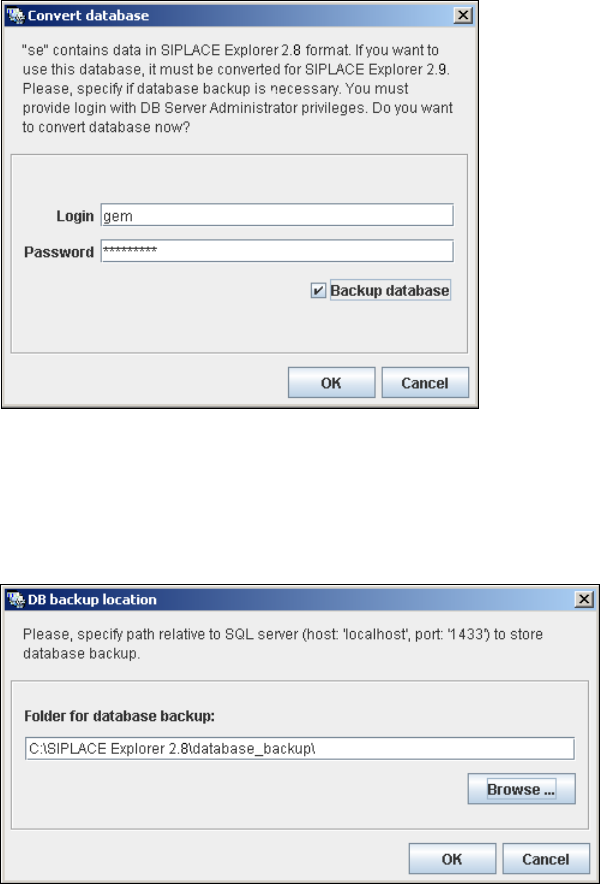
Fig. 4 - 14 Convert database
Specify the access data for the database administrator and enable the Backup database
option.
Confirm your entries with OK. The DB backup location dialog box will open
4
Fig. 4 - 15 DB backup location
Before performing the conversion, the system creates a backup file of the database. Specify
the folder for this file in the Folder for database backup field. Click on the Browse ...
button to select an existing folder.
4 Configuration Installation and Configuration Guide SIPLACE Explorer
4.1 Standard Monitoring Application (SMA) Edition 01/2011 EN
62
Confirm your choice with OK. The database will be converted. This may take up to one
hour. The conversion time depends on the size of the database performance of the
computer.
4
Fig. 4 - 16 DB backup
After successful conversion of the database, the following information window will open:
4
Fig. 4 - 17 Success
Click OK. You can now continue with the line configuration process.
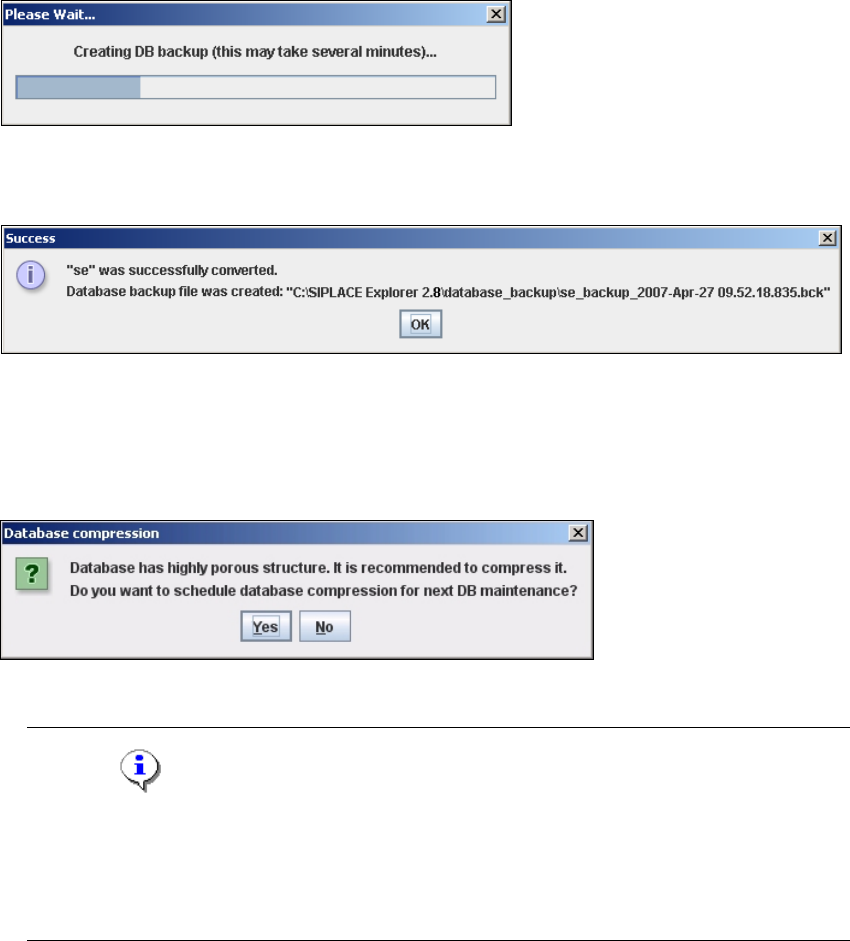
Dependent of the database size, you can compress the database, the following information
window will open:
4
Fig. 4 - 18 Database compression
NOTE
We recommend activating this DB compression step, when the user has restored the
SIPLACE Explorer line database or has moved the raw database files to another disk or to
another computer.
With the DB compression it is possible to avoid extended access times of the websites. 4
Click Yes, to compress the database at next DB maintenance.
4
After you have established the database connection and converted the database for SIPLACE
Explorer V2.9, you need to define the maintenance details for the system database, with the
Maintenance button.