EUKYX-199-2100_G5S2_Instruction_Vol2_E.pdf - 第185页
EUKYX 3-9 199-2100 1.2 Basic Operations in "Selection of component ID" Window 1 .2 .6 Merging the Component ID ( 1 ) Sele ct t he desired root co mpone nt ID . (Th e sele ct ed comp onent I D turns bl ue, ind i…
EUKYX
3-8199-2100
1.2 Basic Operations in "Selection of component ID" Window
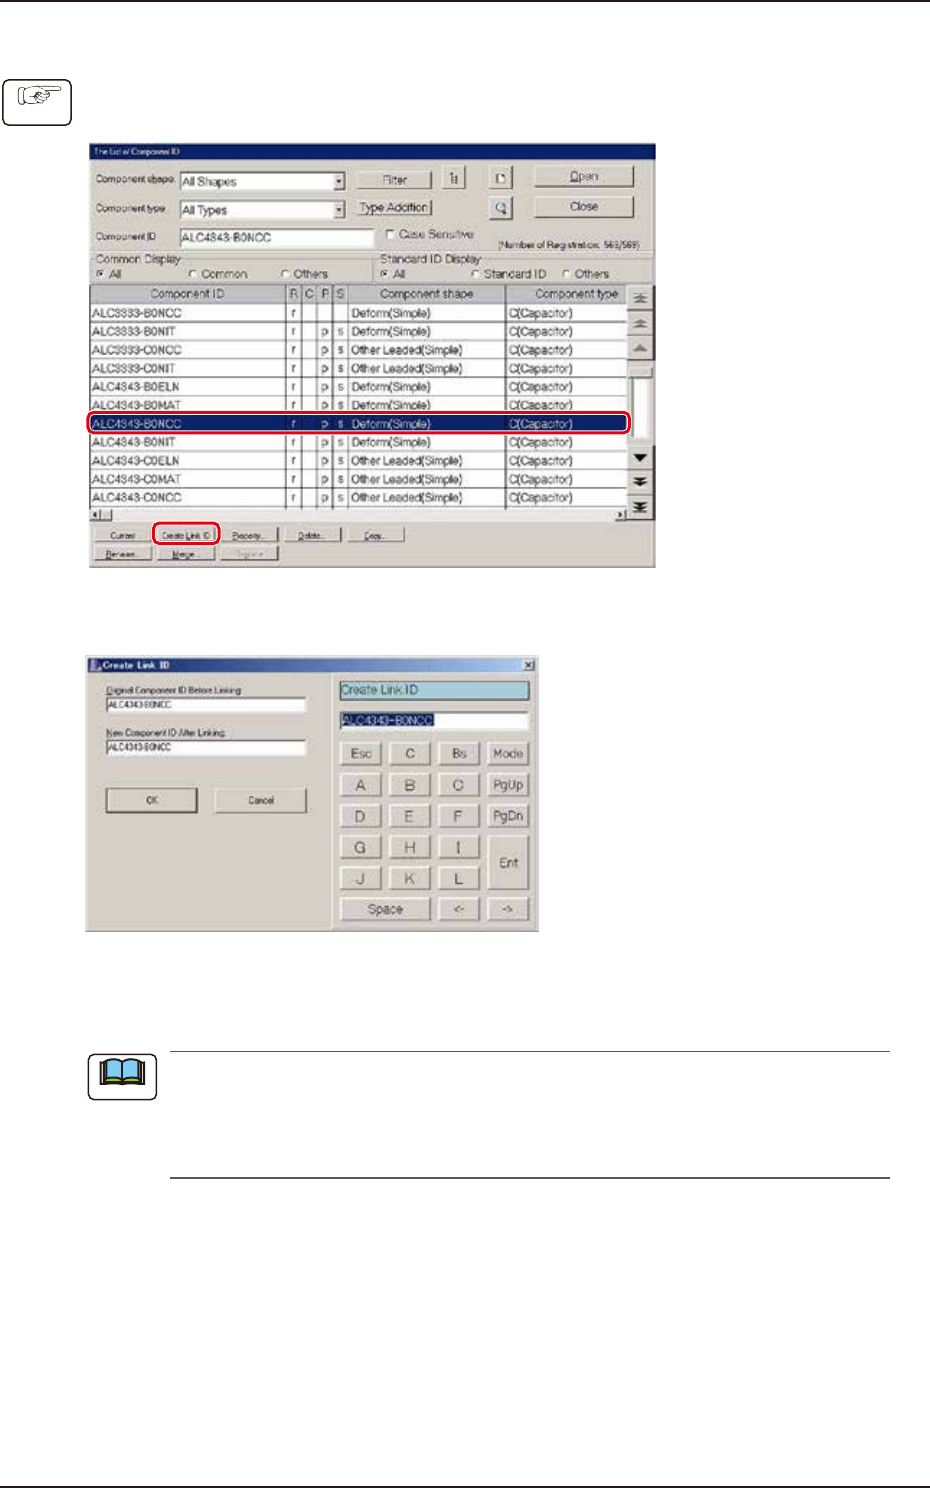
1.2.5 Creating the Link ID
(1) Select the component ID as an original component ID before linking.
(The selected component ID turns blue, indicating that it is selected.)
F2C8
(2) Press the [Create Link ID] button. (The "Create Link ID" dialog box opens.)
F2C9
(3) Enter a new link ID name in the "New Component ID After Linking" text box and press the
[OK] button. (A new link ID is created.)
Creating Link ID means giving a new name to the original component ID before linking while
keeping the data of the original component ID as it is.
For application, it can be used for a capacitor of the same shape as other one but of different
capacit y.
Procedure
Note
EUKYX
3-9199-2100
1.2 Basic Operations in "Selection of component ID" Window
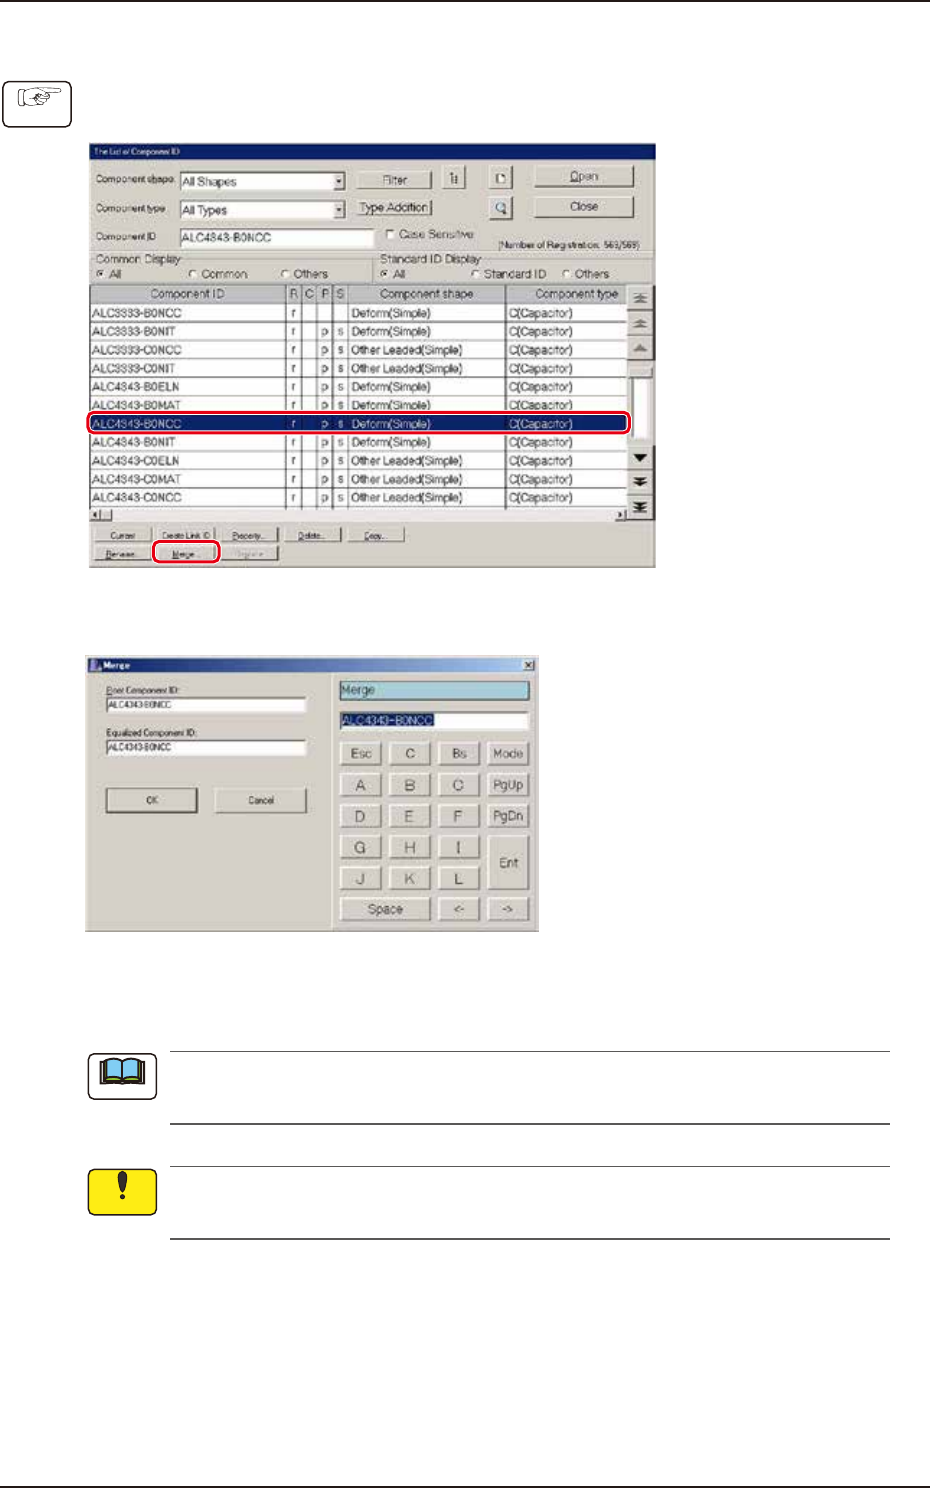
1.2.6 Merging the Component ID
(1) Select the desired root component ID.
(The selected component ID turns blue, indicating that it is selected.)
F2C10
(2) Press the [Merge...] button. (The "Merge" dialog box opens.)
F2C11
(3) Enter the component ID name to be merged in the "Equalized Component ID:" text box and
press the [OK] button. (The component ID is merged.)
The merging function makes it possible to set a registered component ID as a link ID for
another root component.
The information on the component ID (component library data) to be merged becomes the
same as the information on the root component ID (component library data).
Procedure
Note
Notice
EUKYX
3-10199-2100
1.2 Basic Operations in "Selection of component ID" Window
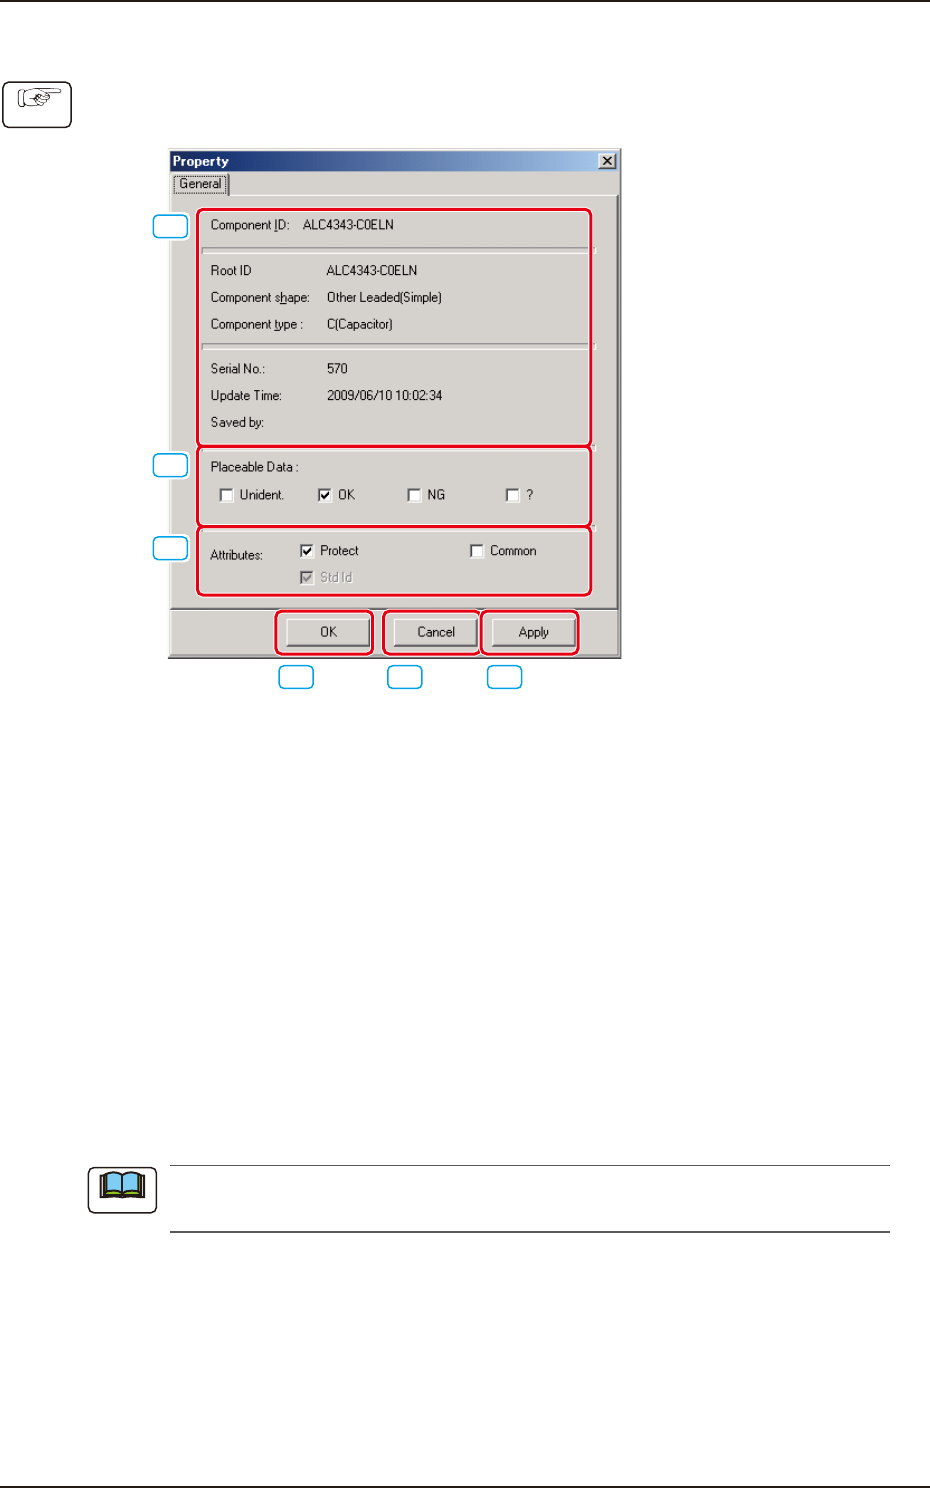
1.2.7 Property of Component ID
(1) Select the component ID to view its property.
(2) Press the [Property...] button. (The "Property" dialog box opens.)
[1]
[2]
[3]
[4] [5] [6]
F2C12
[1] "Component ID", "Root ID", "Component shape", "Component type", "Serial No.", "Update
Time", and "Saved by"
Displayed is the property of the selected component ID.
[2] Placeable Data (Unident., OK, NG, ?)
It can be displayed as log data to be checked if the machine can place this component or not. The
check boxes can be used to change the function.
[3] Attributes (Protect, Common, Std Id)
Displayed are the attributes of the selected component ID. The check boxes enable the
operator to change the corresponding attributes.
“Protect”
When this check box is ticked, the component ID is specified as “Protected”.When a
component ID is protected, the data cannot be edited.
“Common”
When this check box is ticked, the component ID is specified as “Common” (to be registered
as a common component).
The “common” can also be set with the [Common] button described in “1.3 Editing of
Component Library Data”.
[4] [OK] Button
When this button is pressed, the changed attributes are applied if any and the “Property” sheet
closes.
[5] [Cancel] Button
The changed attributes are not applied and the “Property” sheet closes.
[6] [Apply] Button
The changed attributes are applied.
Procedure
Note