00195963-03_MM SWS-EN.pdf - 第46页
Cleaning the Li near Guide of the Die Eje ctor Interval: When dis assembled , approx . 1 year Equipment: SIPLAC E clean ing tissue The linear guide of the die ej ect sys tem is basical ly maintena nce free. If the die e …

45
Select folder Ejection unit [4] and switch on the Vacuum for Die Ejector by pressing the button
Ejector: vacuum on [5] (see below).
The plastic foil or paper on the Top from the Die Ejector will be sucked!.
Change back again to Menu Manual operations -> Manual operations subsystems ->
IOs -> Manual operations USBIO -> USB programs [1] and read out the Main-Vacuum
value unter Main Vacuum [mbar] (see Screenshot below).
Keep in mind, that the vaccumpump must be switched off like in the screenshot below.
This Value should have almost the previous shown Vaccum value, which means, that there is no leakage.If
this Value is much below the first Value, the Sealing Unit must be exchanged. (according Servicemanual)
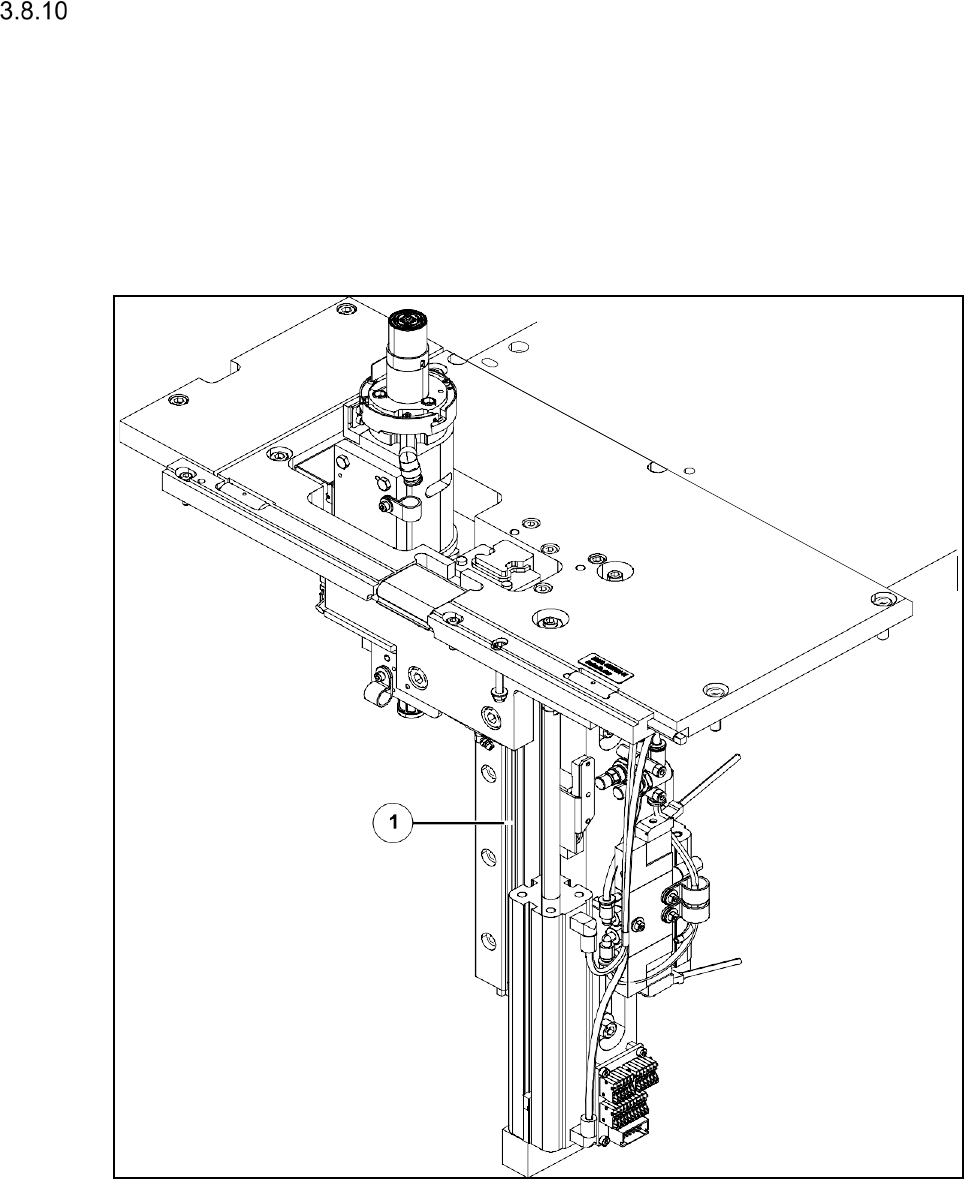
Cleaning the Linear Guide of the Die Ejector
Interval: When disassembled, approx. 1 year
Equipment: SIPLACE cleaning tissue
The linear guide of the die eject system is basically maintenance free. If the die eject system is
disassembled from the SWS for service purposes (see the Service Manual for details) the linear
guide should be checked for debris and be wiped with a SIPLACE cleaning tissue, if necessary.
Linear guide of the die ejector (left location)
Wipe the linear guide with a SIPLACE cleaning tissue.
47
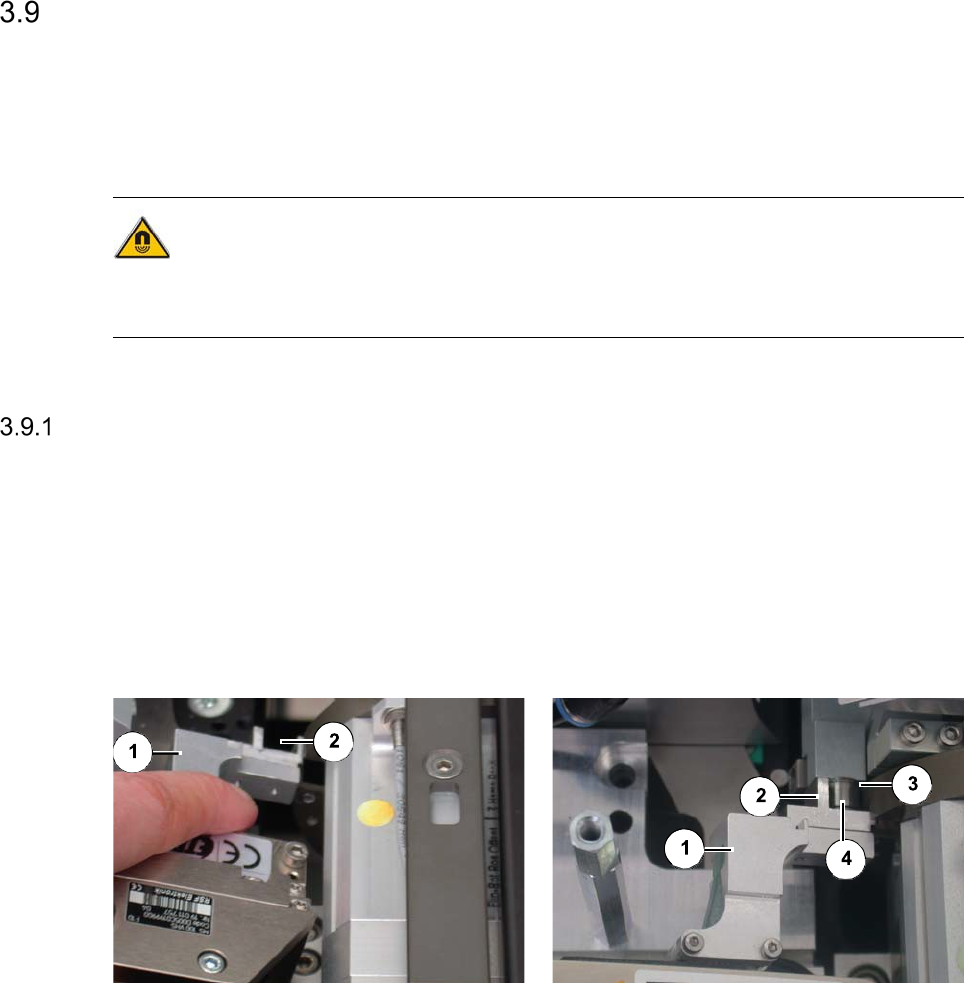
Maintenance Work at the Die Attach Unit
Remove the EMC cover first, to make the die attach unit accessible. After completing your work,
replace the cover and fix it.
Magnetic field warning
The die attach unit contains a strong magnet. Make sure, that no metallic objects get into the vi-
cinity of the die attach unit, since they are attracted by the magnet.
Cleaning the Driver and Checking for Ease-of-Movement
Interval: Weekly
Equipment: Ethyl alcohol, cleaning buds, lint-free
The driver at the die attach unit must be cleaned regularly to ensure a correct transfer between
flip unit and die attach unit.
Driver without transfer to the flip unit Driver with transfer to the flip unit
Legend
[1] Crank [2] Driver
[3] Segment 1 of the flip unit [4] Roller plunger
Carefully, pull the crank of the die attach unit [1] back by hand until the driver [2] can be ac-
cessed.
Clean the driver with a cleaning bud moistened with ethyl alcohol.
Release the crank.
Move the crank backward and forward a few times. Repeat this with segment 1 of the flip
unit in the transfer position. The crank should be easily movable.
Control the roller plunger for cleanliness.