00195963-03_MM SWS-EN.pdf - 第63页
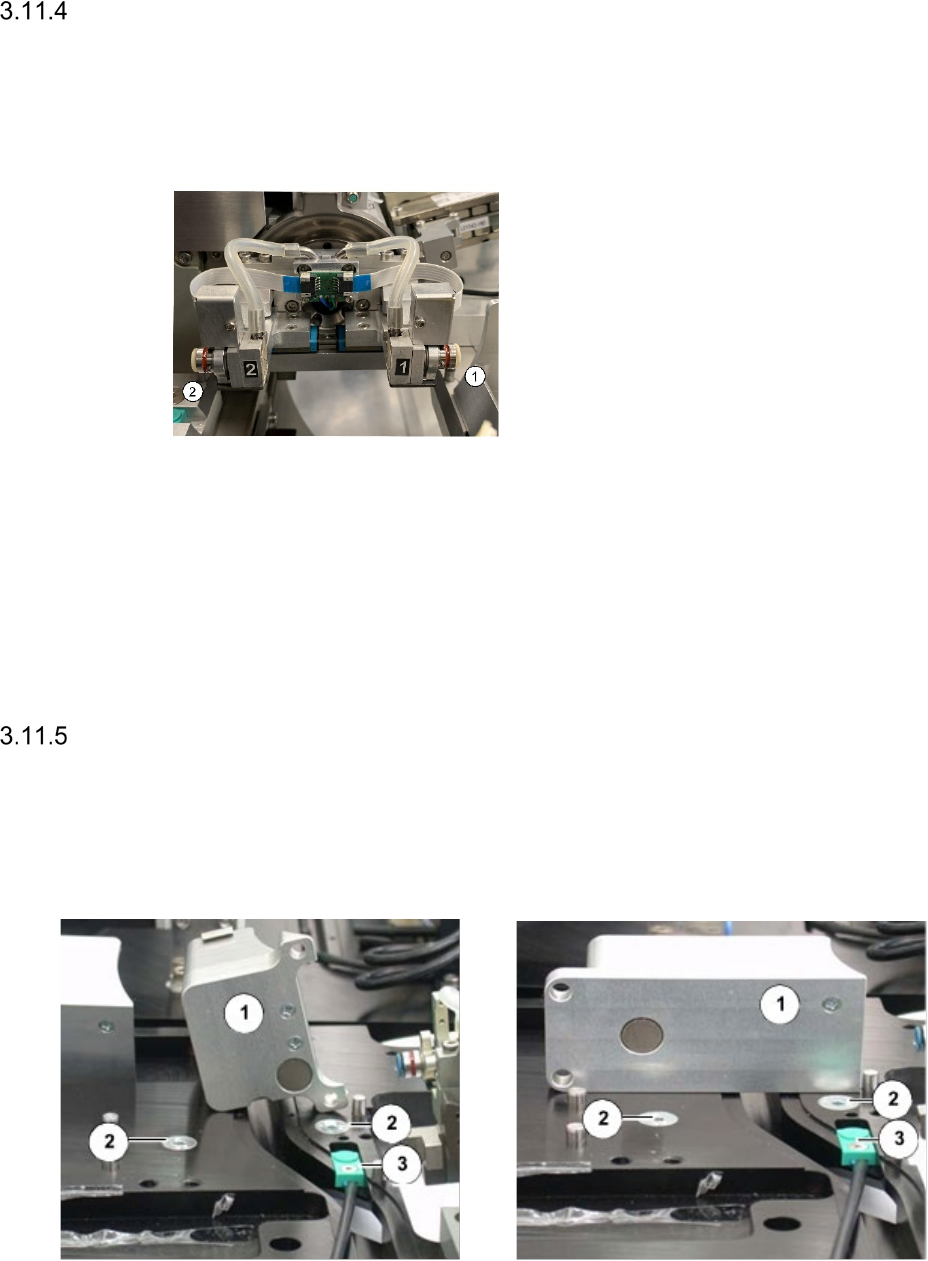
63 Checking the Suction Plates at t he Nozz le Take - Up for L eaks Interval: 3 months Equipment: New sucti on plates, if necessary Legend [1] Suc tion plat e [2] Nozzle Remove t he nozzles fr om both seg ments. Chec…
The procedure for Segment 2 is similar to Segment 1:
Turn Segment 2 from Flip Unit to Tip positionand cover the Nozzletip or the Suction Plate.
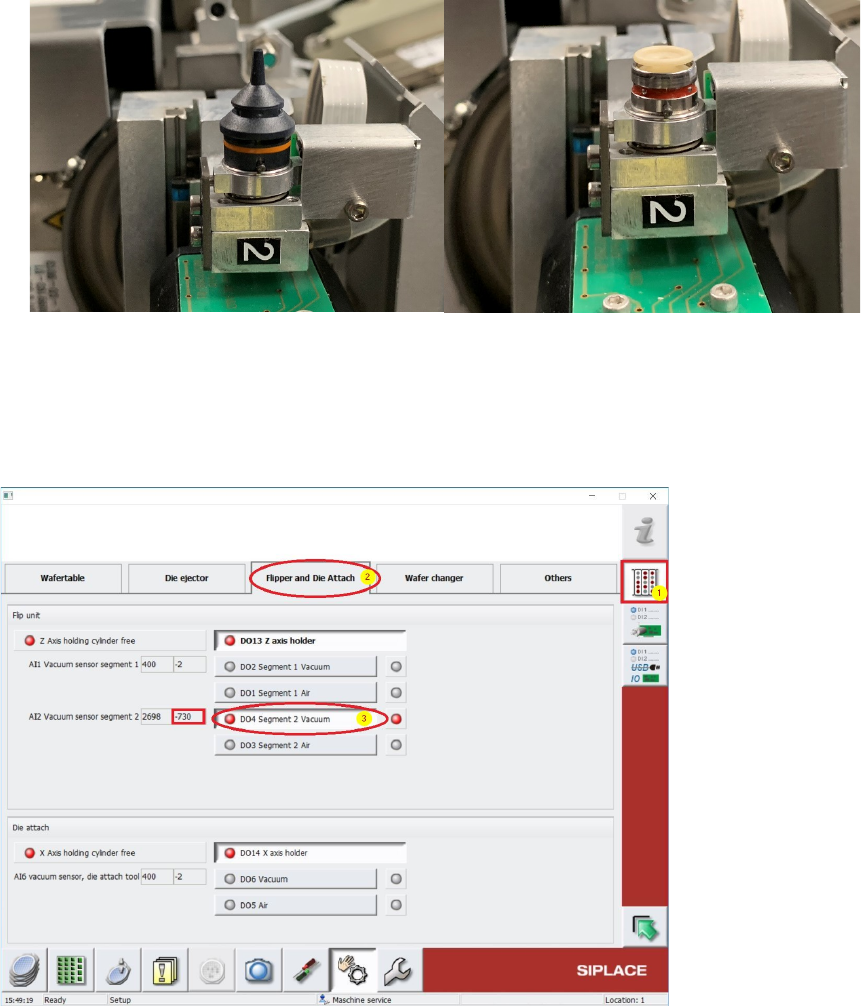
Change to Menu Manual operations IOs [1] and choose folder Flipper and Die Attach [2]
(see screeshot below).
Use button [3] to switch on the Vacuum D04 Segment 2 Vacuum (see below). The Vacuum
must be recognized at the Nozzletip or the Suction Plate.
Beside this Button, under “AI2 Vacuum sensor segment 2” the vacuum value can be read out.
This Value should be nearly the same like the previously noticed Main vacuum value. If this value is
lower, there is some vacuum leakage and all the tubings and seals (e.g. Vacuum plate) must be
controlled and exchanged in case.
63
Checking the Suction Plates at the Nozzle Take-Up for Leaks
Interval: 3 months
Equipment: New suction plates, if necessary
Legend
[1] Suction plate
[2] Nozzle
Remove the nozzles from both segments.
Check the blue suction plate for signs of
damage or wear.
If it shows signs of damage, it has to be
changed for a new one.
Loosen the screw thread of the suction plate and lift off the suction plate.
Make sure, that the spacer remains in its position. Otherwise the tightness is not ensured.
Position the suction plate straight, otherwise there is danger of damaging the screw thread.
Fasten the suction plate with a torque of 13 Ncm.
Re-insert the nozzles.
Check reject bins
Interval: 3 month
Equipment: Lint-free cloth
The Reject bin types may be different depending on the SWS-Version.
Reject bin with no Die-Attach-Unit installed Reject bin with installed Die-Attach
Legende:
[1] Reject bin for chips
[2] Magnetic contact surface
[3] Sensor
Empty the reject bin
Clean the underside oft he bin and the magnetic contact surfaces with a lint free cloth. All
surfaces must be free of dirt, to ensure the correct positioning of the reject bin.
Clean the sensor with a lint free cloth.
Lubricating the Linear Guides from Rotary Part
Interval: 4 months
Equipment:
Multipette, Lubcon Thermoplex ALN 1001/00D
CAUTION
Be especially careful, when lubricating the linear guide.
No lubricant must get onto the reading unit.
Linear guide at the rotary part
Legend
[1] Linear guide
Fill the Multipette (See ”Filling and Setting the Multipette” on page - 18.).
Apply 4µl lubricant onto the Z axis.
Manually move the Z axis up and down for approx. 5 times.
Apply another 4µl lubricant.
Manually move the Z axis up and down for another 5 times.
Remove excess lubricant with a lint-free cloth.