00195963-03_MM SWS-EN.pdf - 第73页
73 M ain ten ance Wo rk at the Vacuu m System Checking V acu um Pe rformance and Suction Interval: 4 months Equipment: SWS GUI, v acuum CAUTION For this c heck the Ser vice us er lev el is r equired in SWS G UI. O nly ap…
Maintenance Work at the PC
The PC for the SWS is located behind the magazine lift. You have to swivel open the magazine
lift (See ”Swiveling out the Magazine Lift” on page - 14.) and pull out the supply unit (See ”Pulling
out the Supply Unit” on page - 15.), to make it accessible.
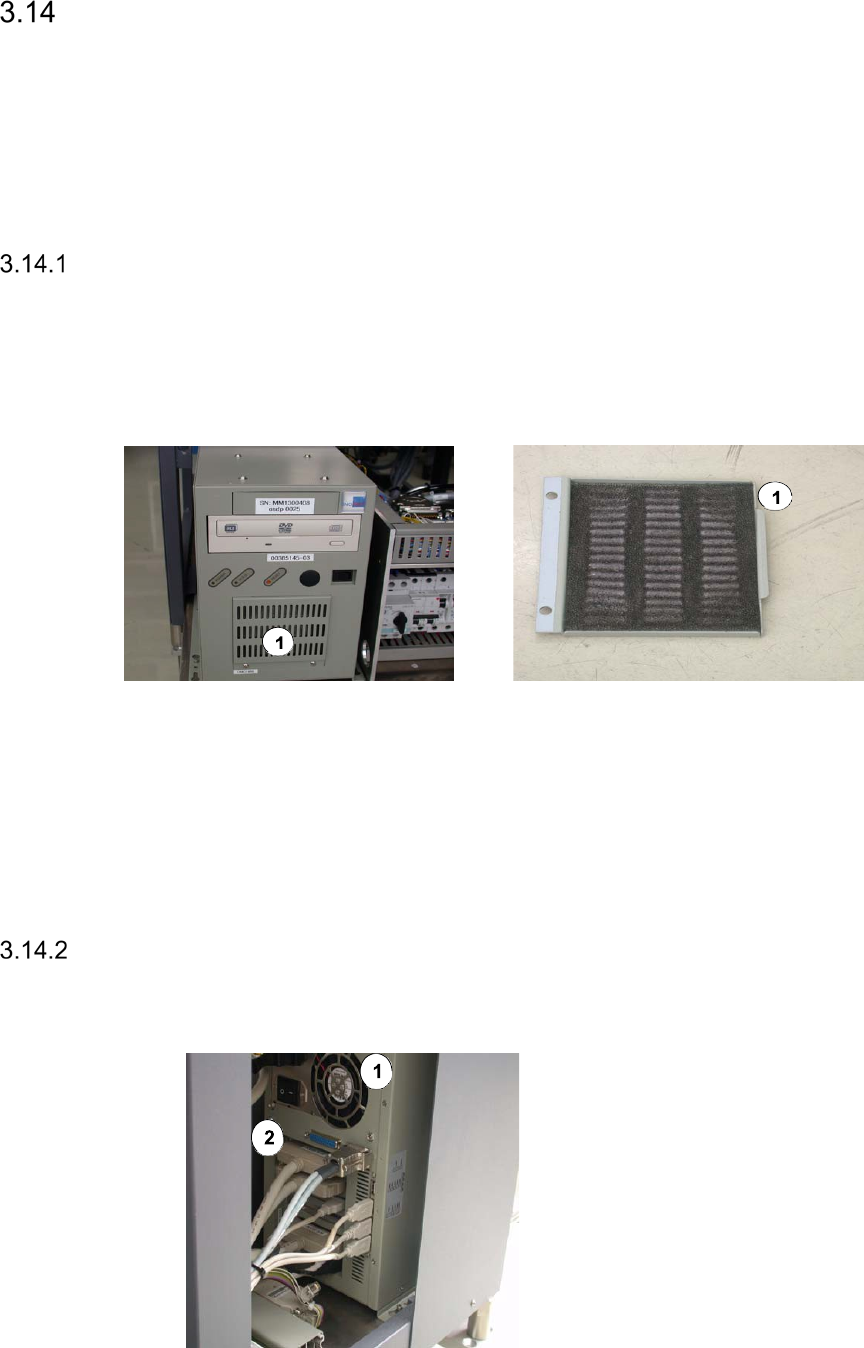
Cleaning the PC Filter
Interval: Yearly
Equipment:
Vacuum cleaner
Legend
[1] PC filter
Remove the two screws that fix the grid plate of the PC filter.
Vacuum the PC filter with a vacuum cleaner.
Refit the grid plate and fix it, using the two previously removed screws.
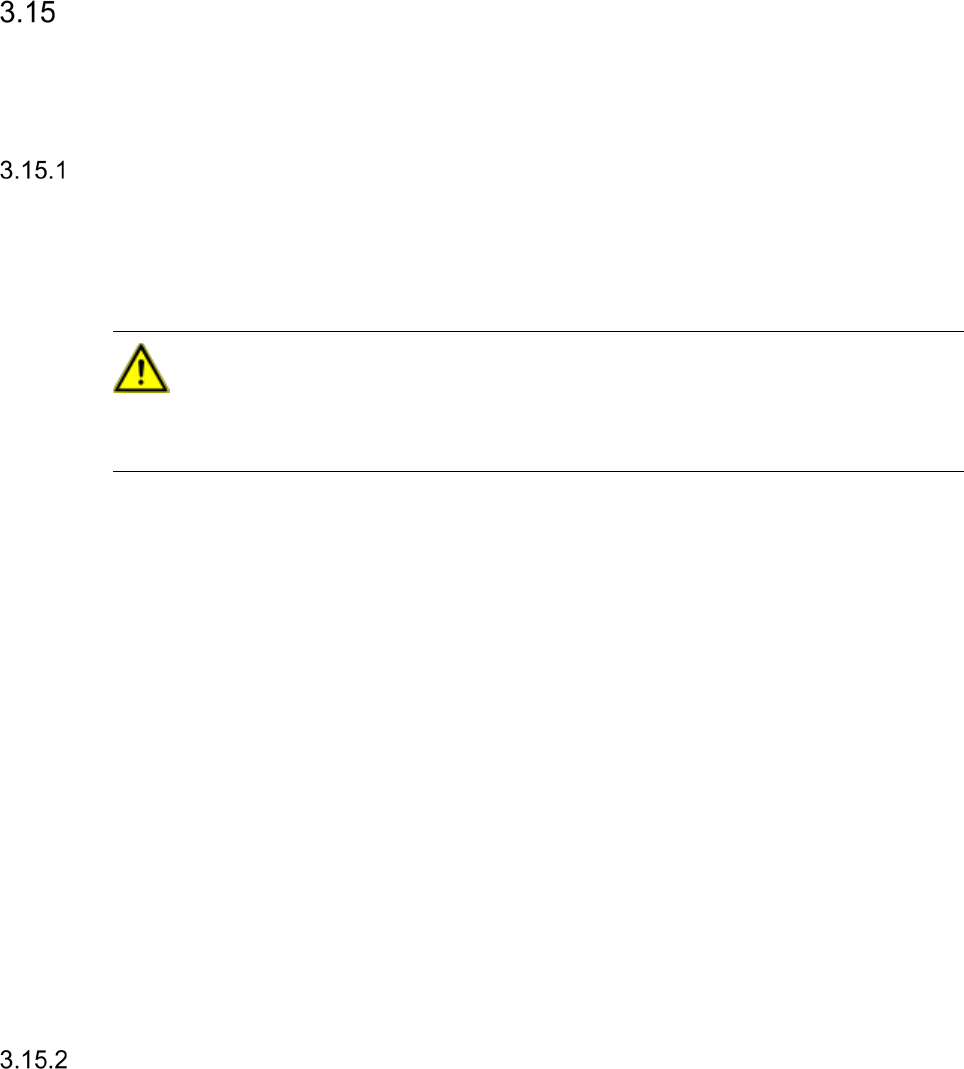
Checking the PC Fan for Correct Function
Interval: Yearly
Equipment:
A sheet of paper
Legend
[1] PC fan at the rear side
[2] PC ports at the rear side
Switch on the PC.
Place a sheet of paper in front of the fan.
The fan must blow away the paper.
73
Maintenance Work at the Vacuum System
Checking Vacuum Performance and Suction
Interval: 4 months
Equipment:
SWS GUI, vacuum
CAUTION
For this check the Service user level is required in SWS GUI. Only appropriately trained personal
is allowed to carry out this check.
The SWS must be switched on and the relevant protective cover must be opened. The power sup-
ply to the gantry axes and the SWS axes is interrupted immediately. The gantry axes and all SWS
axes will come to a standstill. A corresponding message is issued on the screen. Skip the mes-
sage.
Switch to the Service -> USB outputs view and switch off all vacuum consumers.
Switch to the Service -> USB IOs -> view USB Programs tab.
Switch on the vaccum with the button Main Vacuum Pump on and read the value under
Main Vacuum [mbar]. The value should be at approx. 700 bar with all vacuum consumers
switched off.
Observe any blowing noise within the machine.
In case of a vacuum loss, search for the potentially weak spots:
–
Checking the Die Ejector for Vacuum leaks (on page 37)
–
Flip unit: Checking the Nozzle Attachment for Leaks (on page 51)
–
Die attach unit: Checking the Nozzle Attachment for Leaks (on page 43)
Checking the Valves for Leaks
Interval: 1 year
Equipment:
Vacuum
Check the pneumatic valves for leaks according to the manufacturer's instructions.
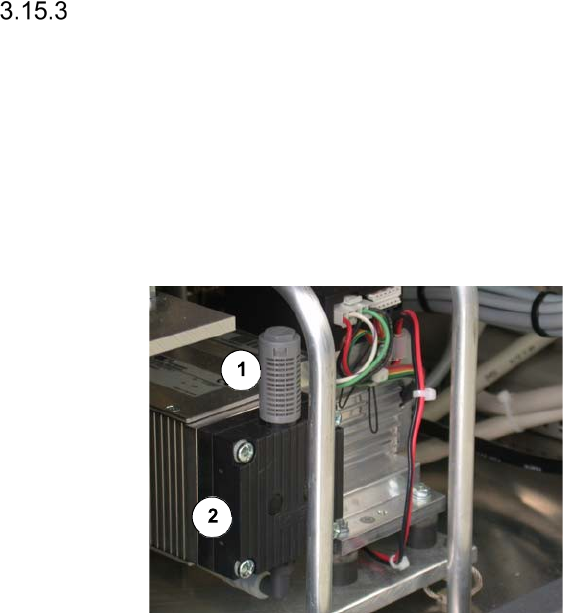
Exchanging the Membrane of the Vacuum Pump
To make the vacuum pump accessible, you have to swivel open the magazine lift (See ”Swiv-
eling out the Magazine Lift” on page - 14.) and pull out the supply unit (See ”Pulling out the
Supply Unit” on page - 15.).
Interval: 1 year
Equipment:
Damper and Membrane from Servicebox
Legend
[1] Damper
[2] Membrane
Replace the membrane of the vacuum
pump according to the manufacturer's in-
structions.