KE2010.Instruction Manual.Ver.2.01,Rev.08.pdf - 第169页
4 – 62 ⑪ T est This item specifies whether or not to carr y out a test run. If you specify a placement point within the r ange f or tr ial run to set the conditions f or a tr ial run, only the Placement data whose “T est…
4 – 61
− Saving unused mark data
If you change the setting of the menu item “Mark” from “Yes” to “No” or if you
change the mark ID to make the associated mark data shared with two or
more placement data records, the mark data you have used until you perform
such an operation may enter the unused status. However, if the mark data
position (X, Y) or recognition parameter (TI) is already entered, the mark data
will be maintained. If you want to use unused mark data, manually enter a
mark ID or select mark data from the “Mark Data List.”
You can delete unused mark data on the “Mark Data List” also. To do so,
select the mark data to be deleted, and click the <Delete> button.
Note that unused mark data will be deleted when you save the corresponding
file.
⑧ Mark position (Mark 1 X, Mark 1 Y, Mark 2 X and Mark 2 Y)
Using the formula bar, set the mark position.
The input value can be entered only when the Mark item set as “Yes”.
⑨ Mark recognition parameters (Mark-1TI, Mark-2TI)
These indicate obtained whether or not the recognition parameters of the mark is
already obtained.
Perform the teaching operation to obtain these parameters.
When teaching is complete, “OK” appears. If it is incomplete, there will be no
indication.
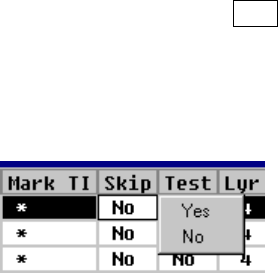
⑩ Skip
This item specifies whether or not to skip the displayed point of placement: Yes or
No
“No” (for “Not skipped”) is displayed as a default in the “Skip” field. To change
the setting of the “Skip” field, press the Edit key ( F2 key) or press the right
button of a mouse to open the list box and select “Yes” or “No”.
If you want to change the “Mark” items of Placement data at a time, select the
desired Placement data records in advance, and then change them.
4 – 62
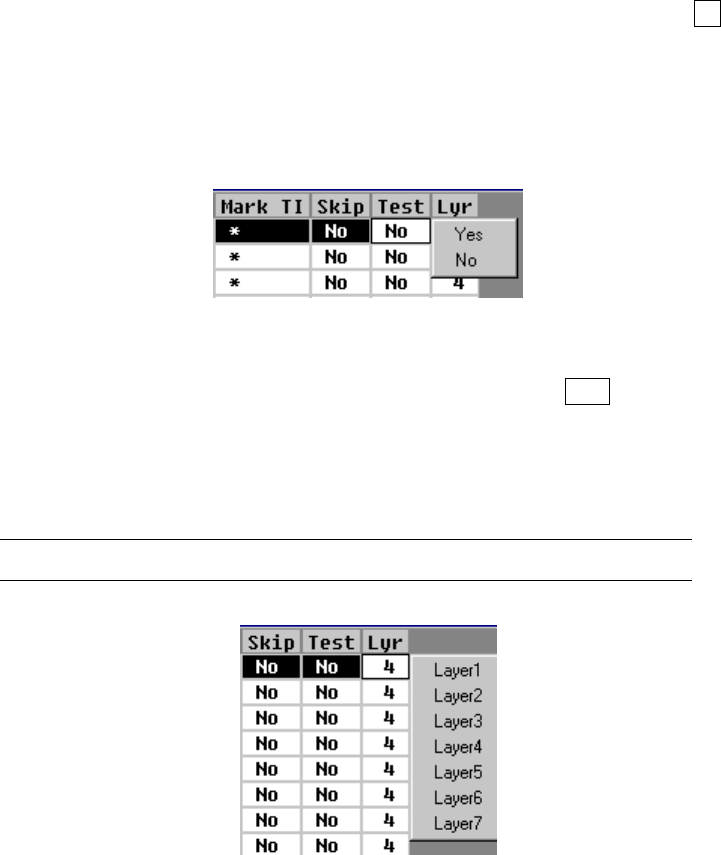
⑪ Test
This item specifies whether or not to carry out a test run. If you specify a
placement point within the range for trial run to set the conditions for a trial run,
only the Placement data whose “Test” field is set to “Yes” is used to perform a
trial run.
“No” (for “Not to carry out a test run”) is displayed as a default in the “Test list
box” field. To change the setting of the “Test” field, press the Edit key (F2 key)
or click the input focus with the right button of a mouse to call a list box and select
“Yes” or “No”.
If you want to change the “Mark” items of Placement data at a time, select the
desired Placement data records in advance, and then change them.
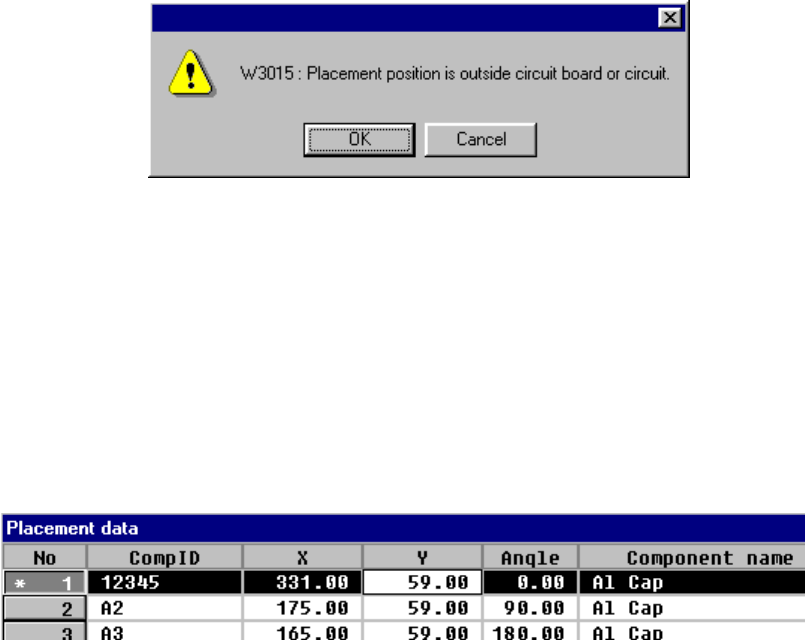
⑫ Lyr (Layer)
To change the setting of the “Lyr” field, press the Edit key ( F2 key) or press the
right button of a mouse to open the list box, then select the desired layer.
If you want to change the “Mark” items of Placement data at a time, select the
desired Placement data records in advance, and then change them.
The selectable layers are from the layer 1 to layer 7.
4 – 63
4.6.3 Range check
The range check to see if a component placement position is within a board (for a
single PWB) or within a circuit (for a multiple-circuit PWB) is performed with the
following timing. The range check error is processed as a warning or error.
① When data is entered
When you enter the placement position X or Y, or when you change either of
them, the machine performs the range check. If an error is detected, the
following warning dialog box appears on the screen.
• OK
When you click the <OK> button, the entered data is validated, then an
asterisk mark “*”, which indicates an over range error, is displayed on the left
of the placement data number. When you enter a value within the range, this
mark disappears.
• Cancel
When you click the <Cancel> button, the entered data becomes invalid, then
the machine enters Data input mode.
② When you are switching data type
• When PWB data becomes inactive
• When Placement data becomes inactive