KE2010.Instruction Manual.Ver.2.01,Rev.08.pdf - 第287页
4 – 180 (2) Mov ing a f eeder ( within the same station) Select a f eeder to be moved, dr ag it t o the desired posit ion, then release t he track ball button. The selected f eeder m oves the the f eeder mountable posit …
4 – 179
(1) Selecting a feeder
Select a feeder before moving, copying or deleting it. The selected feeder is
displayed in the different manner from that not-selected feeders are. Select a
feeder in one of the following ways:
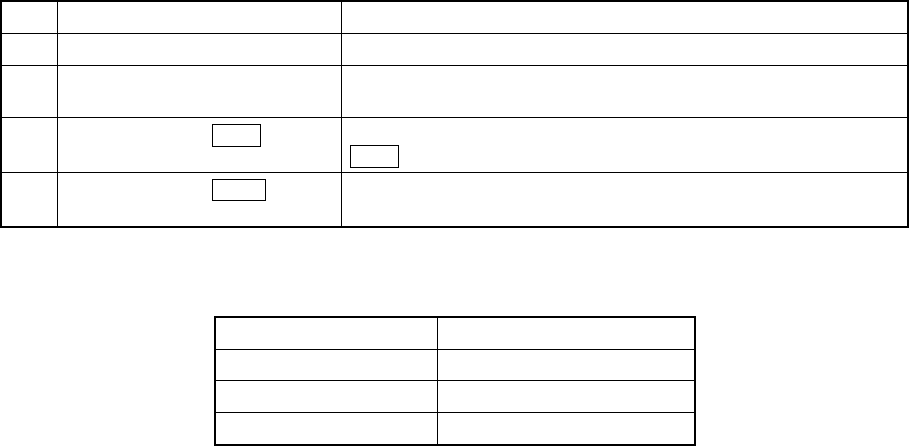
Table 4.11.1.1 Selecting a feeder
No. Operation Result
1 Point a feeder with a trackball. The pointed feeder is selected.
2
Drag the trackball cursor to
enclose a feeder.
Feeders enclosed in a rectangle created by dragging the trackball
cursor are selected.
3
While holding the CTRL key,
point a feeder.
If any other feeder(s) is (are) selected, the feeder pointed with the
CRTL key is selected in addition to the already selected feeder(s).
4
While holding the SHIFT key,
point a feeder.
Feeders displayed between the feeder you selected first and the
feeder you pointed are selected.
Table 4.11.1.2 Selecting unit
Package type Unit to be selected
Tape and bulk One feeder cassette
Stick One lane
Stick changer One stick
4 – 180
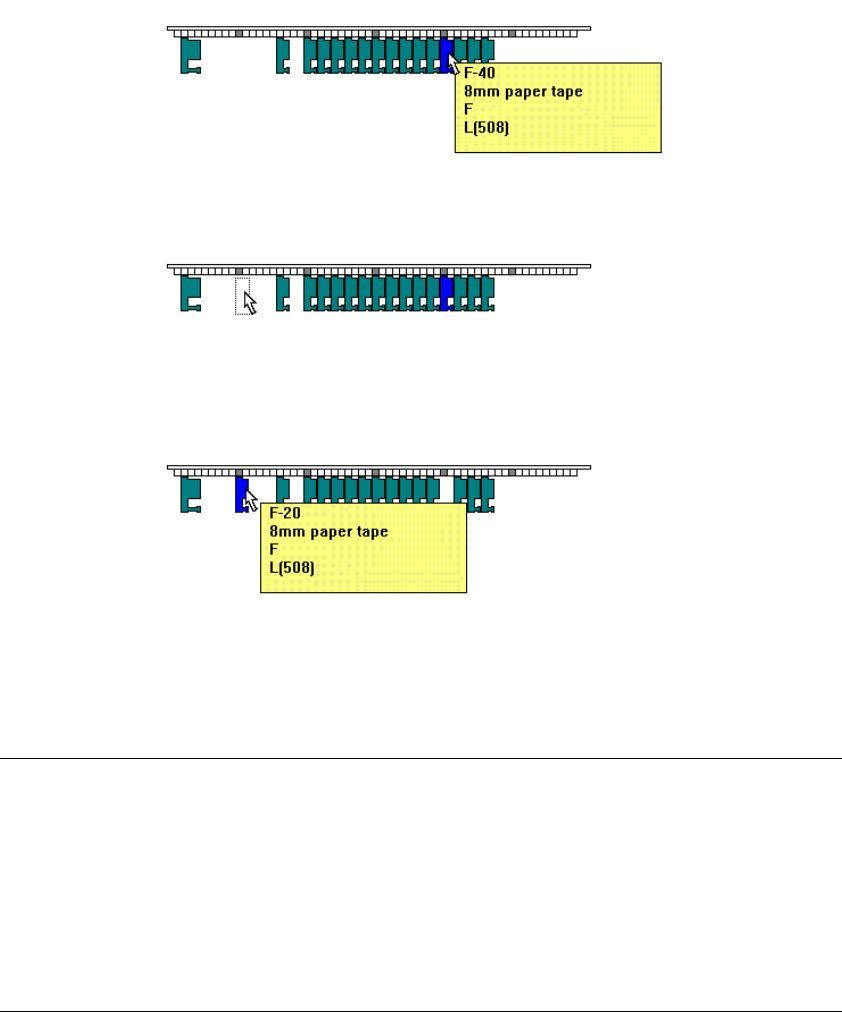
(2) Moving a feeder (within the same station)
Select a feeder to be moved, drag it to the desired position, then release the
trackball button. The selected feeder moves the the feeder mountable position
nearest to the position at which you released the button.
Figure 4.11.1.10 Figure example for moving a feeder
Note:
•
If the feeder mountable area cannot be prepared on the mountable side
(front or rear) to which you want to move the feeder, the beep sounds, then
your moving feeder operation is canceled. Even if there is any space on
the opposite side, the feeder will not be moved there.
•
After moving a feeder, the moved feeder is selected.
•
When you select two or more feeders to be moved, the beep sounds and
your operation is canceled if those feeders cannot be mounted with
maintaining the same space between the consecutive two feeders.
Point a feeder.
Drag it.
Release the
trackball button.
4 – 181
(3) Copying a feeder
Select a feeder, and while holding the CTRL key, drag it. The selected feeder
is copied.
Note:
−
The selected feeder is copied on the mounting position nearest the original
feeder position. Although the machine tries to copy a feeder on the side
(front or rear) nearest to the position at which you released the trackball
button, the beep sounds and your copy operation is canceled if the
machine cannot occupy the appropriate feeder mounting area on the side
(front or rear) where the selected feeder is copied. Even though there is
the sufficient area on the opposite side, the selected feeder cannot be
copied on that side.
−
After copied, the copied (not original) feeder is selected.
−
When you select two or more feeders to be copied, the beep sounds and
your copy operation is canceled if the copied feeders cannot be mounted
with maintaining the same space between them as the original feeders
maintained.
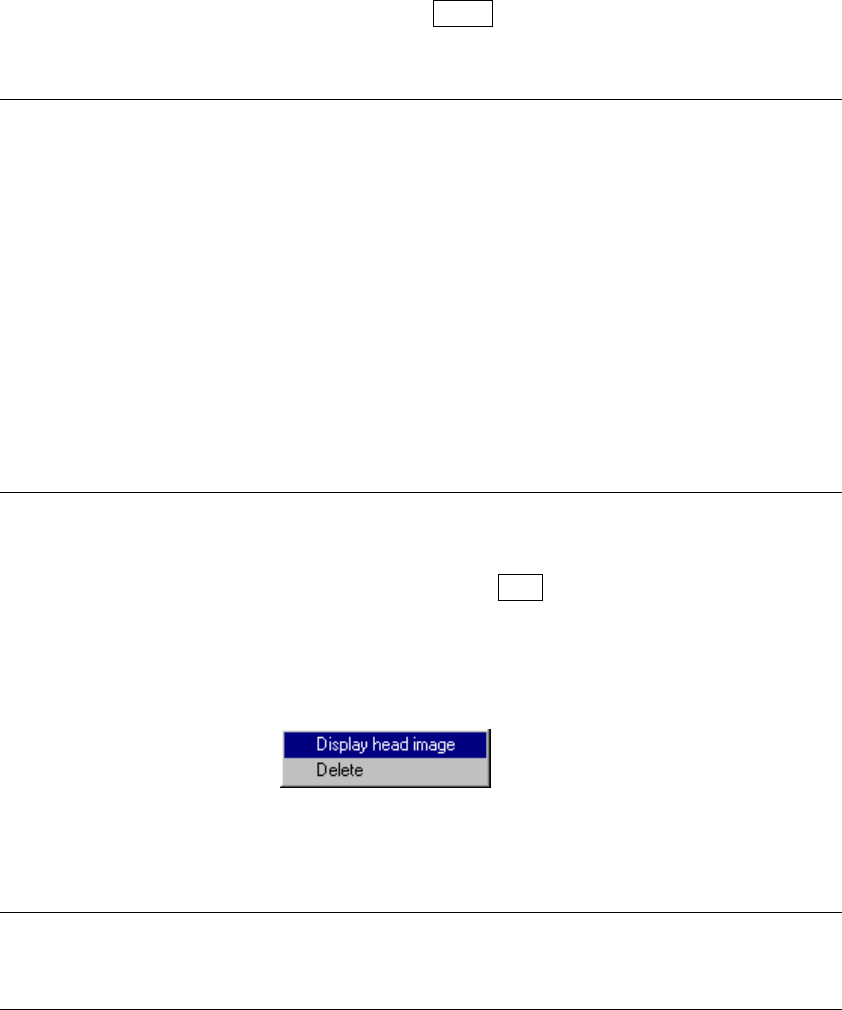
(4) Deleting a feeder
Select a feeder to highlight it, then press the DEL key. The selected feeder is
deleted. When you press the right button of a trackball while a feeder is being
selected, the following pop-up menu appears on the screen which allows you to
delete the selected feeder.
Figure 4.11.1.11 Pop-up menu displayed on the
Feeder layout window
Note: If all feeders associated with a certain component are deleted, its specified
supply position is canceled, then set to “Auto” and the data disappears from
the screen.
3. Copying a stick component
− If there is no stick feeder at the destination, the same type of stick feeder is
newly assigned to the destination. A component is assigned to a Lane 1.
The stick feeder is mounted at the position nearest the copy destination so
that the feeder can occupy the appropriate mounting area.
− A stick component can be copied between the same type of stick feeders.