KE2010.Instruction Manual.Ver.2.01,Rev.08.pdf - 第289页
4 – 182 4. Copying a stick changer component − If there is no stick changer at the destinat ion, the same t ype of stick changer is newly assigned to the dest ination. A component is assigned to a Lane 1. The st ick chan…
4 – 181
(3) Copying a feeder
Select a feeder, and while holding the CTRL key, drag it. The selected feeder
is copied.
Note:
−
The selected feeder is copied on the mounting position nearest the original
feeder position. Although the machine tries to copy a feeder on the side
(front or rear) nearest to the position at which you released the trackball
button, the beep sounds and your copy operation is canceled if the
machine cannot occupy the appropriate feeder mounting area on the side
(front or rear) where the selected feeder is copied. Even though there is
the sufficient area on the opposite side, the selected feeder cannot be
copied on that side.
−
After copied, the copied (not original) feeder is selected.
−
When you select two or more feeders to be copied, the beep sounds and
your copy operation is canceled if the copied feeders cannot be mounted
with maintaining the same space between them as the original feeders
maintained.
(4) Deleting a feeder
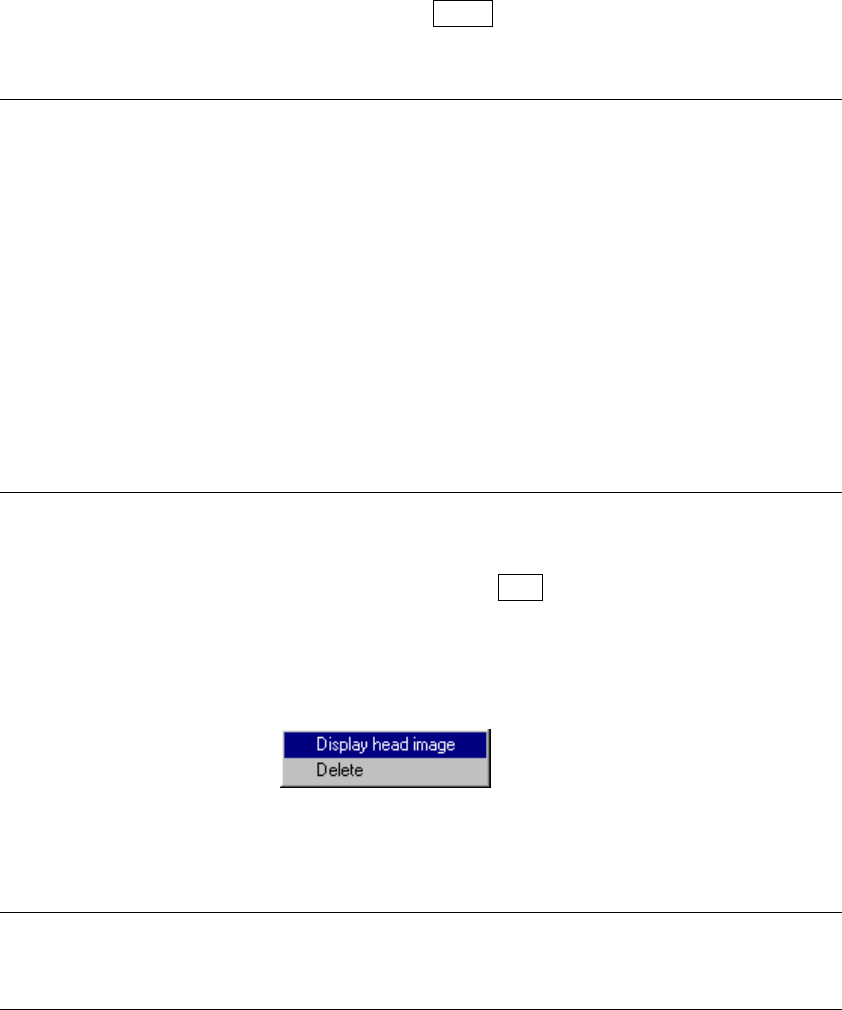
Select a feeder to highlight it, then press the DEL key. The selected feeder is
deleted. When you press the right button of a trackball while a feeder is being
selected, the following pop-up menu appears on the screen which allows you to
delete the selected feeder.
Figure 4.11.1.11 Pop-up menu displayed on the
Feeder layout window
Note: If all feeders associated with a certain component are deleted, its specified
supply position is canceled, then set to “Auto” and the data disappears from
the screen.
3. Copying a stick component
− If there is no stick feeder at the destination, the same type of stick feeder is
newly assigned to the destination. A component is assigned to a Lane 1.
The stick feeder is mounted at the position nearest the copy destination so
that the feeder can occupy the appropriate mounting area.
− A stick component can be copied between the same type of stick feeders.
4 – 182
4. Copying a stick changer component
− If there is no stick changer at the destination, the same type of stick
changer is newly assigned to the destination. A component is assigned to
a Lane 1. The stick changer is mounted at the position nearest the copy
destination so that the changer can occupy the appropriate mounting area.
5. Display head image
This command changes Feeder layout window display mode to Head image
display mode. Click the right button of a trackball to open the pop-up menu,
then select the [Display head image] command.
Figure 4.11.1.12 Selecting the [Display head image] command
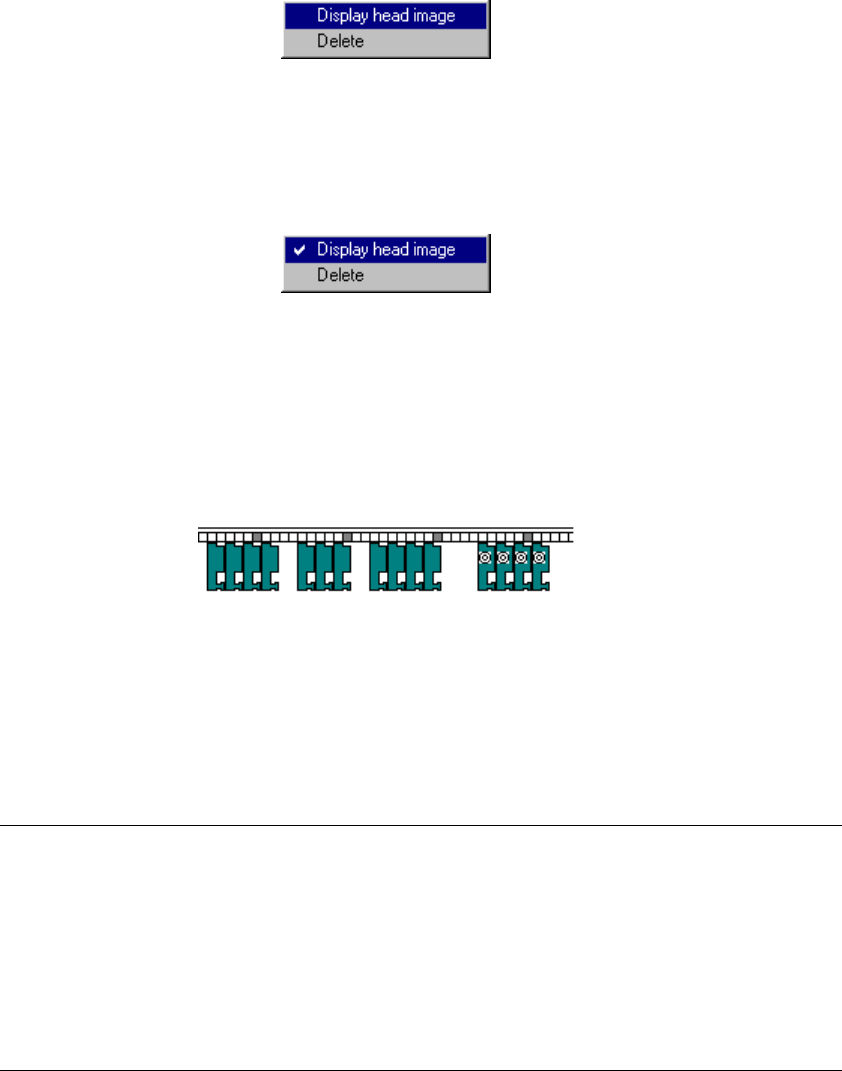
When you are already in Head image display mode, the check mark appears
next to the [Display head image] command on the pop-up menu.
Figure 4.11 1.13 When you are in Head image display mode
In Head image display mode, the trackball cursor is displayed instead of the
head image figure. If you assign feeders according to the head assignments
and execute the Optimization utility, components will be very likely to be picked
up simultaneously.
Figure 4.11.1.14 Screen example in Head image display mode
Head image display mode is canceled when you click the left button of a
trackball or select the [Display head image] command again after opening the
pop-up menu.
Note:
•
Although it becomes likelier that feeders pick up components
simultaneously after you assign the feeders according to the head
assignments and execute the Optimization utility, those feeder may pick up
components at the same time as other feeders do.
•
The trackball arrow mark cursor position indicates the same position as the
reference head (normally the left head) of the head image cursor figure
indicates. When you move this reference head over the figure of a feeder,
and click the right button of a trackball, the copy operation functions rapidly.
4 – 183
F-79
F-75
R-79
R-75
F-79
F-75
R-5
R-1
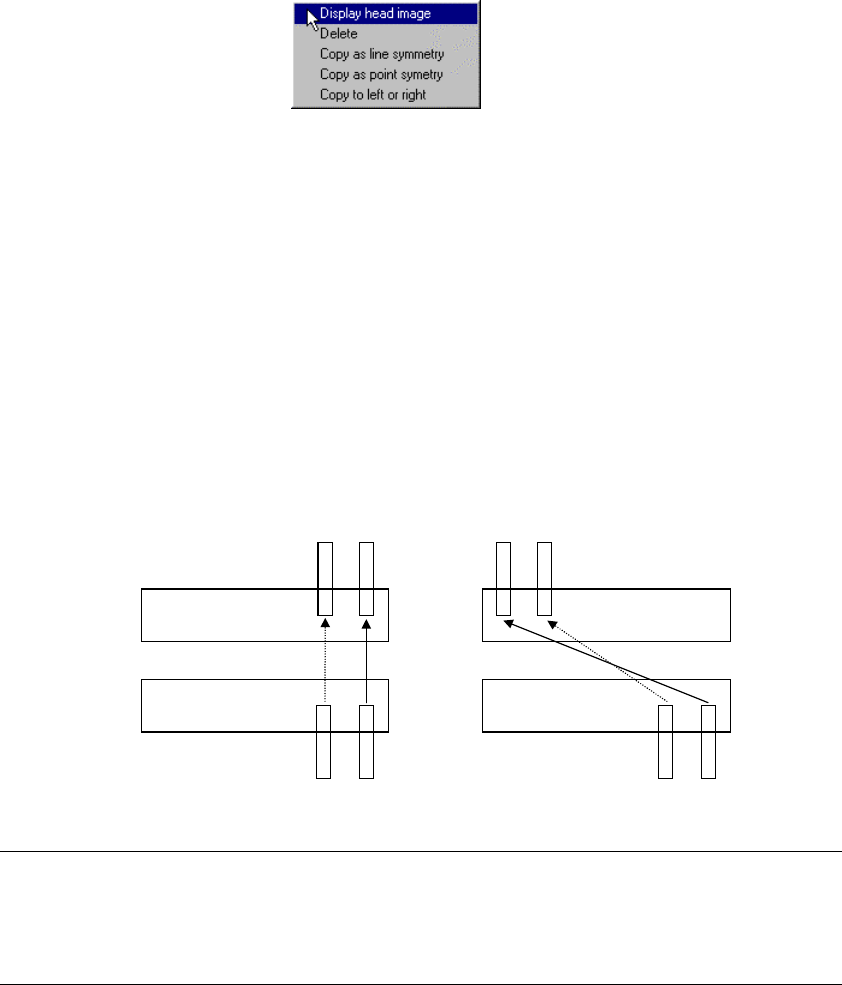
6. Copy as line symmetry or Copy as point symmetry
These commands copies the selected feeder symmetrically with respect to a
line or point.
While dragging the trackball to enclose the feeder which is to be copied to
highlight it, press the right button of the trackball. The pop-up menu appears
on the screen as shown below.
Select either of the commands [Copy as line symmetry] or [Copy as point
symmetry].
If you select the front feeder, it is copied to the rear side, while if you select the
rear feeder, it is copied to the front side.
Figure 4.11.1.15 Pop-up menu
(1) When you select the [Copy as line symmetry] command
The selected feeder is copied at the position where the copied feeder fixing hole
faces the original feeder fixing hole.
(2) When you select the [Copy as point symmetry] command
The selected feeder is copied at the opposite position so that a feeder on the
front can be replaced with one on the rear at a time or vice versa.
When a feeder is copied symmetrically
with respect to a line
When a feeder is copied symmetrically
with respect to a point
Notes:
•
A tray component cannot be copied.
•
If any component was already assigned to the copy destination, the
following error message appears on the screen and any copy operation is
not performed.