KE2010.Instruction Manual.Ver.2.01,Rev.08.pdf - 第367页
5 − 14 ③ Per for m the scale f ram e (mark data) t eaching. Using the t op, bottom , lef t, and r ight ar row keys, adjust the scale f rame in the order: top, left, bottom and right , and enter t he data (pr essing the F…
5 − 13
② Press the CAMERA key of the HOD, then specify the L and R heads.
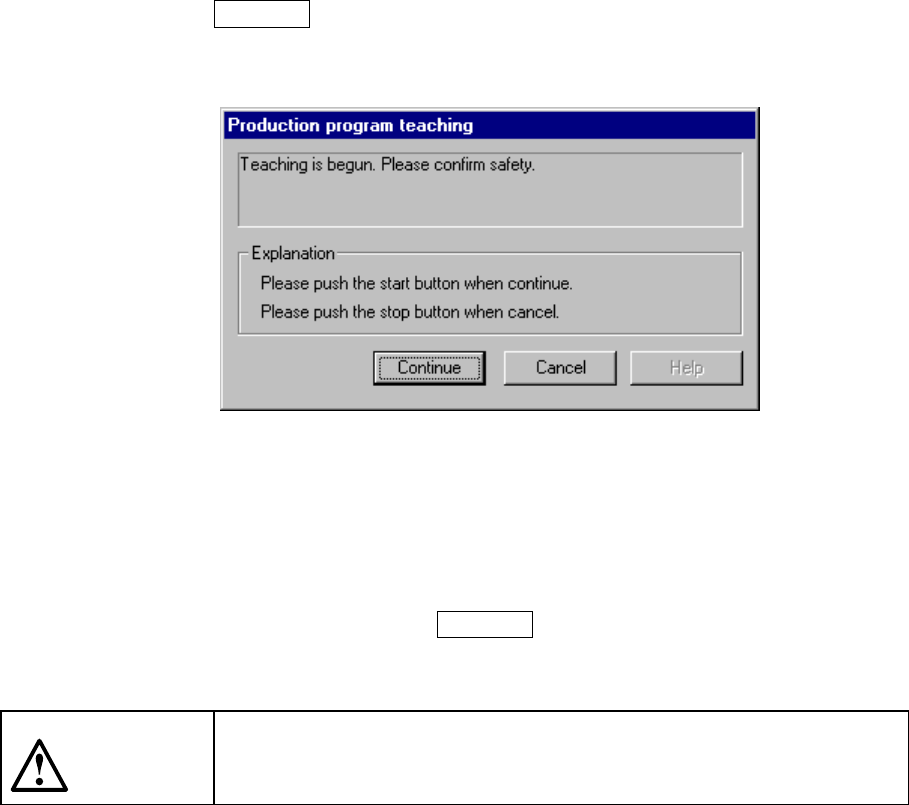
The following dialog box appears on the screen.
Click the <Continue> button to start teaching the mark.
The camera moves to the X and Y coordinates of a mark, then the pattern of the
selected mark (to be memorized) appears on the monitor screen. If there is no
pattern which you want to teach displayed on the monitor screen, check to see if
the entered coordinates are correct.
If you press a key other than the CAMERA key, an error beep sounds and you
cannot perform a teaching operation for recognition.
CAUTION
To avoid a risk of injury, do not place your hand in the machine, nor
move your face or head close to the machine while you are operating
the HOD.
5 − 14
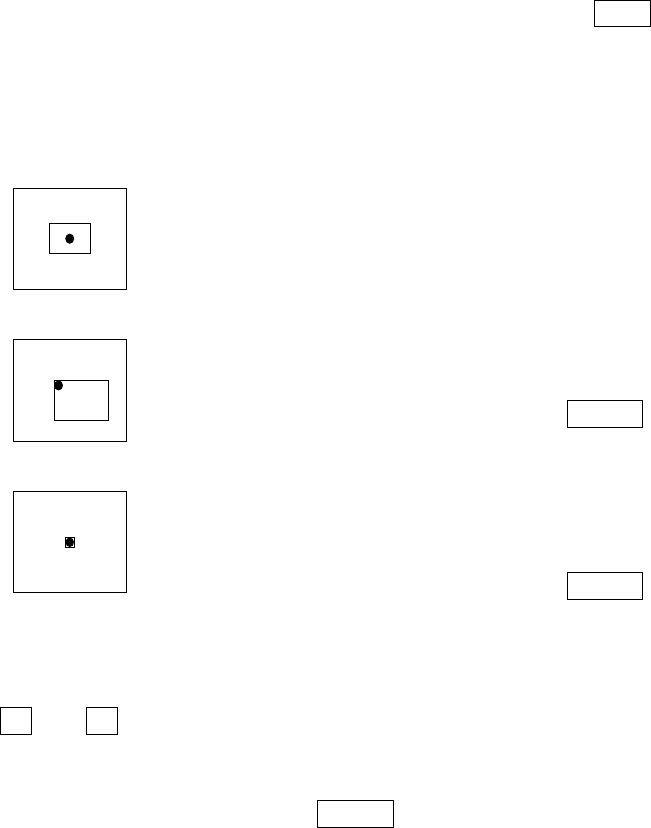
③ Perform the scale frame (mark data) teaching.
Using the top, bottom, left, and right arrow keys, adjust the scale frame in the
order: top, left, bottom and right, and enter the data (pressing the FAST key can
change the moving speed of the scale frame).
The mark is automatically recognized, then the data necessary for correction is
obtained.
The camera picture and a rectangle frame appear.
Set the top and left scale frames first. Adjust them so
that they match with the top and left of the mark.
When adjustment is complete, press the ENTER key.
In the same manner as above, set the bottom and right
scale frames.
When adjustment is complete, press the ENTER key.
The noise cut level around the mark is automatically obtained and displayed on the
monitor.
Using the ↑ and ↓ keys (up and down arrow keys for moving the XY axes) on the
HOD, adjust the level so that the mark can be viewed clearly and the noise around
the mark is decreased as much as possible.
After completing the adjustment, press the ENTER key.
5 − 15
[ * ]
[ ]
[ ]
[ ]
[ ]
[ ]
[ ]
[ ]
[ ]
[ ]
[ ]
[ ]
[ ]
[ ] PR
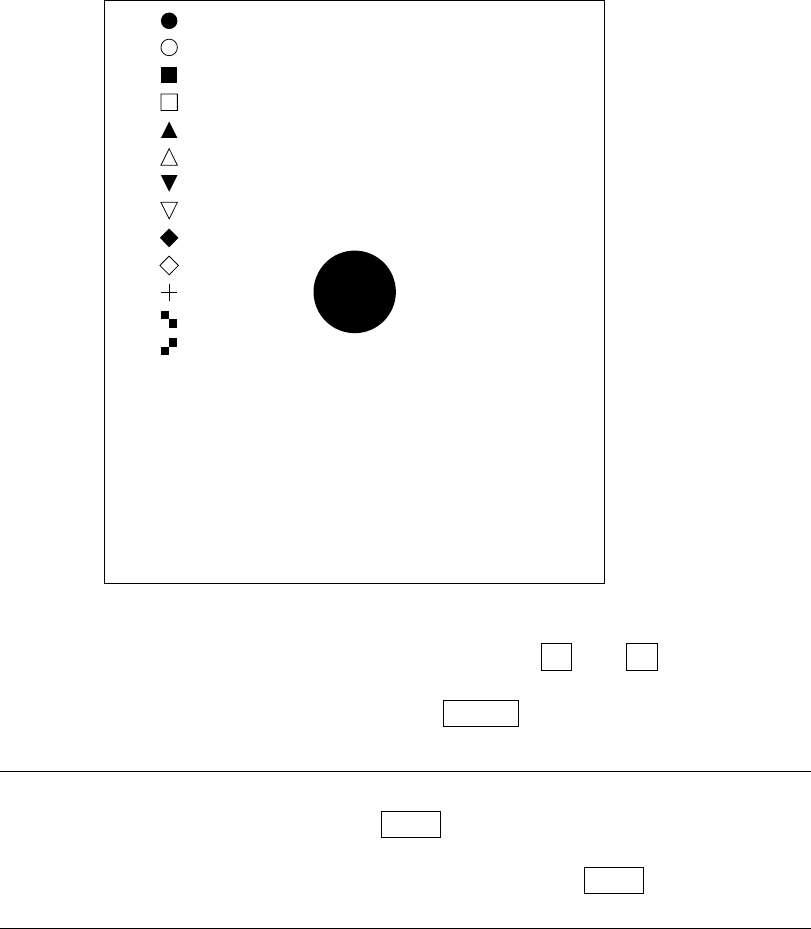
If, for some reason, the result has an error, using the ↑ and ↓ keys (up and
down arrow keys for moving the XY axes) on the HOD, select the correct mark.
When selecting the correct mark, press the ENTER key.
Note: When the data on the mark is the same but you want to teach again the
detection frame only, press the NEXT key on the HOD. You can skip Step
above.
However, if the mark recognition is made newly, the NEXT key has no
effect.