KE2010.Instruction Manual.Ver.2.01,Rev.08.pdf - 第369页
5 − 16 ④ Next, perf orm the det ection f rame t eaching. Aft er completing Step 3 above, the window w hose size is 1.5 times of the mar k size is automatically displayed at the center of the scr een (def ault window). T …
5 − 15
[ * ]
[ ]
[ ]
[ ]
[ ]
[ ]
[ ]
[ ]
[ ]
[ ]
[ ]
[ ]
[ ]
[ ] PR
If, for some reason, the result has an error, using the ↑ and ↓ keys (up and
down arrow keys for moving the XY axes) on the HOD, select the correct mark.
When selecting the correct mark, press the ENTER key.
Note: When the data on the mark is the same but you want to teach again the
detection frame only, press the NEXT key on the HOD. You can skip Step
above.
However, if the mark recognition is made newly, the NEXT key has no
effect.
5 − 16
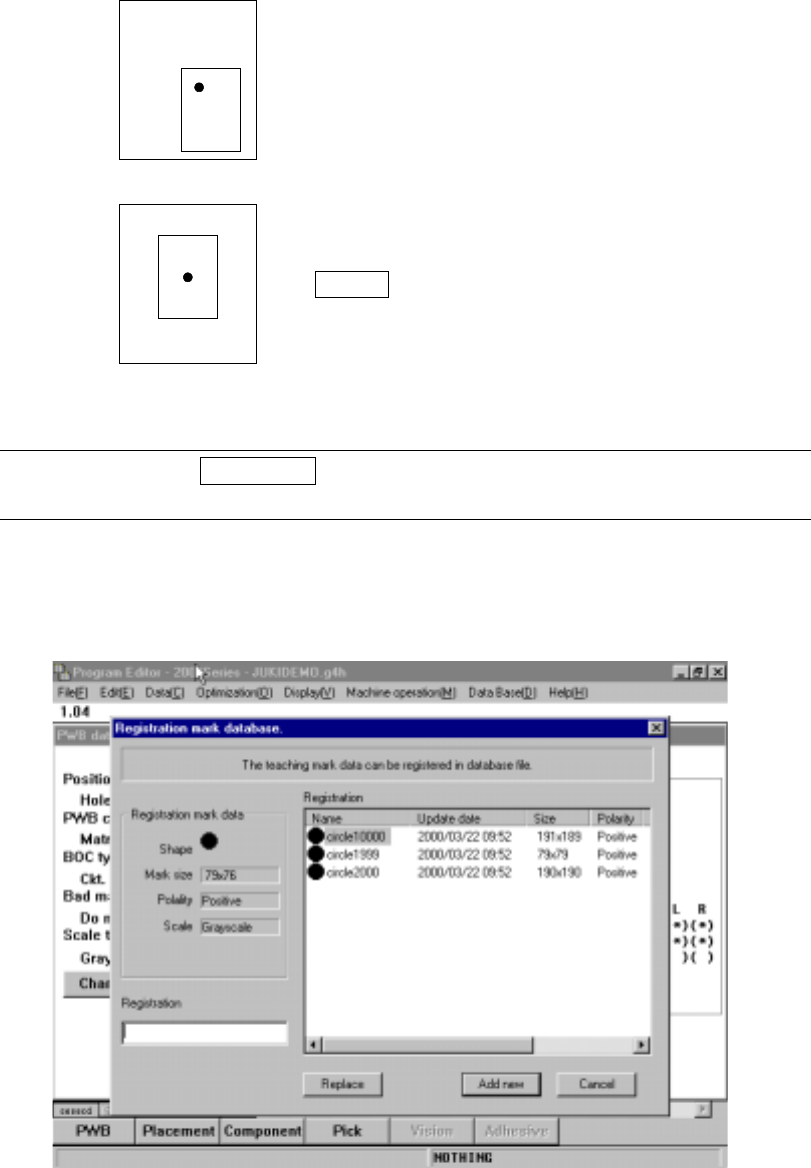
④ Next, perform the detection frame teaching.
After completing Step 3 above, the window whose size is 1.5 times of the mark
size is automatically displayed at the center of the screen (default window).
To change the detection window, perform the same procedure as Step 3 above.
Set the detection frame in the same
manner as the scale frame is set.
After completing the adjustment, press
the ENTER key.
Note: Pressing the PREVIOUS key on the HOD here brings the operation back to
teaching of the scale frame (Step
).
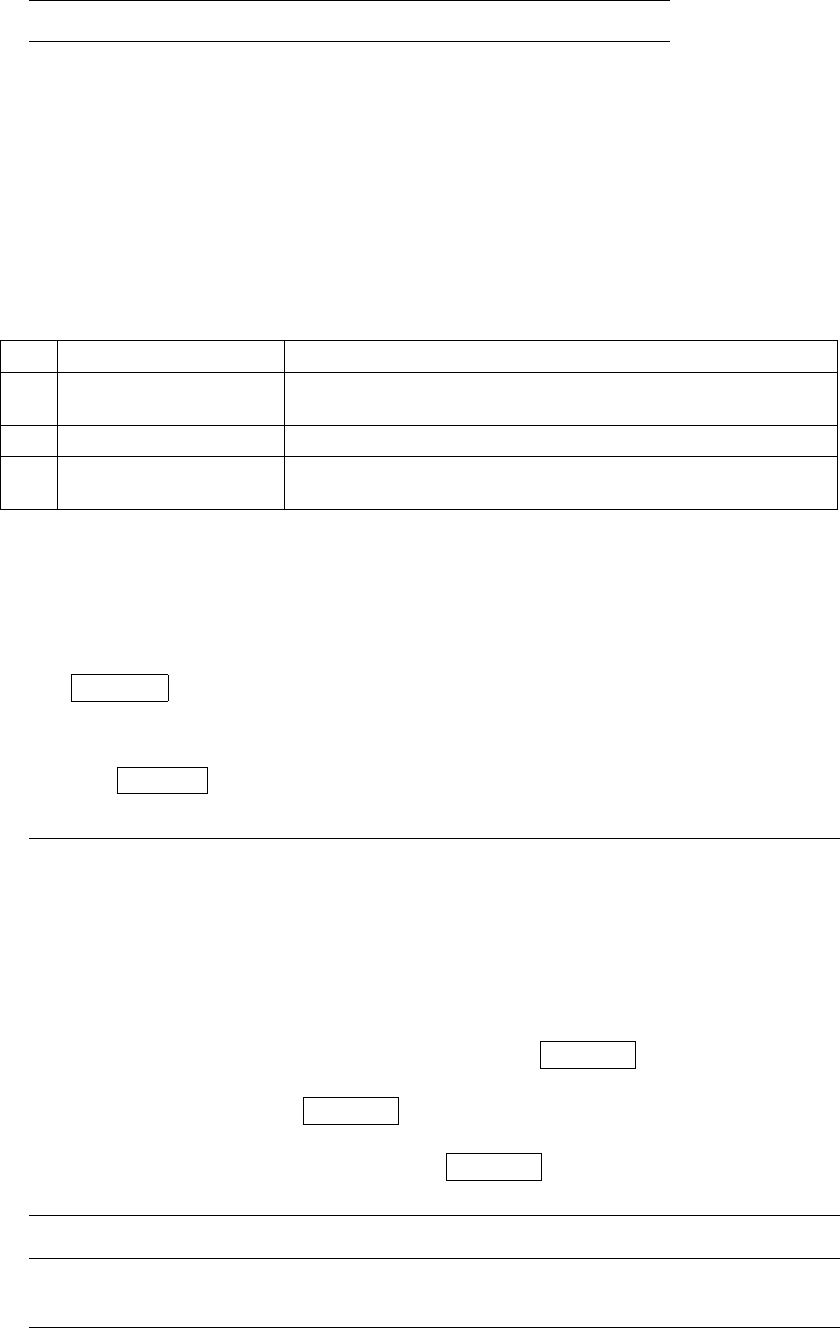
⑤ When teaching has been completed, an message asking you whether or not to
register the taught mark onto the mark database appears for confirmation.
Figure 5.4.2 PWB mark teaching (2)
5 − 17
Note: The mark size is indicated with the number of pixels.
To register the taught data onto the mark database newly, enter the name for
registering the data, then click the Add button.
To replace the taught data which was already registered with the newly taught data,
enter the new name, then move the cursor to the data line to be replaced, which is
displayed in the Registration area, then click the Replacement button.
If you do not want to register the taught data onto the mark database, click the
<Cancel> button.
No. Button to be selected Description
1 Add
Enters the registration name, registers the taught data onto the
mark database, then quits teaching operation.
2 Replacement Replaces the data displayed and selected on the cursor line.
3 Cancel
Quits the teaching operation without registering the taught data
onto the database.
Here, all operations of recognition teaching have been completed.
After completing recognition teaching, an asterisk (*) appears next to the mark data,
indicating that the teaching of that item is completed. Perform the teaching for all the
marks to be used.
If the CANCEL key on the HOD is pressed during teaching, the teaching is
terminated at that moment. (The data entered before this operation will become
invalid.)
When the CANCEL key is pressed, the device does not move.
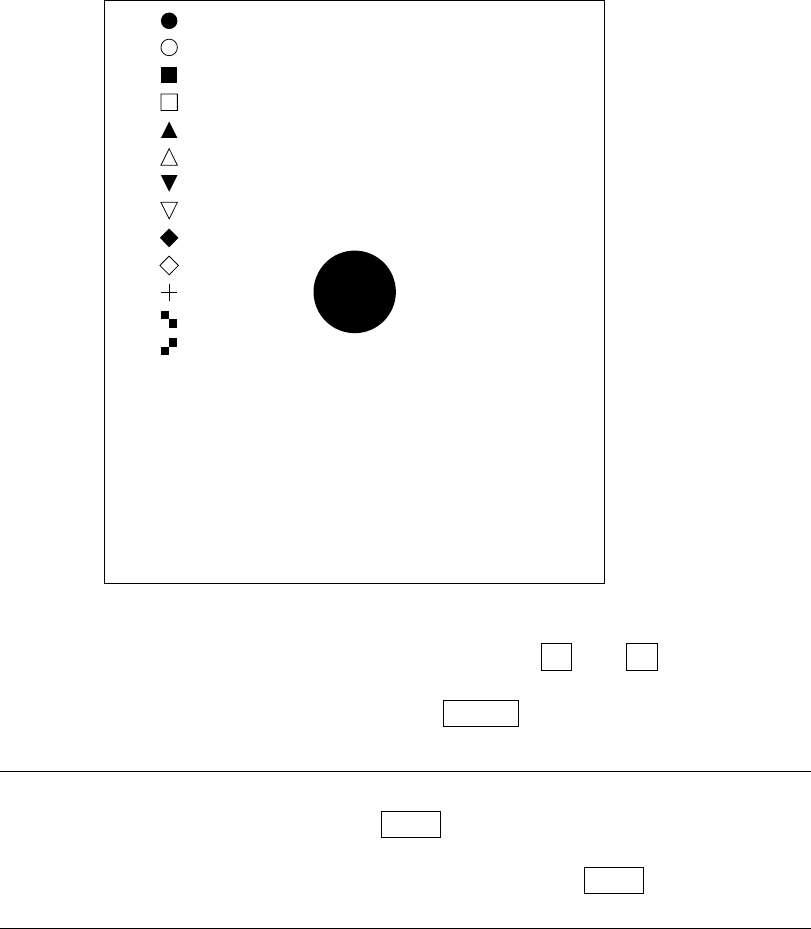
Note: The machine detects a white part as the mark. Whether the mark is
recognized as white or black with respect to the board color depends on the
contrast between the mark and the board, and on the light level around the
camera’s field of view. Normally, the mark is recognized as white.
If, however, there are lands, patterns, or silk printings around the field of
view of the camera, the mark may be recognized as black with respect to
the board color. In this case, correction cannot be made normally.
Reverse the black and white by pressing the CAMERA key on the HOD so
that the mark appears as white. If a mark is recognized as black against
the board, press the CAMERA key to reverse the black and white so that
the mark can be recognized as white.
Reverse display of the mark by the CAMERA key is possible only when you
are entering the scale frame.
Note: If you use the user defined template, the taught data registration window
does not appear on the screen.