KE2010.Instruction Manual.Ver.2.01,Rev.08.pdf - 第431页
6 − 55 4) Abort W hen y ou select t he <Abort> but ton, the dialog box shown in Figure 6.3.2. 4 appears on the screen. Figure 6.3. 2.4 Dialog box displ ayed when y ou select the <A bort> button This butt on s…
6 − 54
When you press the <START> switch on this dialog box, the system resumes the
placement operation from the component where the error occurred to continue
production. The system automatically supplies with components the feeder where
components run out.
When you press the <Cancel> button, the screen returns to the Retry list display.
CAUTION
The head starts to move immediately after the "Retry" button is selected
and the <START> switch is pressed, and then the machine restarts
PWB production.
To avoid a risk of injury, do not place your hand in the machine, nor
move your face or head close to the machine during operation.
Before pressing the <START> switch, check that there is no one who is
working in the machine.
Before pressing the <START> switch, check that there is no one who
can be injured when the head starts to move.
Before pressing the <START> switch, check that there are no obstacles
(tools and jigs) attached or left in the machine.
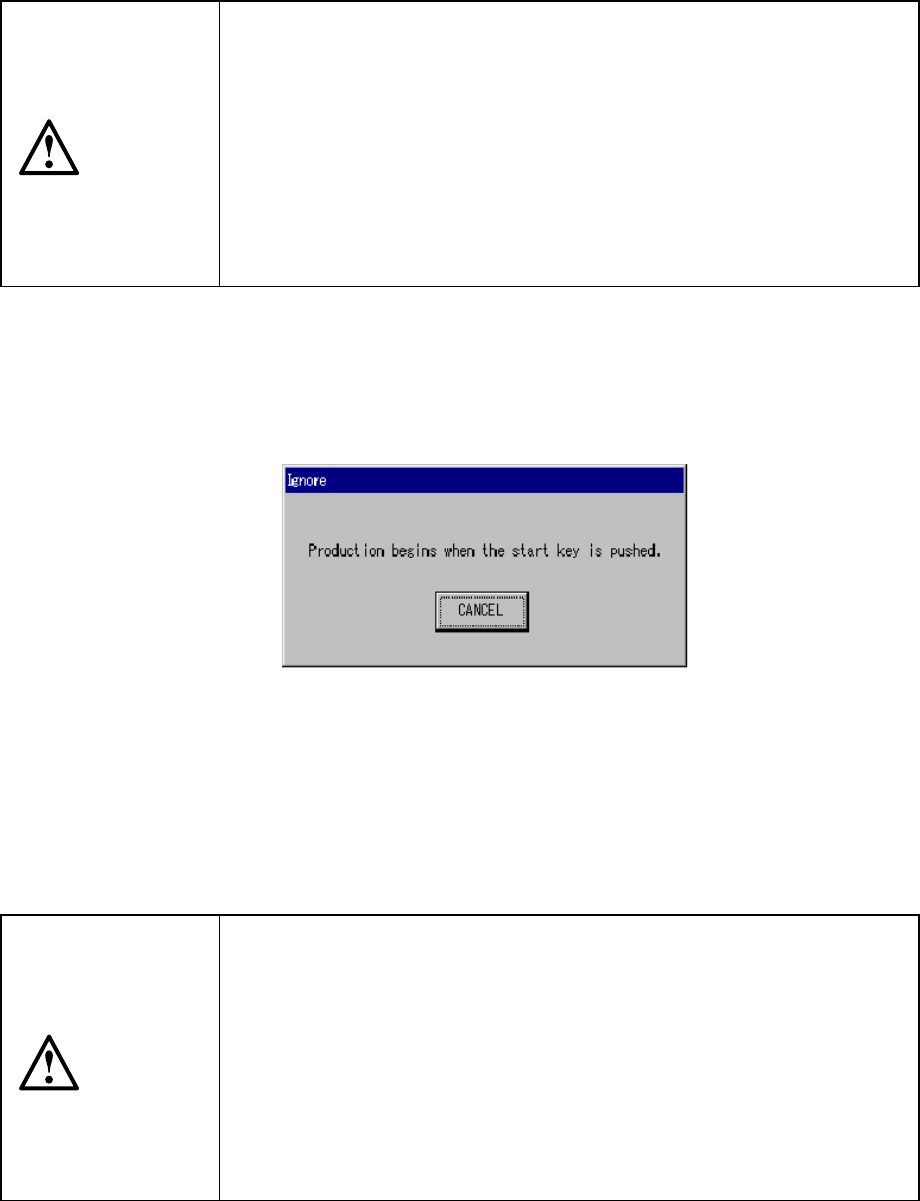
3) Ignore
When you select the "Ignore" button, the dialog box appears on the screen as
shown in Figure 6.3.2.3.
Figure 6.3.2.3 Dialog box displayed when you select the <Ignore> button
When you press the <START> switch on this dialog box, the system skips the
component (its layer) displayed on the error log, then starts production from the
next layer.
When you press the <Cancel> button, the screen returns to the error log display.
CAUTION
The head starts to move immediately after the "Ignore" button is
selected and the <START> switch key is pressed, and then the
machine restarts PWB production.
To avoid a risk of injury, do not place your hand in the machine, nor
move your face or head close to the machine during operation.
Before pressing the <START> switch, check that there is no one who is
working in the machine.
Before pressing the <START> switch, check that there is no one who
can be injured when the head starts to move.
Before pressing the <START> switch check that there are no obstacles
(tools and jigs) attached or left in the machine.
6 − 55
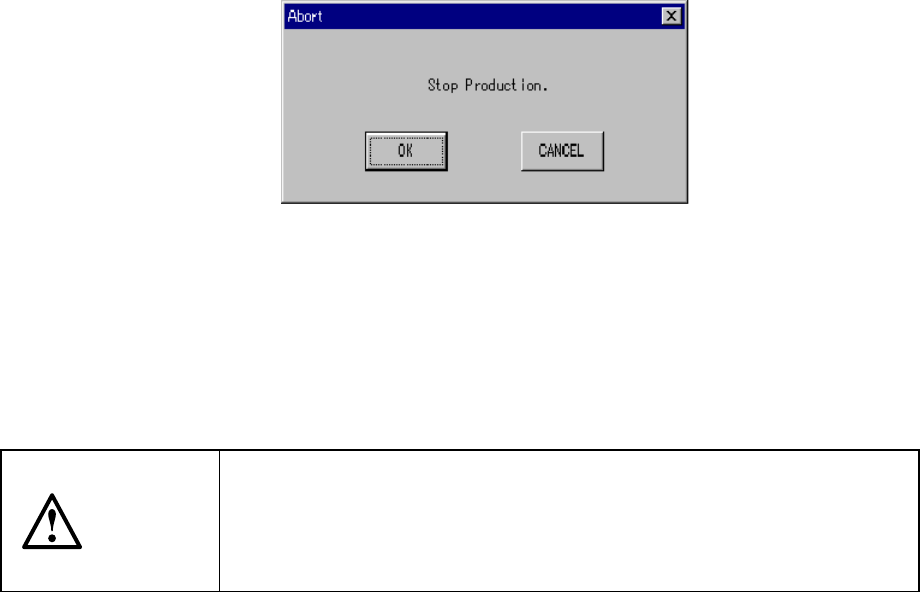
4) Abort
When you select the <Abort> button, the dialog box shown in Figure 6.3.2.4
appears on the screen.
Figure 6.3.2.4 Dialog box displayed when you select the <Abort> button
This button stops production and moves down the backup plate so that the PWB
can be ejected. In this case, the nozzle attached to the head is removed to finish
the operation. The same operation can be resumed by pressing the <STOP> key
on the operation panel.
CAUTION
After selection of the <Abort> button, the X and Y axes and the head
still continue to move to change the nozzle.
To avoid a risk of injury, do not place your hand in the machine, nor
move your face or head close to the machine even after stopping PWB
production.
5) Tracking
When you select this button, the pick position correction process will be
performed for the position which caused the error displayed in the list box.
For details, see the description for the "Pick point correction".
6) Supply
When you select this button, you can control the number of components by
opening the Part no. setup window. See the Section 6.2.1.2 "Setting the number
of components" for details.
6 − 56
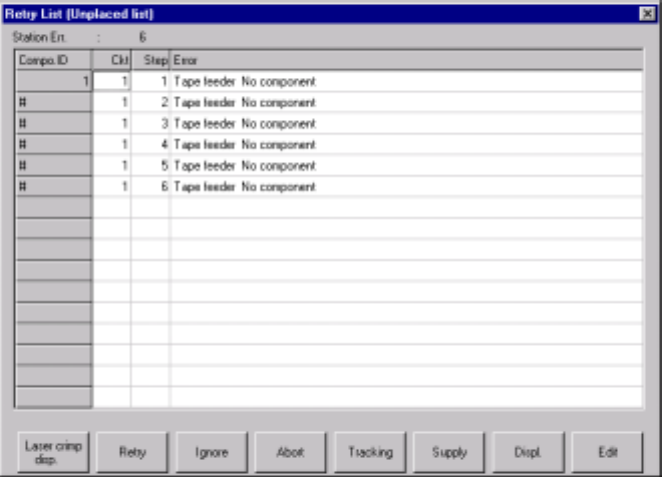
7) Displ. (Display)
This button switches the screens between the unplaced list and the supplier
information screen.
Figure 6.3.2.5 Retry List (Unplaced list) dialog box
8) Edit
This button allows you to modify Component data.
See Section 6.4.13 "Editing data" for details.
6.3.3 Pick point correction
6.3.3.1 Pick point correction using the Retry list (unplace list) dialog
When you click the <Tracking> button on the screen shown in Figure 6.3.2.5,
components are automatically replenished whose pick-up position has been already
corrected among all of components whose Pick data is referenced from Placement
data, which is associated with the component ID displayed on the list box.
6.3.3.2 Operation
① Entering conditions
When the [Pick track] is selected in the Retry list dialog box, the dialog box is
displayed as shown in Figure 6.3.3.2.1. By entering the conditions for pick point
camera tracking, tracking can be started with the <START> switch on the
operation panel.
The tracking conditions which can be entered are as follows:
- Selection between automatic pick point tracking at every automatic feeding
interval or manual pick point tracking by the user using the HOD.
- Stop time duration at the pick point for the tracking at automatic feeding
intervals