KE2010.Instruction Manual.Ver.2.01,Rev.08.pdf - 第454页
6 − 78 − The act ually displayed screen varies depending on the m odel of the machine you use: KE- 2010: Left Head (FMLA), Right Head (no display) KE-2020: Left Head (MNLA), Right Head (FMLA) KE-2030: Left Head (MNLA), R…

6 − 77
* When you click this <Laser comp disp.> button, the system displays the result of
the edge check on the screen.
Figure 6.4.8.2 “Edge Check display” dialog box
(Screen example when you use a KE-2020)
− When you click the <Left Head (MNLA)> button, the machine displays the
edge check result of the left head.
− When you click the <Right Head (FMLA)> button, the machine displays the
edge check result of the right head.
* When you select <Image> from the combo box, the system displays the waveform
of the image.
Figure 6.4.8.3 “Image” display dialog box (Screen example: KE-2020)
− When you click the <Left Head> button, the system displays the image
waveform of the left head.
− When you click the <Right Head> button, the system displays the image
waveform of the right head.
6 − 78
−
The actually displayed screen varies depending on the model of the
machine you use:
KE-2010: Left Head (FMLA), Right Head (no display)
KE-2020: Left Head (MNLA), Right Head (FMLA)
KE-2030: Left Head (MNLA), Right Head (MNLA)
KE-2040: Left Head (FMLA), Right Head (FMLA)
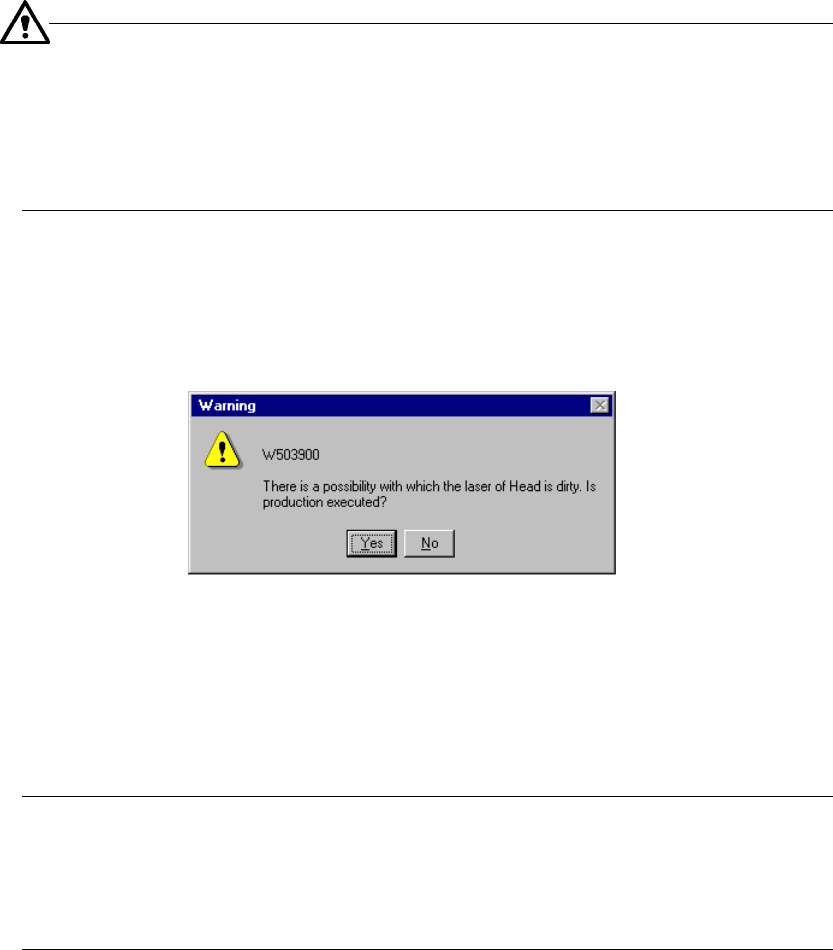
− When you press the <START> switch, the system checks to see if the laser
heads are stained again. When it does not detect any stain on the laser heads, it
restarts production. Otherwise, the following message appears on the screen.
Figure 6.4.8.4 Dirty laser head message
− When you click the <Yes> button: the system starts production.
− When you click the <No> button: the “Pause” dialog box reappears on the
screen.
−
The system checks to see if the laser heads are stained again. The
stained laser head(s) is (are) displayed in blue. Clean the laser head(s)
displayed in blue. When you press the <STOP> button on the “Pause”
dialog box, the system displays the “Abort” dialog box to abort the current
production.
6 − 79
6.4.9 Filling the feeder with components when the system pauses a production
operation
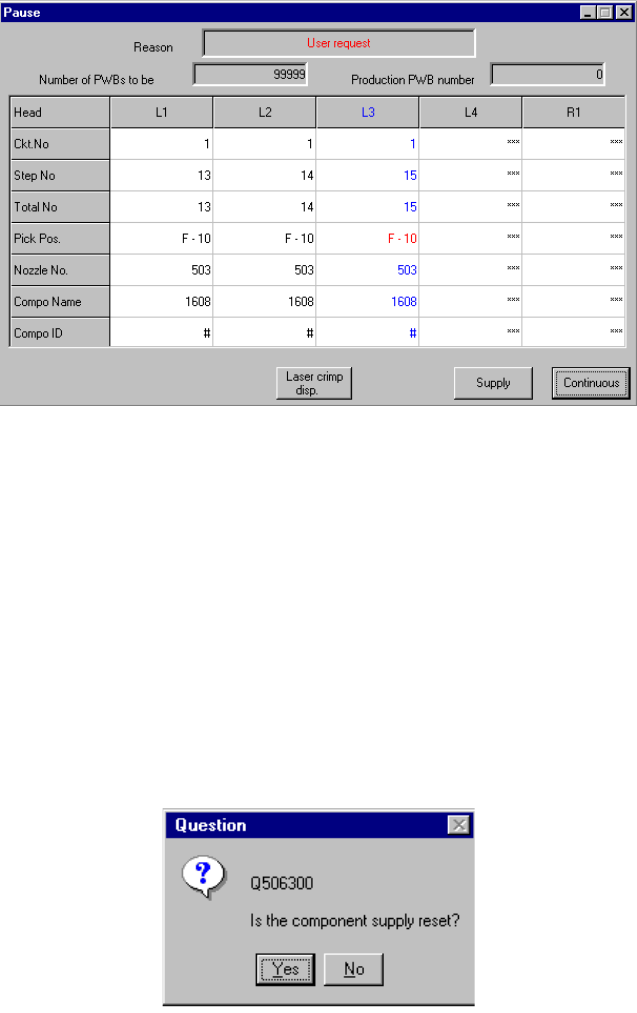
If you check the Production (Display) tag of the Operation option menu, then check
the item "The "Supply" button is applied to the pause dialog", the <Supply> button is
displayed on the "Pause" dialog box as shown below.
This button is displayed when the system temporarily stops a production operation.
However, note that it is not displayed when the system stops because components
run out or the mark recognition error occurs.
Figure 6.4.9.1 Pause dialog box equipped with the Supply button
When you click the <Supply> button, the system fills the feeder such as a tape, stick
or bulk feeder with the corresponding components.
If the remaining number of components is zero, it is reset to the initial value, then
component run-out t information is cleared. If the remaining number is not zero, the
component run-out information is just cleared.
When you click the <Supply> button, the message box as shown below will appear on
the screen. When you click the <YES> button on this box, the system performs the
component-filling operation, then closes the message box. When you click the <NO>
button, the system does not perform any operation, then closes the message box.
Figure 6.4.9.2 "Is the component supply reset?" (Confirmation) dialog box