KE2010.Instruction Manual.Ver.2.01,Rev.08.pdf - 第533页
6 − 157 − Component of inspection Data on a component select ed to be checked appear s here. − Pickup position Data on the component pick-up posit ion appears here. You can change the pick-up posit ion to that of t he pr…
6 − 156
6.7.3.5 Operations
6.7.3.5.1 SOT direction independent inspection operation
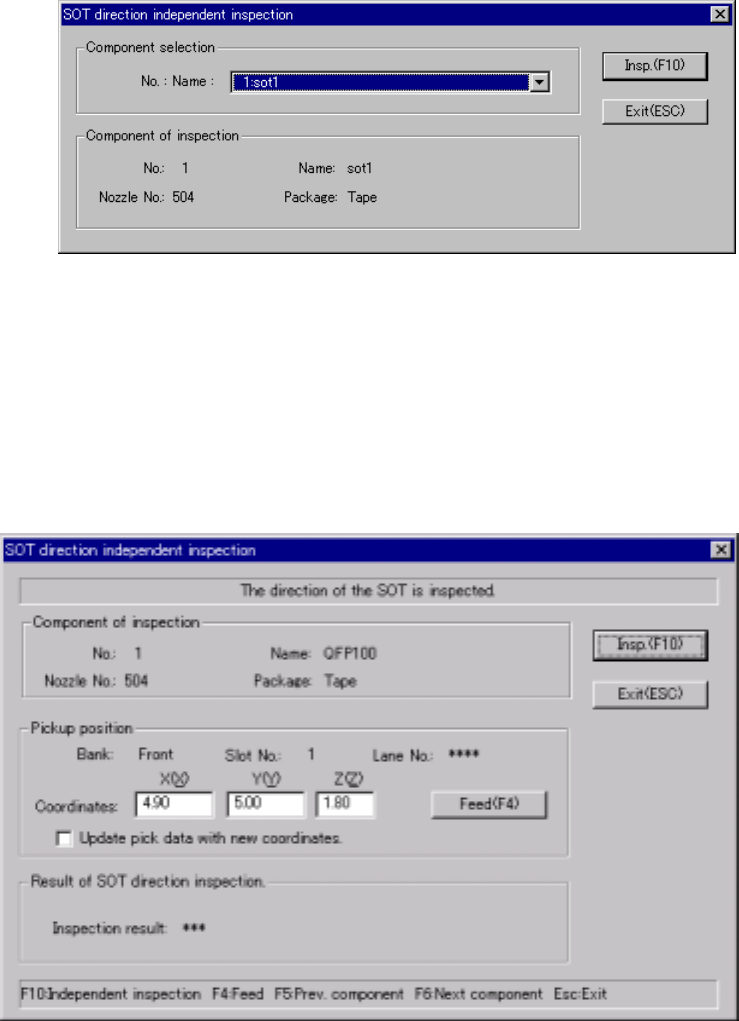
6.7.3.5.2 SOT direction independent inspection component selecting dialog box
When you select the [Tool] command from the menu bar, the [Check] command o
the “Tool” menu, and the [SOT direction independent inspection] command on the
Production menu, the following dialog box appears on the screen. In the “No.:
Name” combo box, 3-terminal SOT components are listed so that you can select
any one to be checked.
Figure 6.7.3.5.1 SOT direction independent inspection component selecting
dialog box
6.7.3.5.3 SOT direction independent inspection dialog box
When you click the <Insp.> button on the dialog box shown in Figure 6.7.3.5.1, the
following dialog box appears on the screen.
Figure 6.7.3.5.2 SOT direction independent inspection dialog box
6 − 157
− Component of inspection
Data on a component selected to be checked appears here.
− Pickup position
Data on the component pick-up position appears here. You can change the
pick-up position to that of the previous alternate component or the next
alternate component also.
①
<Feed> button
When you click this button, the system knocks a feeder once to feed a
component (not available with a 32-mm paper tape).
②
“Update pick data with new coordinates”
Check this check box if you want to store the result of teaching operation
by the HOD device onto Pick data. Otherwise, the specified coordinates
are applied to the current pick-up position only.
− Result of SOT direction inspection
After checking a component, the recognized component direction is displayed
as the check result, OK or NG. If the system failed to recognize the image of
a component, a check error is displayed here.
− Shortcut keys
On the SOT independent inspection screen, the following shortcut keys are
available.
Table 6.7.3.5.1 Shortcut keys
Keyboard Operation panel HOD key Action
F10 ENTER Executes an independent inspection.
F4 Knocks a feeder.
F5 PREVIOUS Previous alternate component
F6 NEXT Next alternate component
ESC CANCEL Returns to the previous screen.
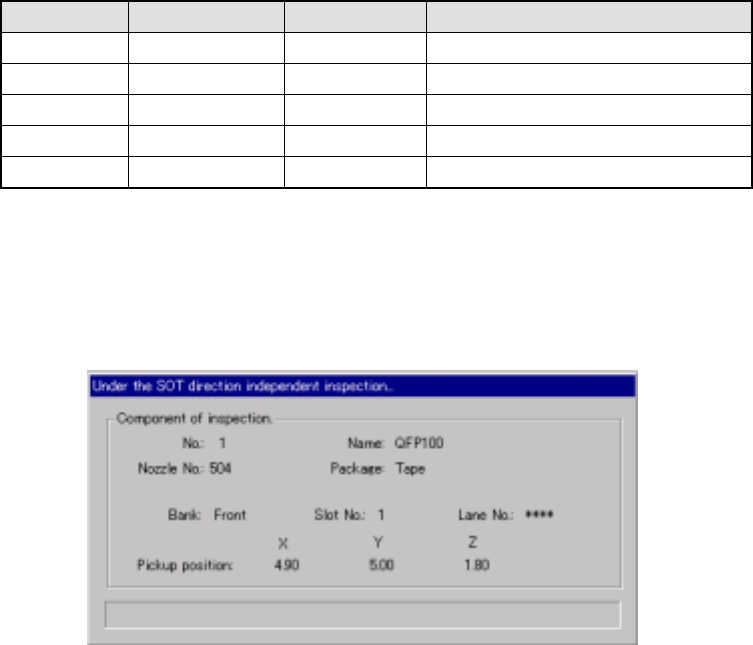
6.7.3.5.4 “Under the SOT direction independent inspection…” dialog box
When you click the <Insp.> button on the dialog box shown in Figure 6.7.3.5.4, the
following dialog box appears on the screen.
Figure 6.7.3.5.4 “Under the SOT direction independent inspection…” dialog box
− Component of inspection
Displays the data on a component that the system is checking and the system
current operation here.

6 − 158
6.7.3.6 SOT direction continuous inspection
6.7.3.6.1 SOT direction continuous inspection dialog box
When you select the [Tool] command from the menu bar, the [Check] command o
the “Tool” menu, and the [SOT direction continuous inspection] command on the
Production menu, the following dialog box appears on the screen.
Figure 6.7.3.6.1 SOT direction continuous inspection dialog box
− SOT inspection type
Specify whether to inspect only components that satisfy a certain requirement
among components whose data is stored in Component data.
①
All components
The system inspects all components whose data is stored in Component
data.
②
Range specification
Check this radio button if you want to check the components whose
numbers are specified by you. When you check this radio button, you
can specify the following items:
− Start compo. No.
Check this check box if you are to specify the number of the first
component to be checked. After checking this check box, enter the
first component number in the edit box.
− End compo. No.
Check this check box if you are to specify the number of the last
component to be checked. After checking this check box, enter the
last component number in the edit box.
− Only placement compo.
Check this check box to check components that are actually to be
placed and whose data is stored in Placement data only.
− <Inspection> button
Starts an SOT direction inspection continuously.