KE2010.Instruction Manual.Ver.2.01,Rev.08.pdf - 第679页
9 − 25 9.5.1.2 M anual nozzle returni ng If the laser head is stained, manually return nozzles. To ret urn nozzles manually, as described before, move a head manually where you can remove a nozzle from it, and then rem o…
9 − 24
− The machine operation varies depending on whether the HMS option is installed
on the machine or not:
• If the HMS is installed on the machine, the machine uses the HMS to detect
whether a nozzle is located on the ATC.
• Otherwise, the machine uses the head on which any nozzle is not attached to
detect every nozzle of the ATC.
− If the HMS option is installed on the machine, a nozzle is automatically
returned to the original position.
− Otherwise, a not-occupied head on which any nozzle is not attached is
required.
Therefore, if nozzles are attached on all of the heads the machines asks you
whether to return only a nozzle attached on one head to the ATC before returning
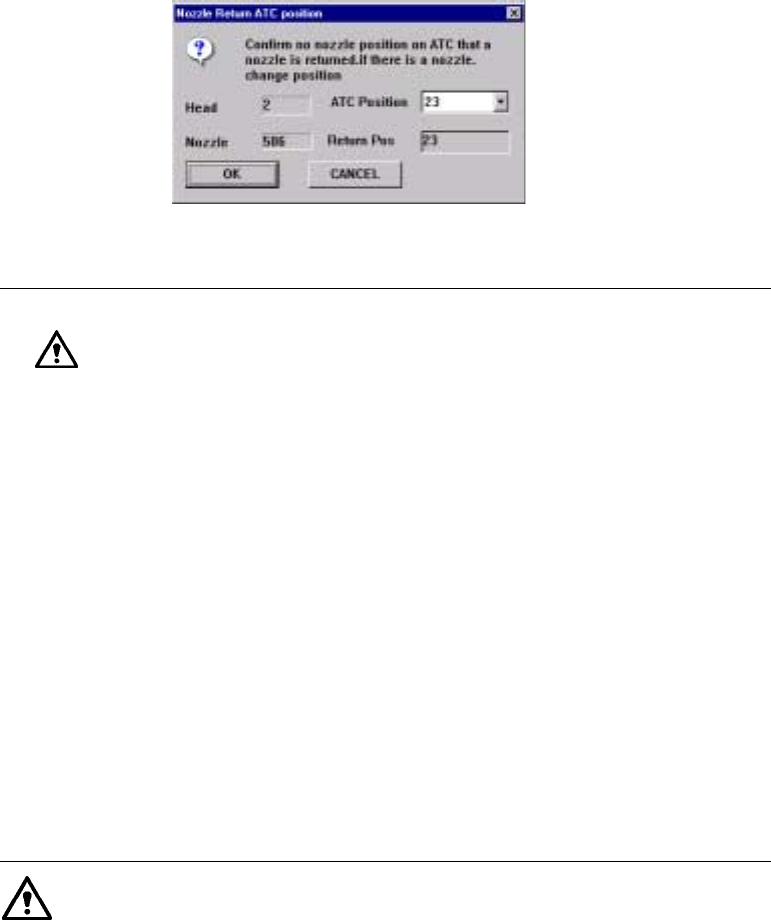
nozzles automatically. Specify the position of the ATC on which no nozzle is set.
Figure 9.5.1.1.2 “Nozzle Return ATC Position” screen
CAUTION
•
When you click the <OK> button, a camera moves to the ATC
position to which a nozzle is returned, and the nozzle is
displayed on the VCS monitor.
•
When HLC performs the operation described above, it
displays the confirmation dialog box on the screen.
Operations of this dialog box are described below.
•
If a circular image is displayed on the monitor, it indicates that
a nozzle is located on the ATC. Therefore, the nozzle cannot
be returned to the ATC. Be sure to click the <CANCEL>
button.
•
If you happen to specify the ATC position on which a nozzle is
already set, a nozzle attached on the head crashes into the
nozzle set on the specified ATC position, and a Z-axis
overload error occurs to unlock the servo
•
Click the <OK> button. The machine returns a nozzle to the
specified ATC position. After the machine returns one nozzle,
it returns all of the remaining nozzles to the ATC automatically.
(However, since there are two heads on the left and right
sides of a KE-2030, the machine asks you whether to return a
nozzle per head.)
Information on each nozzle such as the length and vacuum level is
automatically stored on the Setup data.
9 − 25
9.5.1.2 Manual nozzle returning
If the laser head is stained, manually return nozzles.
To return nozzles manually, as described before, move a head manually where you
can remove a nozzle from it, and then remove the nozzle actually to return it onto the
ATC.
Step 1. Click the corresponding button for moving a head or opening/closing the
ATC.
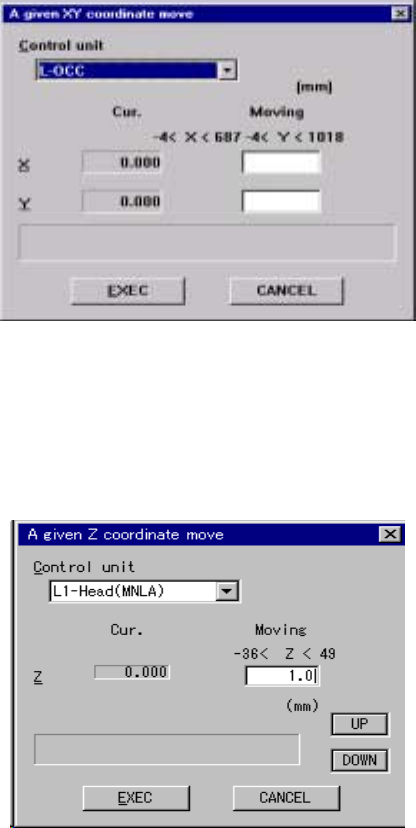
1. When you click the <XY Move> button on the screen shown in Figure 9.5.1.2,
the following screen appears. The origin of the XY-coordinates (0, 0) is the
left edge of the front side on which the operation panel is located.
Figure 9.5.1.2.1 “A given XY coordinate move” screen
2. When you click the <Z Move> button on the screen shown in Figure 9.5.1.2,
the following screen appears. The origin of the Z-axis (0, 0) is the PWB height,
and the top side is regarded as the positive direction while the bottom side is
as the negative direction.
Figure 9.5.1.2.2 “A given Z coordinate move” screen
9 − 26
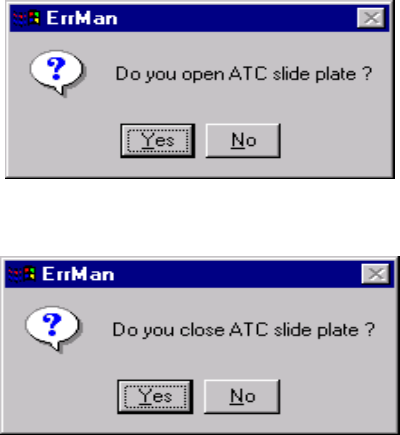
Step 2. When you click the <ATC Open>/<ATC Close> button on the screen shown
in Figure 9.5.1.2, the following confirmation dialog box appears on the
screen.
Figure 9.5.1.2.3 <ATC Open> confirmation screen
Figure 9.5.1.2.4 <ATC Close> confirmation screen
9.5.1.3 Checking to see if the laser alignment sensor window is stained
When the laser sensor window is stained, be sure to clean it.
Step 1. Clean the laser alignment sensor window.
See Section 13.3.3”Laser Alignment Sensor” of Chapter 13
“MAINTENANCE” for how to clean the laser alignment sensor window.
Step 2. Check to see if the laser alignment sensor window is not stained after
cleaning it.
Press the <Edge Disp> button on the “Nozzle On Head Information” dialog
box shown in Figure 9.5.1.
Clean the laser alignment sensor window until the displayed value gets
below the threshold displayed in red.
The Manual Control utility allows you to check the more detailed
information.
(See Section 8.2.3 “Laser Control” of Chapter 8.”)